Reflected In Nature Card - Free Tutorial
Reflected in Nature Card
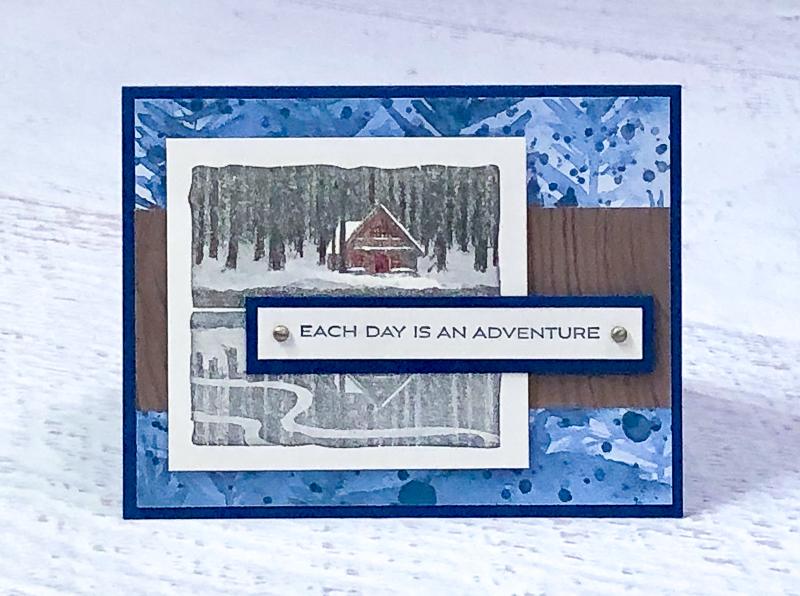
Sharing from Stampin’ Up! fb page, changes made for my business.
The Reflected in Nature stamp set is one of our exclusive Dist-INK-tive designs. That means it has a super-detailed image that has a 3D effect. The cabin scene stamp creates both the landscape and the reflection in the lake all in one step! Depending on the colours you use, you can create this cabin scene for any season.
I especially love this set for New Year and graduation cards. Adding hints of accent colours with Watercolor Pencils is a great way to step-up these beautiful stamped designs. I used Watercolor Pencils from Assortment 1 (#141709) and Assortment 2 (#149014), but you can use any colour combination you prefer!
My top two tips for Dist-INK-tive stamps:
1. Use the Stamparatus.
2. Use less ink! Use a Bone Folder or the back of a plastic spoon to move some of the ink from the area of your ink pad that you are using. These super-detailed images work best with less ink.

1) Stamp
Dist-INK-Tive stamps like less ink, so go lightly! Use a Stamparatus to stamp the cabin image onto 3-1/2" x 3-1/4" Shimmery White Cardstock with Basic Gray ink.
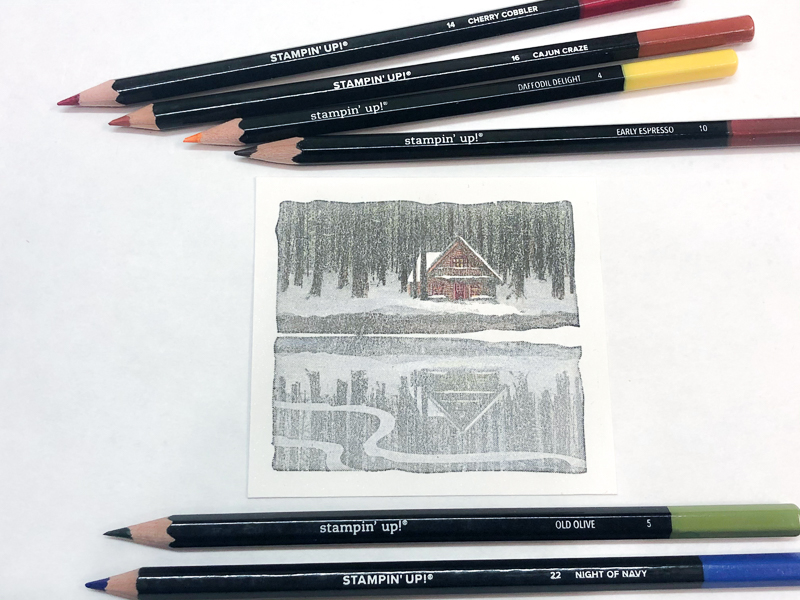
2) Watercolor Pencil Colouring
Use the edge of the Night of Navy and Old Olive Watercolor Pencils to very lightly colour the water and forest. Use sharpened tips of Cherry Cobbler pencil to colour the windows and door. Colour the cabin with Cajun Craze. Make lights in the windows with Daffodil Delight and add Early Espresso to the tree trunks.
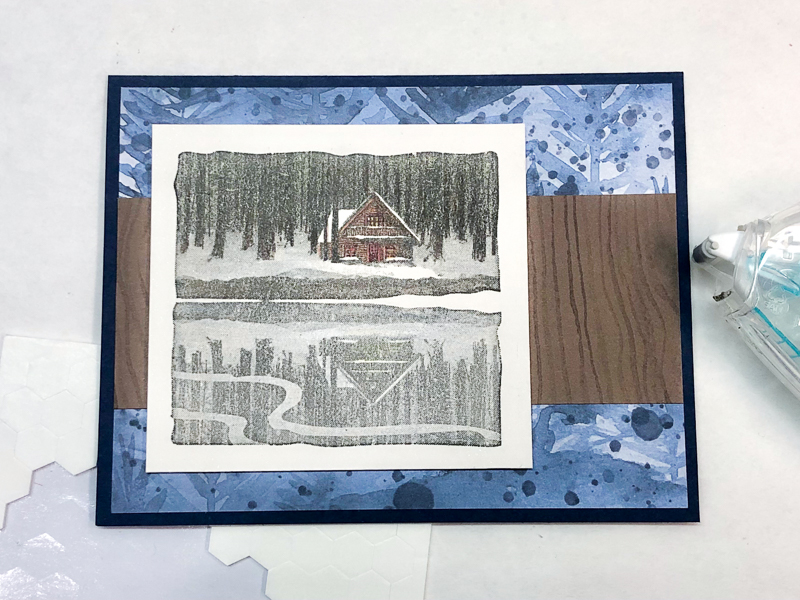
3) Add Layers
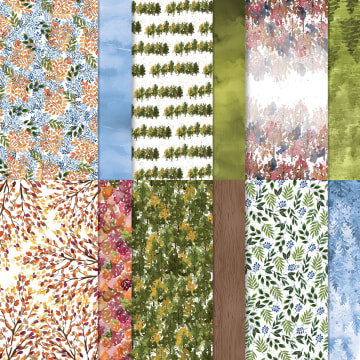
Cut Night of Navy cardstock to 5-1/2" x 8-1/2". Score at 4-1/2" along the 8-1/2" side. Cut Basic White cardstock to 4" x 5-1/4" and adhere to inside card. Cut the Beauty of the Earth Designer Series Paper with the blue trees design to 5-1/4" x 4". Cut the woodgrain design to 5-1/4" x 2". Adhere to card front. Add stamped image with Stampin' Dimensionals.
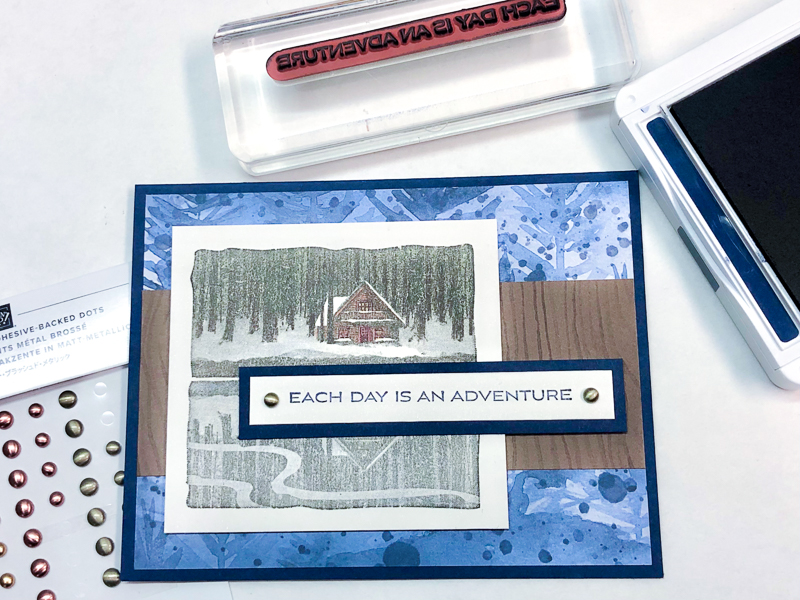
4) Stamp Greeting
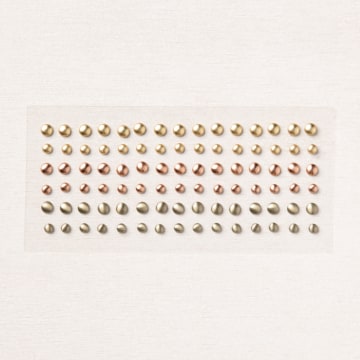
Stamp greeting on 3-3/4" x 1/2" Shimmery White cardstock with Night of Navy ink. Layer onto 4" x 3/4" Night of Navy cardstock. Add Brushed Metallic Adhesive-Backed Dots to each end and adhere to card front with Glue Dots under left side. Adhere with a Stampin' Dimensional under the right edge.
If you have not had a chance to check out the Last Chance List and Sale, you will want to be sure to do that before the discounted and retiring items are gone. If you are shopping for gifts, remember that shipping companies recommend allowing extra time for shipping this year.
TAKE ME BACK TO THE TOP



 Each month a fully designed project kit arrives in a delightful box filled with stamps, ink, and paper—everything cut and ready to go so you can skip to the fun. Just think of it as creativity in a box.
