Harvest Meadow Suite - Autumn Card Tutorial
Rich fall colours and rustic textures make the Harvest Meadow Suite the perfect accompaniment for your fall cards, décor, and events. As a matter of fact, my team is hosting an all-day online at-home crafting event with this Suite.
Click here for full information about Summer Sale-a-Bration Extravaganza
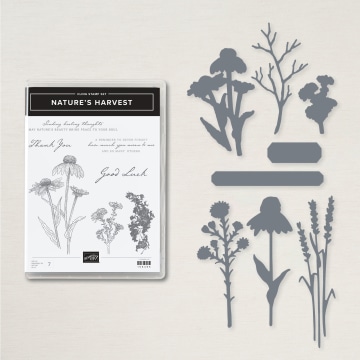
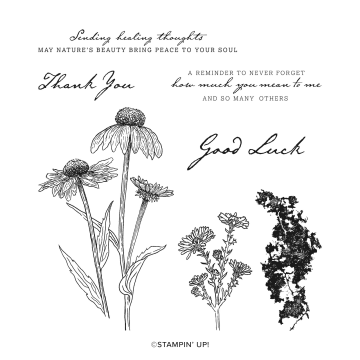
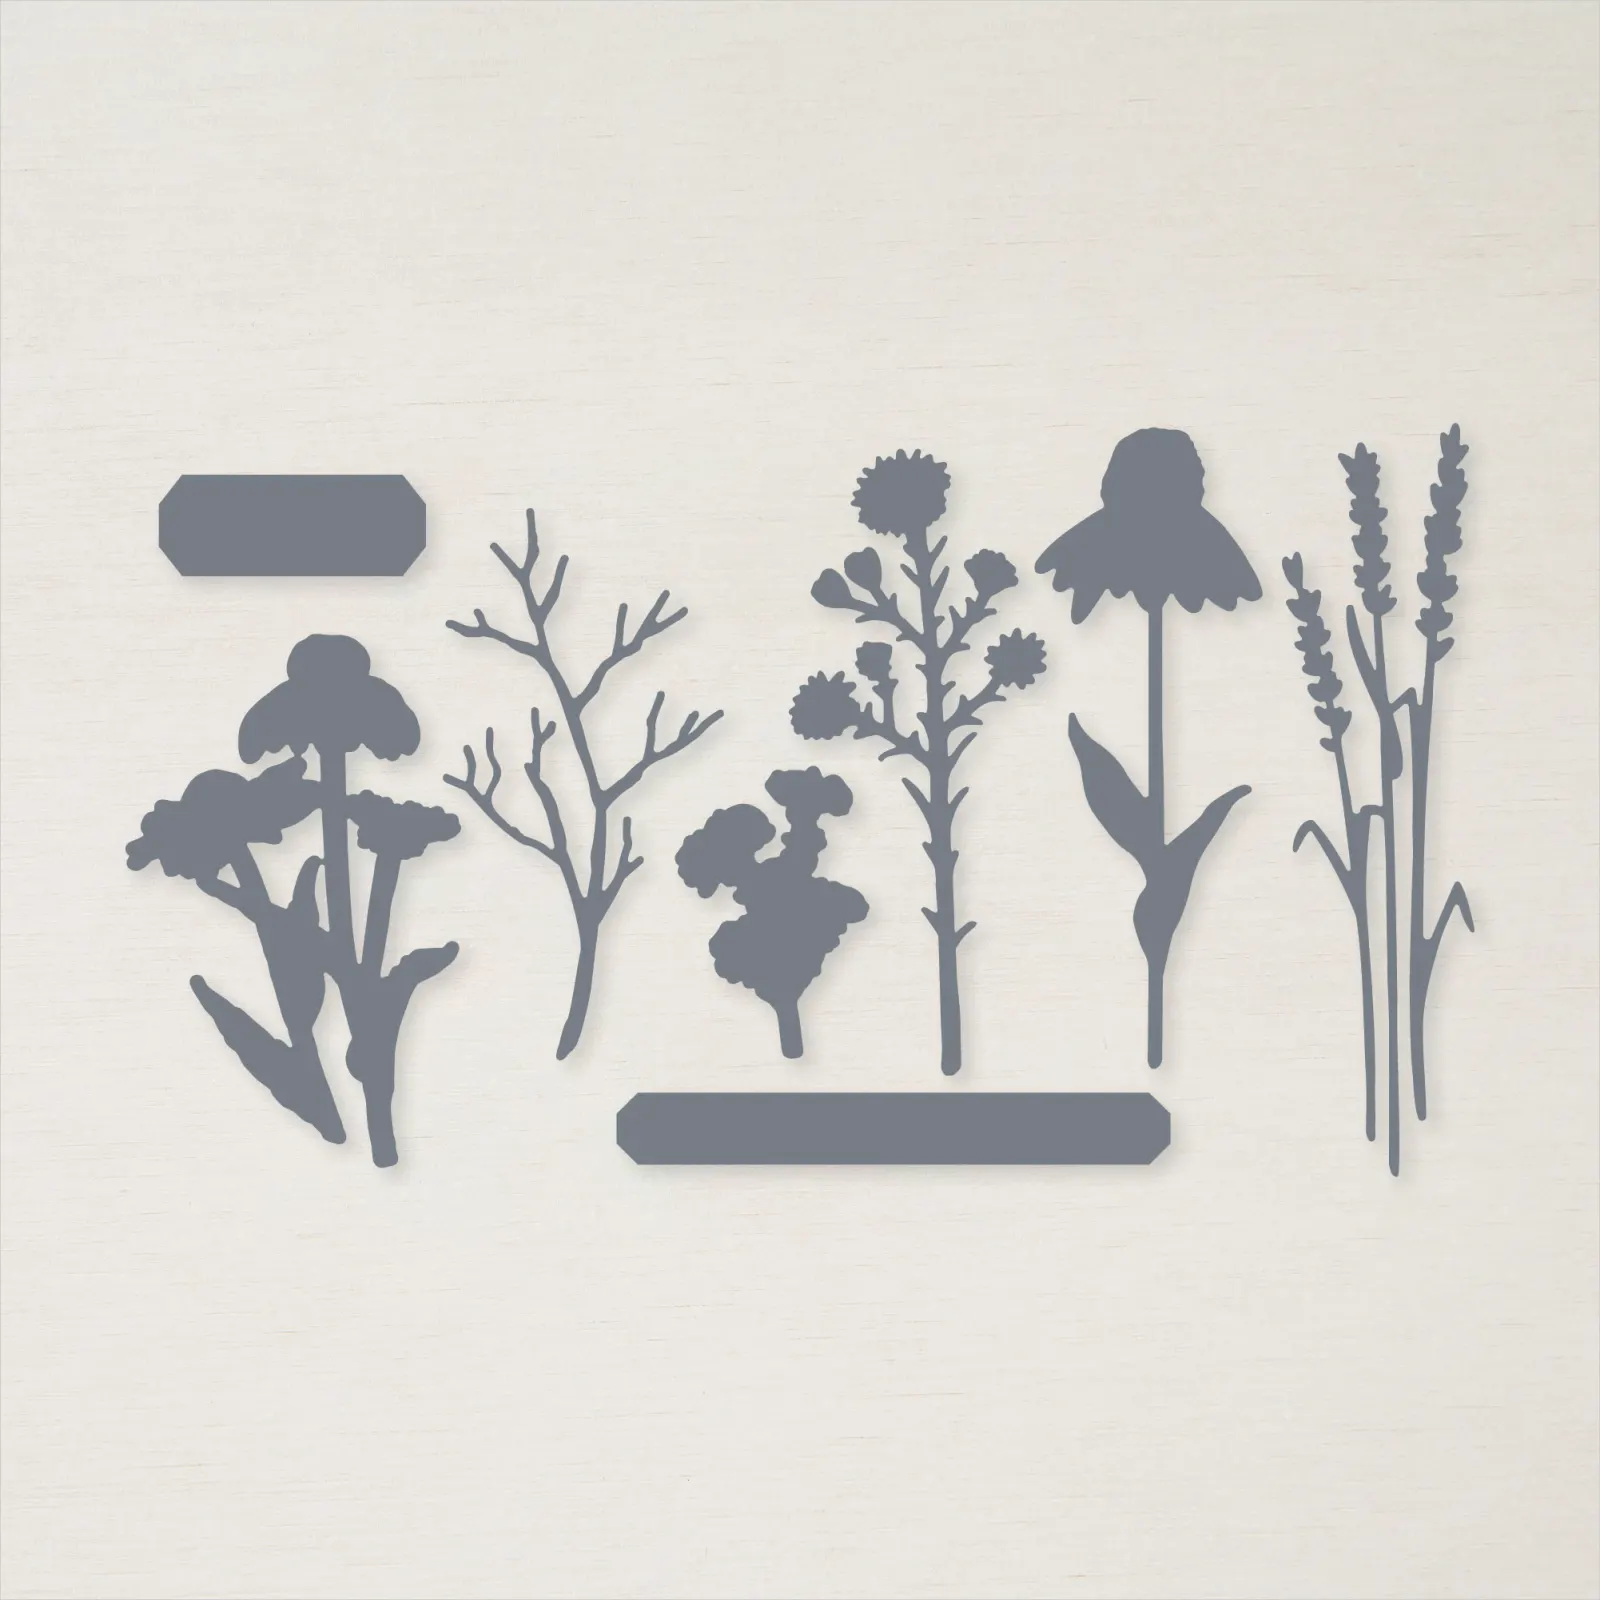
The Nature's Harvest stamp set blooms with both beautiful flowers, and sentiments you will cherish. The coordinating Harvest Die set includes dies that match the stamped images, plus additional coordinating images and labels. The combination provides detail and variety for both your stamped images and greetings.
The tutorial below takes colouring to a whole new level with Stampin' Blends used for colouring stamped images, die cuts, and ribbon! I think you will love this combination of techniques that you can use again and again.
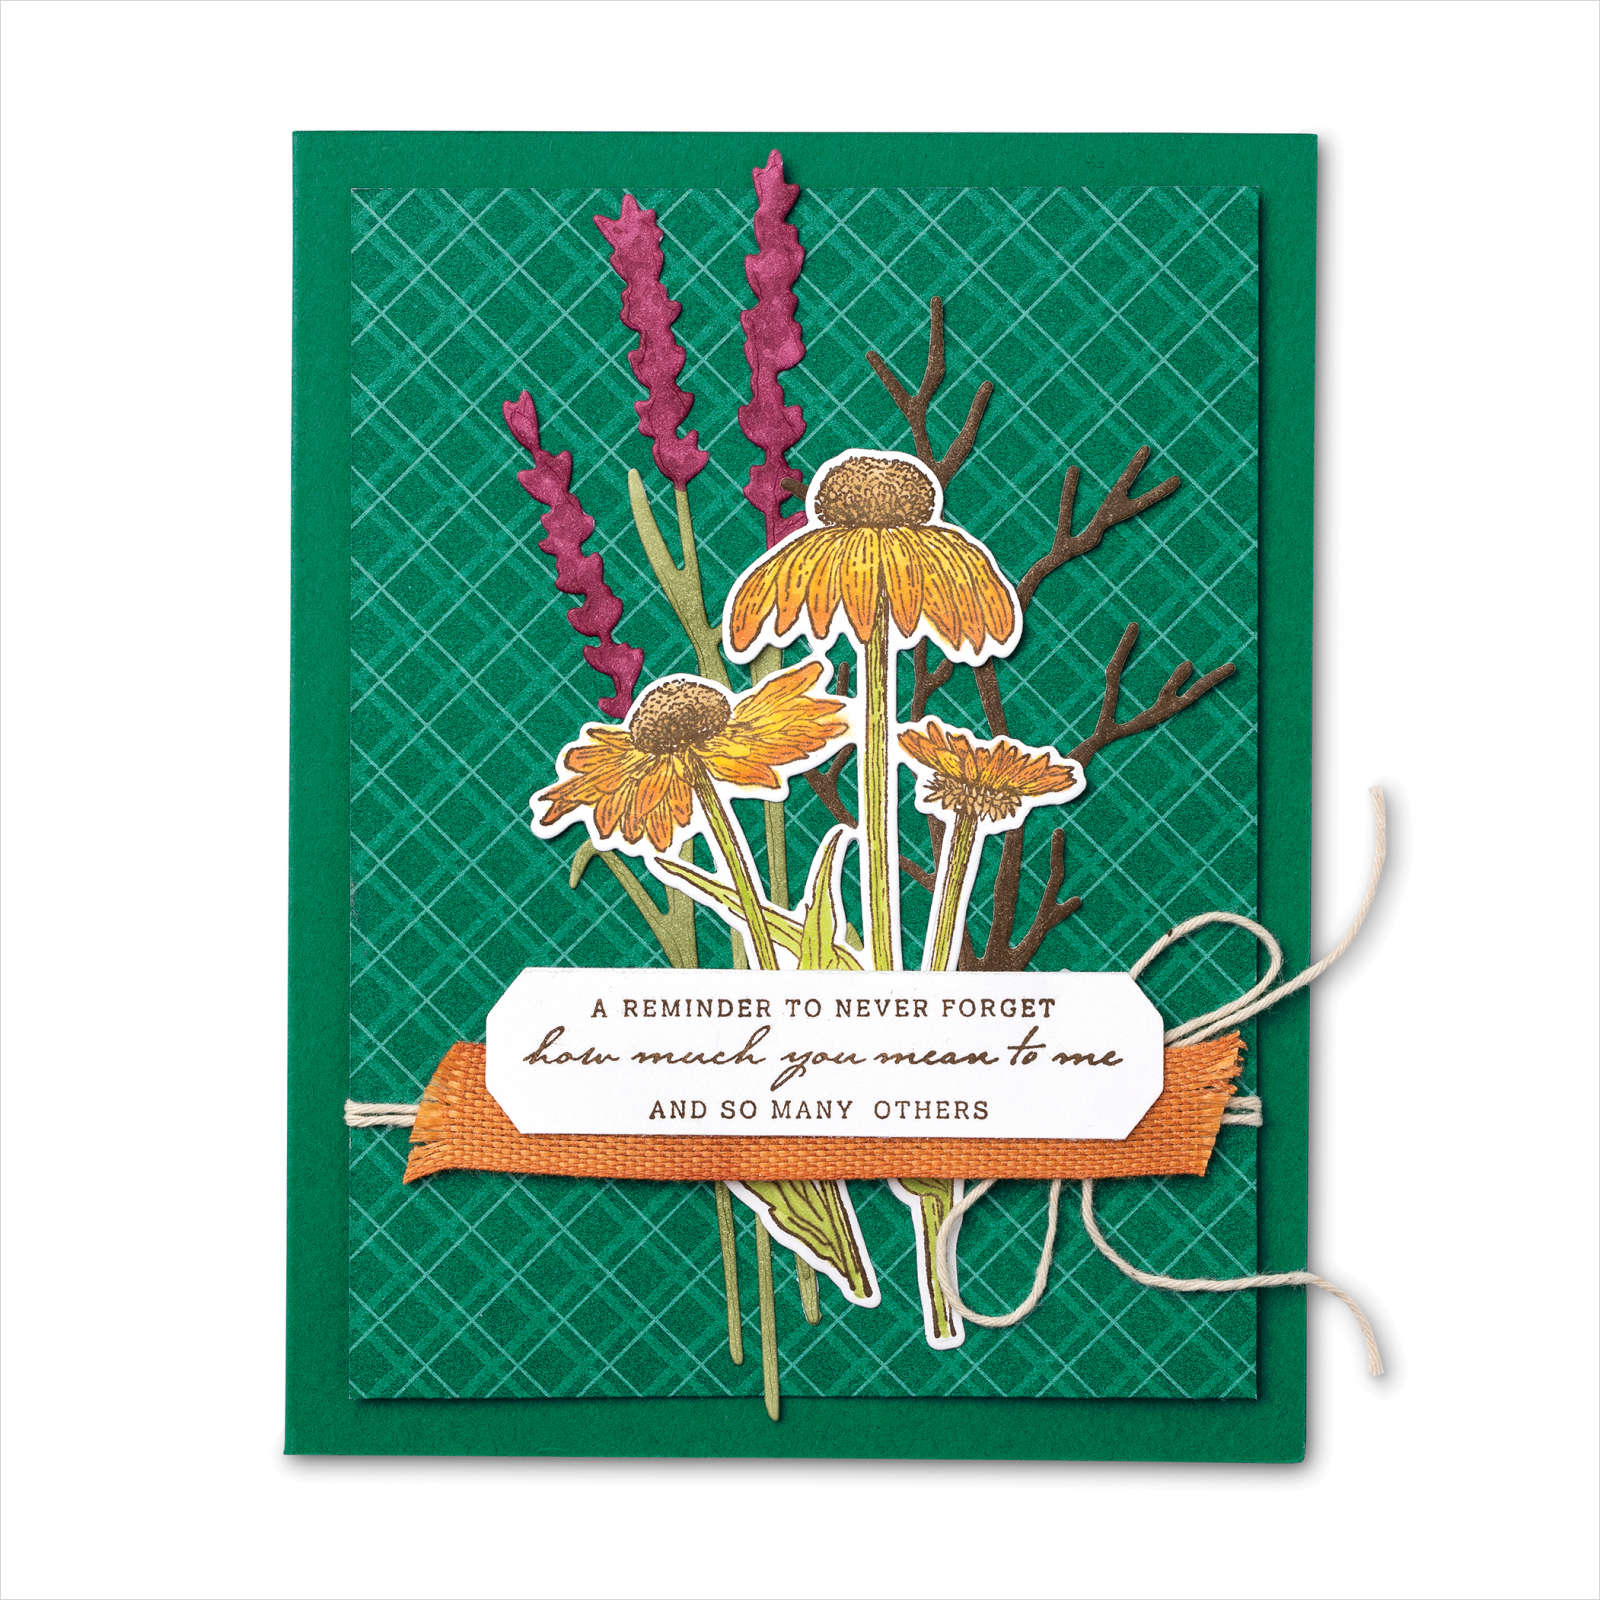
Harvest Meadow Autumn Card
INSTRUCTIONS
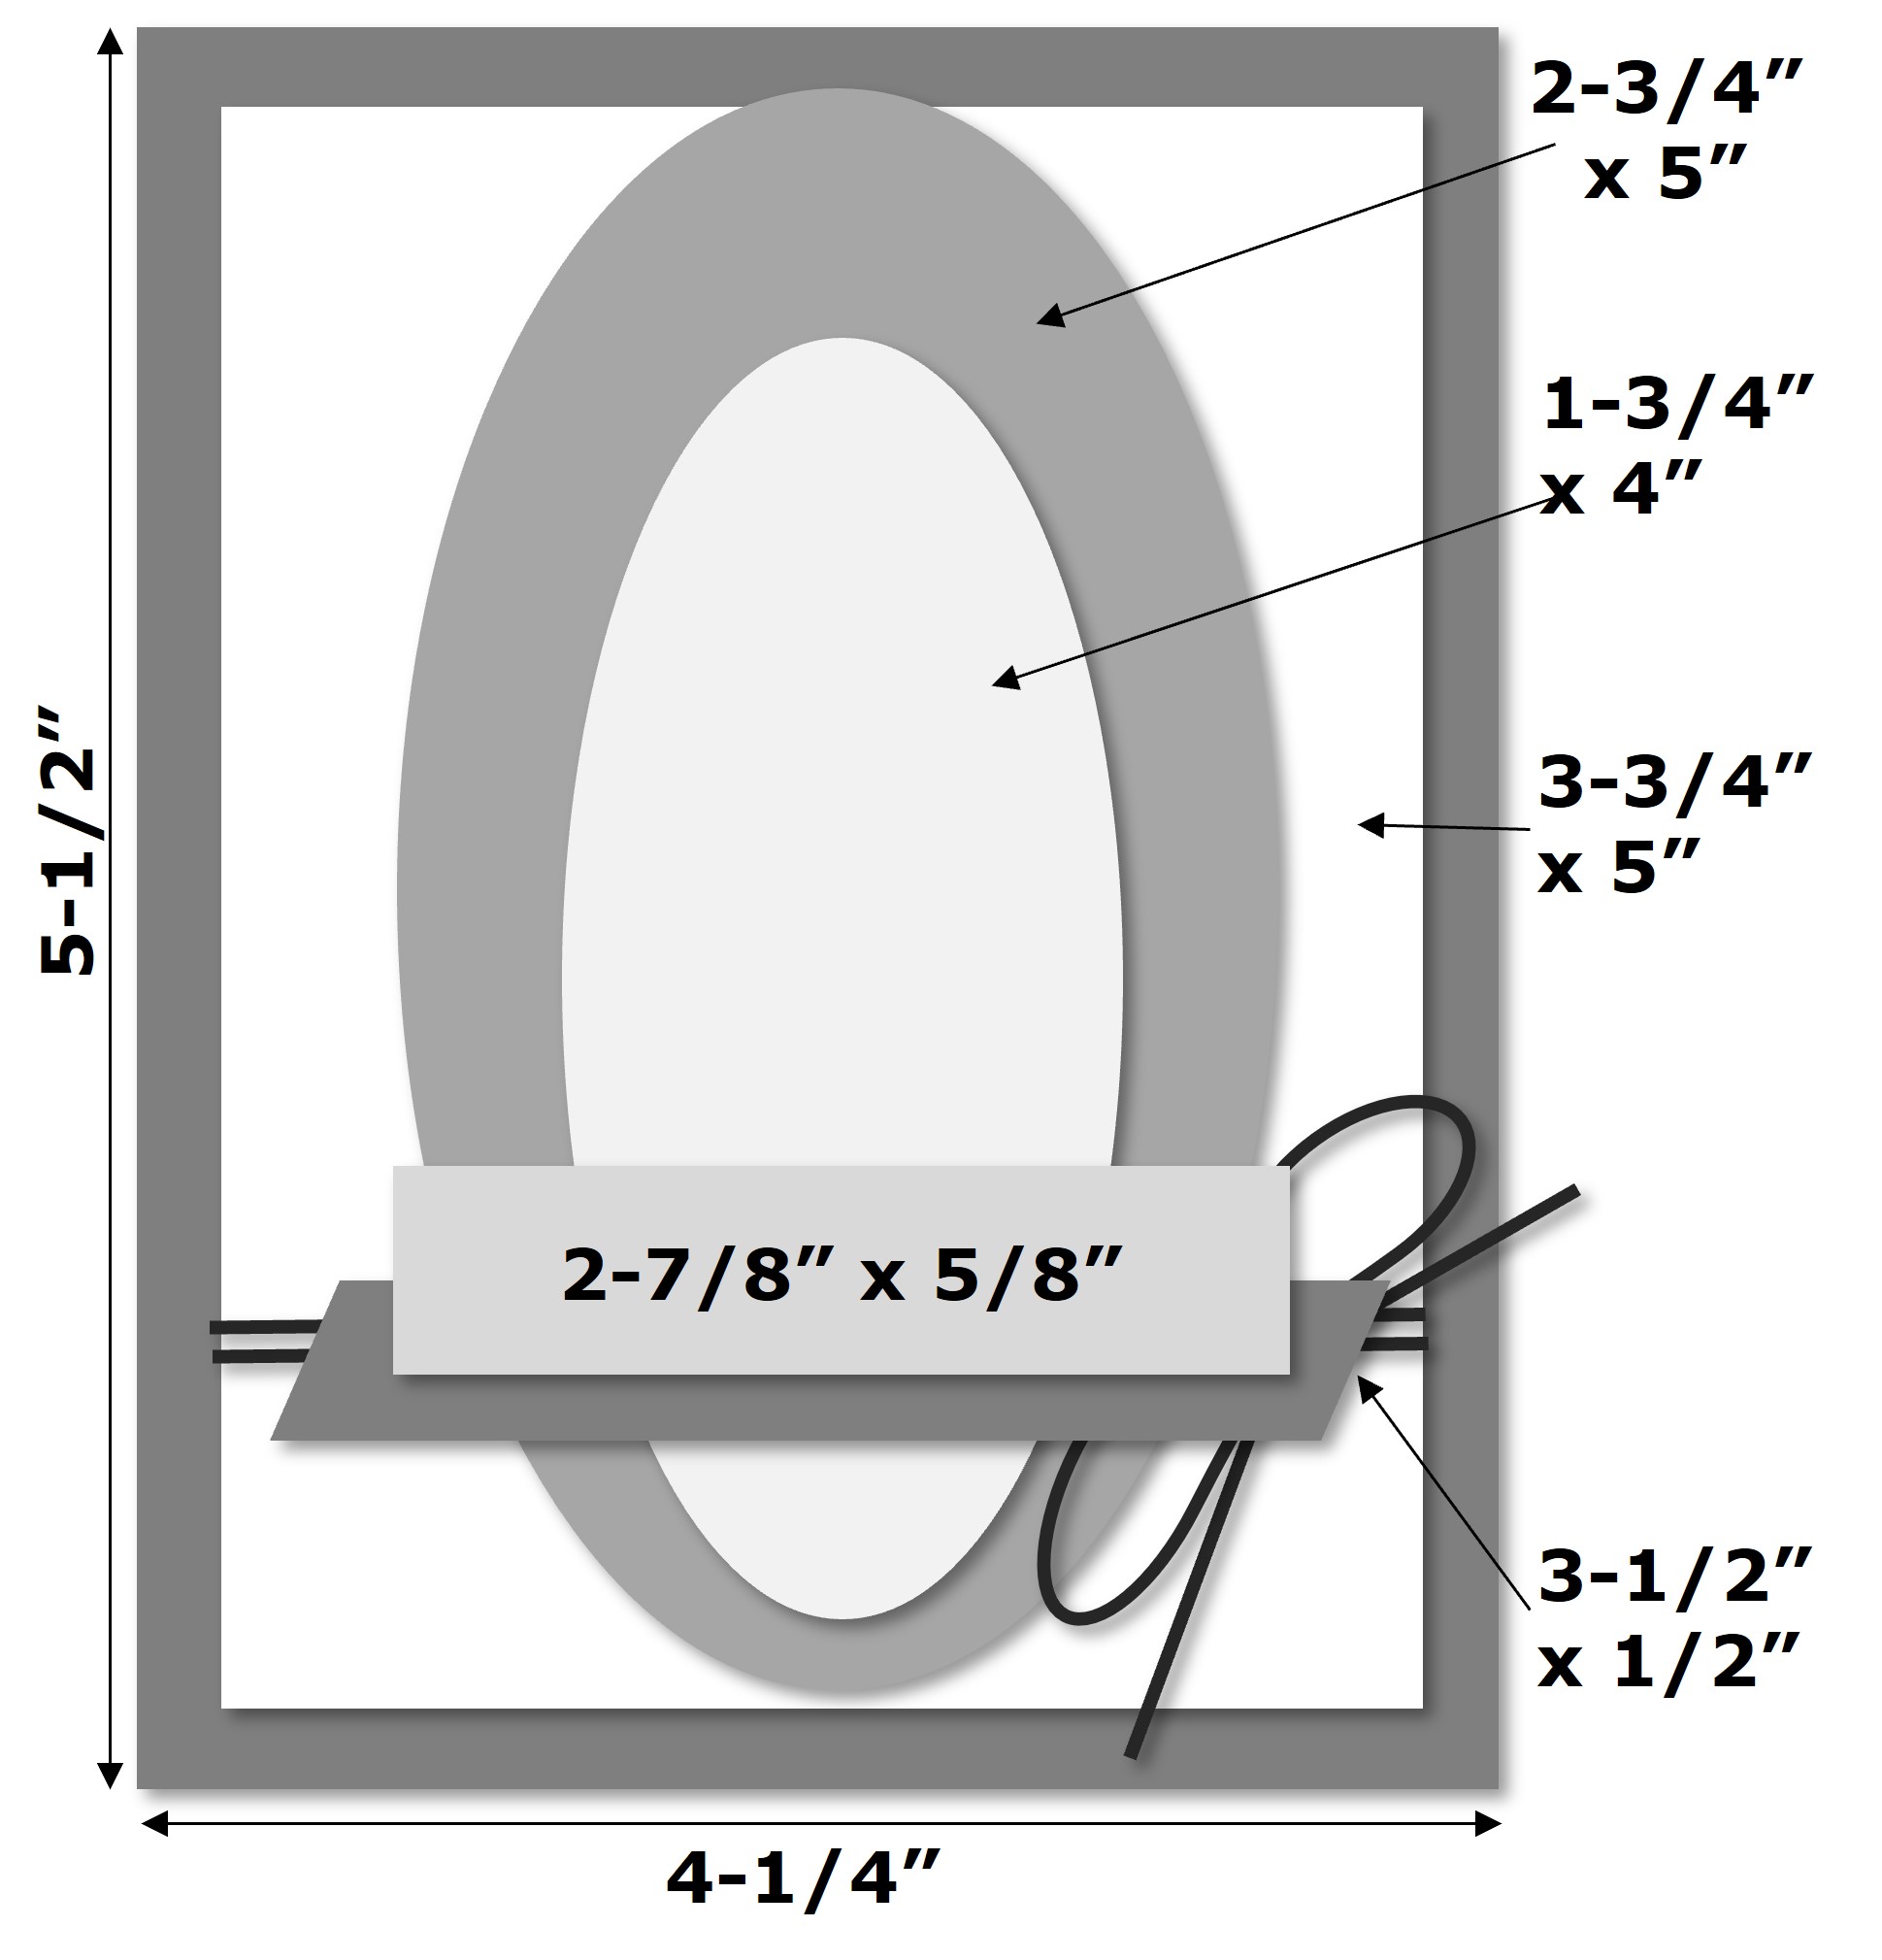
1) Cut Shaded Spruce cardstock to 5-1/2" x 8-1/2". Score at 4-1/4" along the 8-1/2" side. Cut Basic White cardstock to 3-3/4" x 5" and adhere inside card for a writing space.
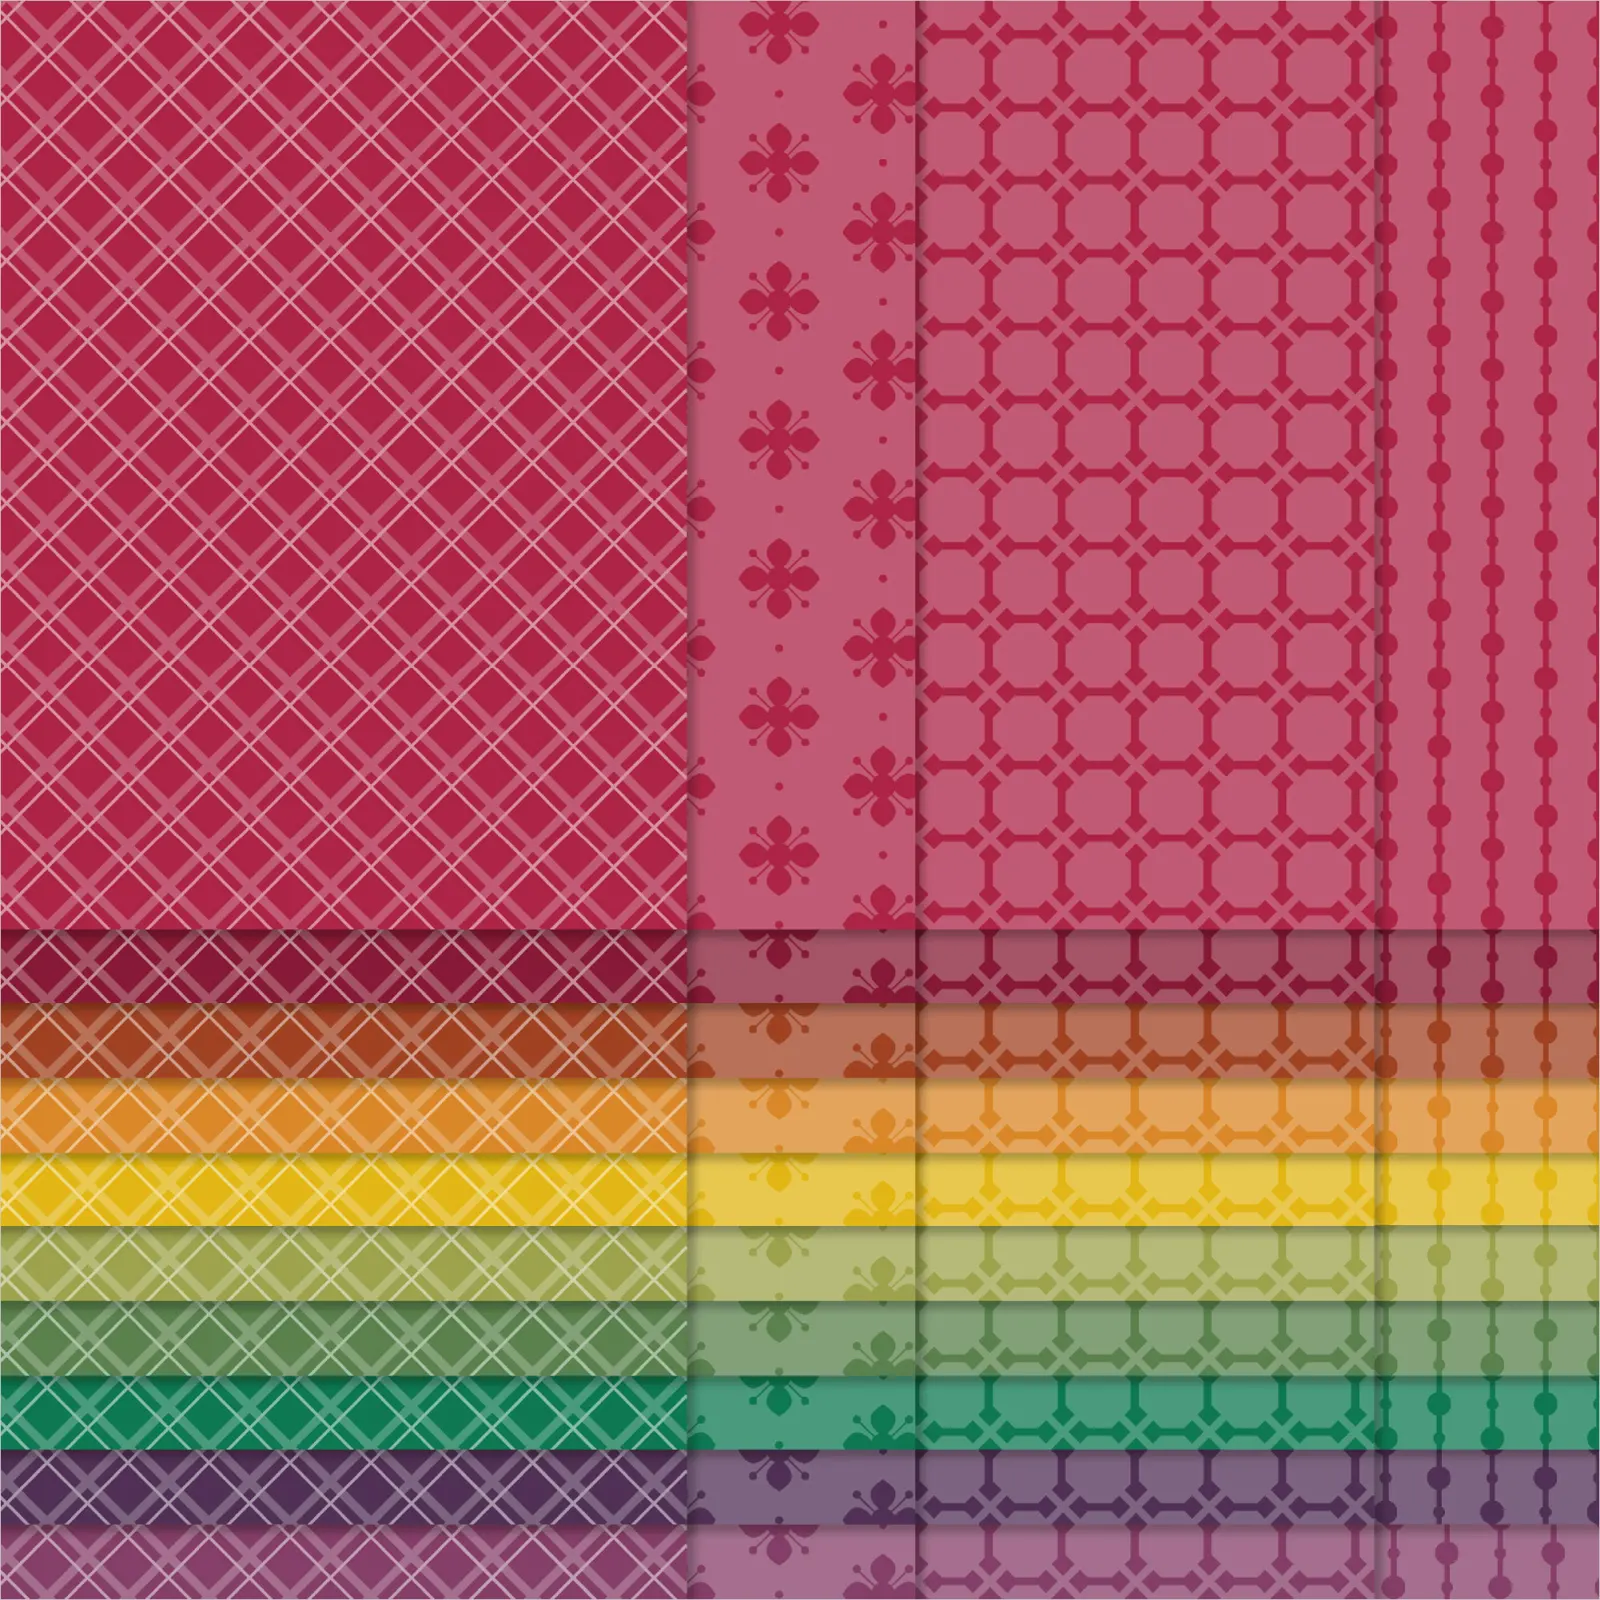
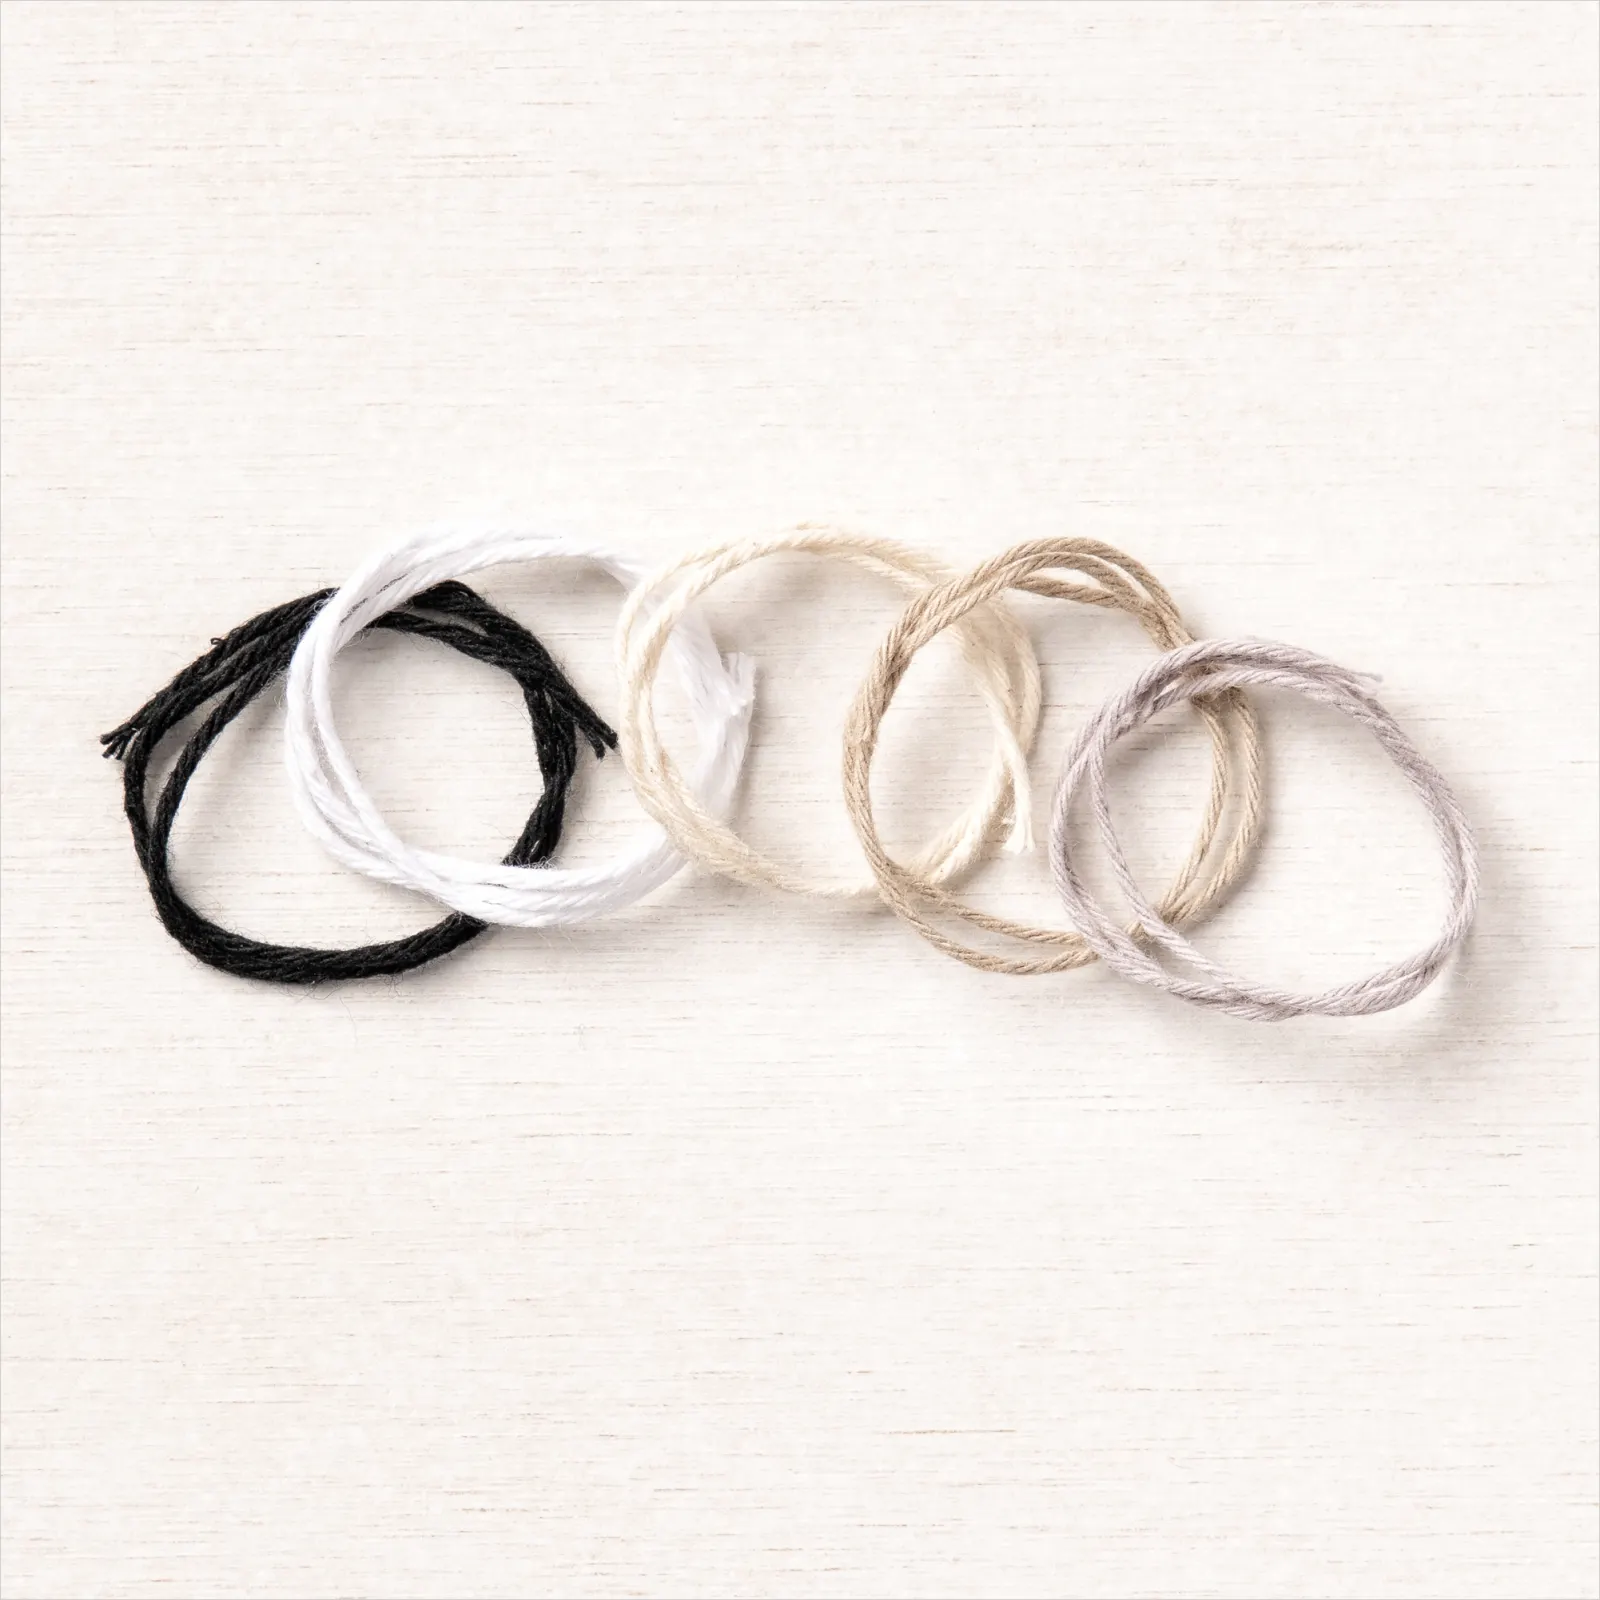
2) Cut Shaded Spruce diagonal check patterned paper to 3-3/4" x 5". Wrap twice with Baker's Twine and tie in a bow near the right edge. Adhere to card front with Stampin' Dimensionals.
3) Stamp greeting and flower image on scrap Basic White cardstock with Soft Suede ink. Die cut with coordinating label and flower dies images from the Harvest dies.
4) Colour the die cut flower with the Mellow Moss, Daffodil Delight, Pumpkin Pie, and Cajun Craze Stampin' Blends.
5) Die cut wheat/flower and branch images from scrap Basic White cardstock.
6) Colour the stem of wheat/flower image with the Mellow Moss Stampin' Blends and the flower part with the Blackberry Bliss Stampin' Blends. Colour the branch die cut with Soft Suede Stampin' Blends.
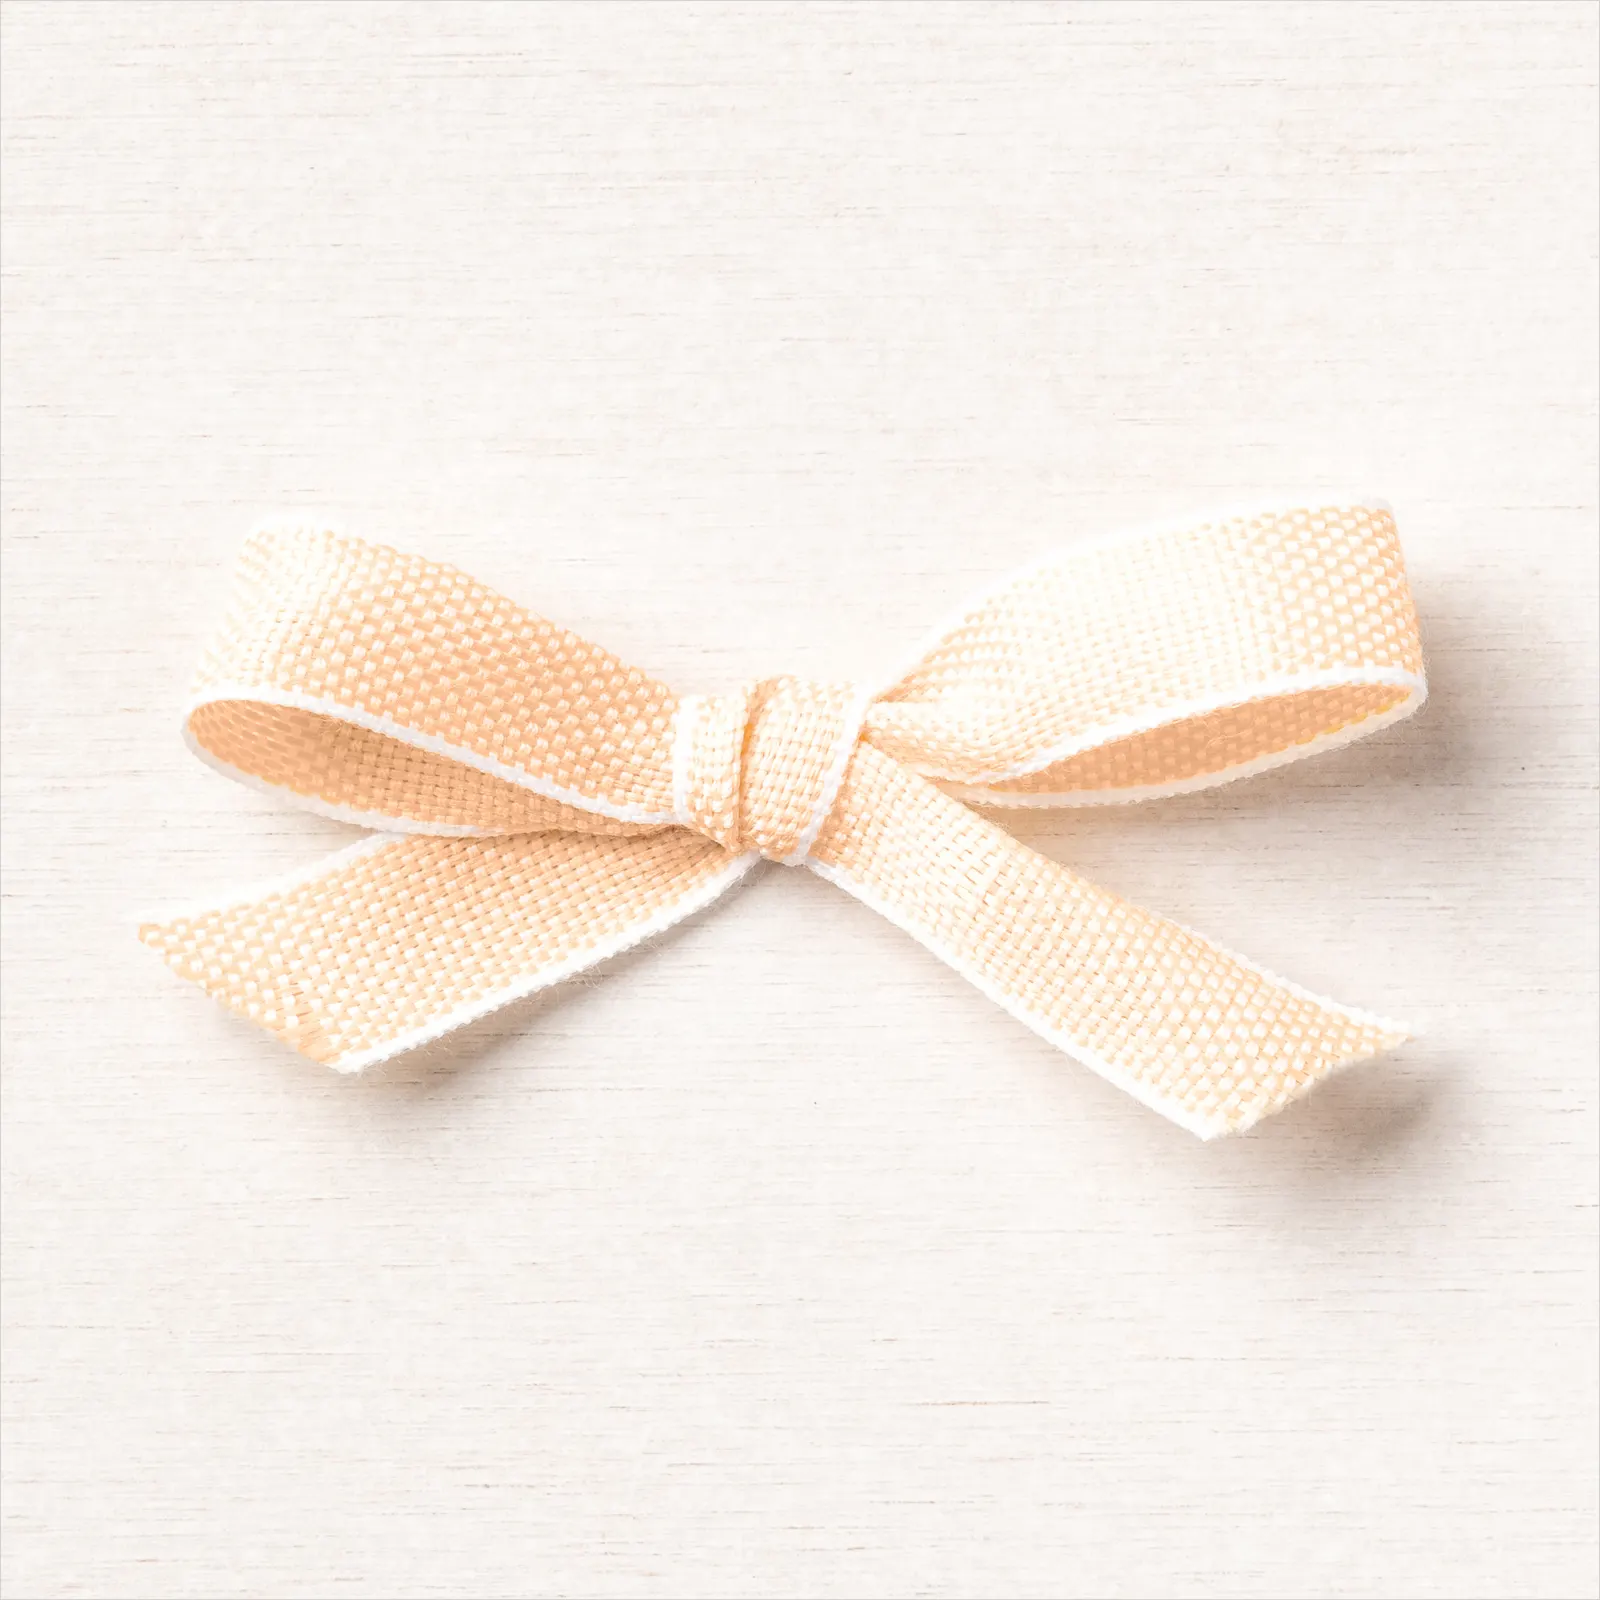
7) Colour a 4" piece of the Pale Papaya & White ribbon with the brush tip of the Dark Pumpkin Pie Marker. This will cover the Pale Papaya and create a Pumpkin Pie ribbon. Allow to dry just a few moments.
8) Use Multipurpose Liquid Glue or Mini Glue Dots to adhere die cut images to card front. Layer ribbon over the top with Glue Dots.
9) Adhere greeting over ribbon with Mini Glue Dots or Stampin' Dimensionals.
SUPPLIES
BUNDLES: (#156813) Nature's Harvest stamp & die bundle, (#156495) Nature's Harvest stamp set, (#156504) Harvest Dies
PAPER: (#146981) Shaded Spruce, (#159276) Basic White, (#155227) Regals Designer Series Paper
INK: (#147115) Soft Suede, (#154877) Blackberry Bliss Stampin' Blends Combo Pack, (#154879) Cajun Craze Stampin' Blends Combo Pack, (#154883) Daffodil Delight Stampin' Blends Combo Pack, (#154890) Mossy Meadow Stampin' Blends Combo Pack, (#154897) Pumpkin Pie Stampin' Blends Combo Pack, (#154906) Soft Suede Stampin' Blends Combo Pack
TOOLS: (#149653) Stampin' Cut & Emboss or (#150673) Mini Stampin' Cut & Emboss
ADHESIVE: (#104430) Stampin’ Dimensionals, (#110755) Multipurpose Liquid Glue, (#103683) Mini Glue Dots
EMBELLISHMENTS: (#155475) Baker's Twine Essentials Pack, (#155816) Pale Papaya & White 1/2" (1.3 Cm) Woven Ribbon
TIPS: Create custom ribbon with Stampin' Blends. Start with a white ribbon or a light colour ribbon similar in tone to your chosen colour. Colour the ribbon using the brush tip of a Stampin' Blends marker. You can create a solid colour, ombre, or rainbow effect. Because Stampin' Blends are alcohol-based the coloured ribbon dries quickly and is ready to use without a long drying time.
Coordinating products used:
TAKE ME BACK TO THE TOP


 Each month a fully designed project kit arrives in a delightful box filled with stamps, ink, and paper—everything cut and ready to go so you can skip to the fun. Just think of it as creativity in a box.

.jpg)
.jpg)
.jpg)
.jpg)
.jpg)
.jpg)
.jpg)
.jpg)
.jpg)
.jpg)
.jpg)
.jpg)
.jpg)
.jpg)
.jpg)
.jpg)
.jpg)
.jpg)
.jpg)
.jpg)
.jpg)
.jpg)
.jpg)
.jpg)
.jpg)
.jpg)
.jpg)
.jpg)
.jpg)
.jpg)
.jpg)
.jpg)
.jpg)
.jpg)
.jpg)
.jpg)
.jpg)
.jpg)
.jpg)
.jpg)
.jpg)
.jpg)
.jpg)
.jpg)
.jpg)
.jpg)
.jpg)
.jpg)
.jpg)
.jpg)
.jpg)
.jpg)
.jpg)
.jpg)
.jpg)
.jpg)
.jpg)
.jpg)
.jpg)
.jpg)
.jpg)
.jpg)
.jpg)
.jpg)
.jpg)
.jpg)
.jpg)
.jpg)
.jpg)
.jpg)
.jpg)
.jpg)
.jpg)
.jpg)
.jpg)
.jpg)
.jpg)
.jpg)
.jpg)
.jpg)
.jpg)
.jpg)
.jpg)
.jpg)
.jpg)
.jpg)
.jpg)
.jpg)
.jpg)
.jpg)
.jpg)
.jpg)
.jpg)
.jpg)
.jpg)
.jpg)
.jpg)
.jpg)
.jpg)
.jpg)
.jpg)
.jpg)
.jpg)
.jpg)
.jpg)
.jpg)
.jpg)
.jpg)
.jpg)
.jpg)
.jpg)
.jpg)
.jpg)
.jpg)
.jpg)
.jpg)
.jpg)
.jpg)
.jpg)
.jpg)
.jpg)
.jpg)
.jpg)
.jpg)
.jpg)
.jpg)
.jpg)
.jpg)
.jpg)
.jpg)
.jpg)
.jpg)
.jpg)
.jpg)
.jpg)
.jpg)
.jpg)
.jpg)
.jpg)
.jpg)
.jpg)
.jpg)
.jpg)
.jpg)
.jpg)
.jpg)
.jpg)
.jpg)
.jpg)
.jpg)
.jpg)
.jpg)
.jpg)
.jpg)
.jpg)
.jpg)
.jpg)
.jpg)
.jpg)
.jpg)
.jpg)
.jpg)
.jpg)
.jpg)
.jpg)
.jpg)
.jpg)
.jpg)
.jpg)
.jpg)
.jpg)
.jpg)
.jpg)
.jpg)
.jpg)
.jpg)
.jpg)
.jpg)
.jpg)
.jpg)
.jpg)
.jpg)
.jpg)
.jpg)
.jpg)
.jpg)
.jpg)
.jpg)
.jpg)
.jpg)
.jpg)
.jpg)
.jpg)
.jpg)
.jpg)
.jpg)
.jpg)
.jpg)
.jpg)
.jpg)
.jpg)
.jpg)
.jpg)
.jpg)
.jpg)
.jpg)
.jpg)