Hats Off To You Card - Free Tutorial
HATS OFF TO YOU CARD
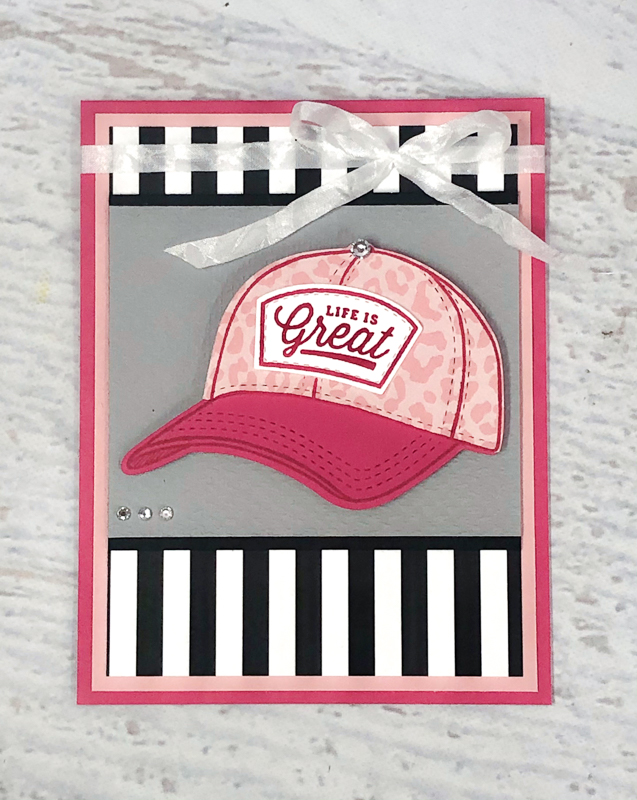
This month's tutorial features a really unique stamp and die bundle. The Hats Off bundle is like none I have seen, and it is perfect for creating masculine nature and sports inspired cards. The tutorial below gives it a bright, fun, feminine twist that I think you'll enjoy.
Accessorize your summer with the perfect hat! Whether you want sporty team colours, natural outdoorsy, or casual chic you can create the perfect look for summer and all year with the Hats Off bundle!
This bundle has such a unique style. The dies add a realistic embossed stitching look on the hats and patches. This is one you will want to add to your stash. Just picture all the ways you can customize cards for kids, guys, coaches, and so much more!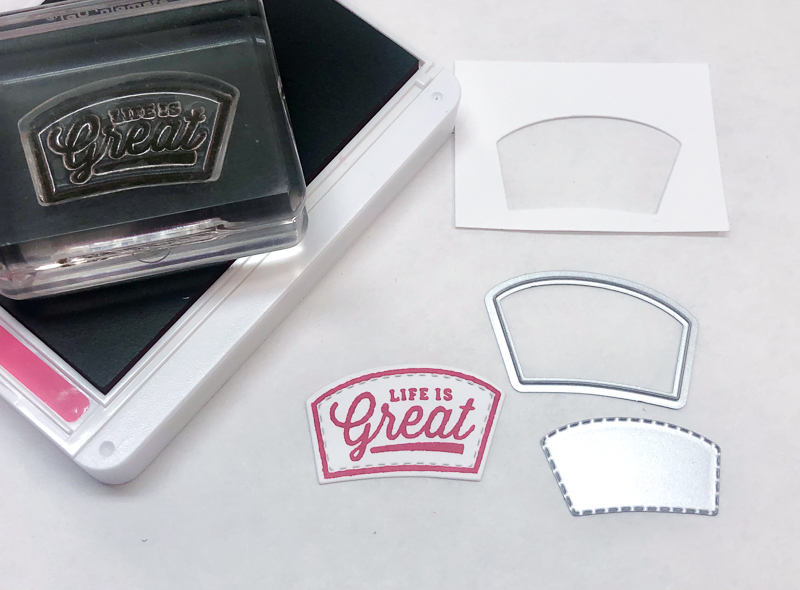
1. Stamp & Die Cut Patch
Stamp patch image from Hats Off stamp set on Basic White cardstock scrap with Melon Mambo ink. Die cut and "stitch" with coordinating patch stitching and outline die. The dies can be run through at the same time.
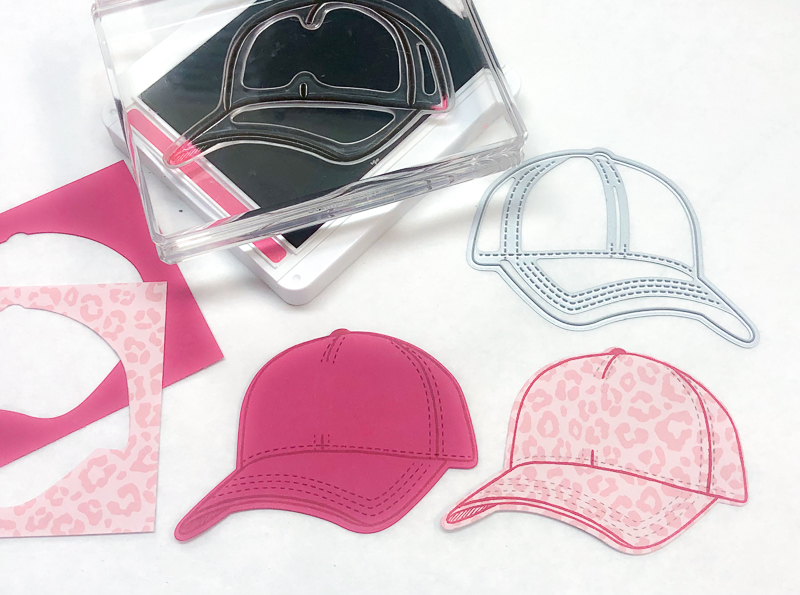
2. Stamp & Die Cut Hat
Stamp hat image from Hats Off stamp set on scrap Melon Mambo cardstock and animal print Pattern Party Designer Series Paper with Melon Mambo ink. Die cut with coordinating hat die. It cuts and embosses the stitching at the same time.
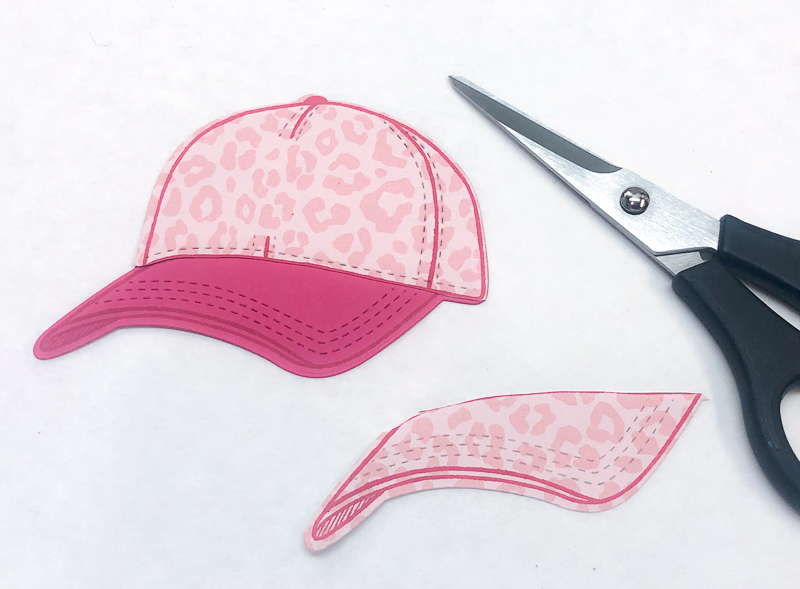
3. Paper-Piece the Hat
Use Paper Snips to cut along the stamped line between the hat and hat brim on the animal print hat. Adhere to the full Melon Mambo hat.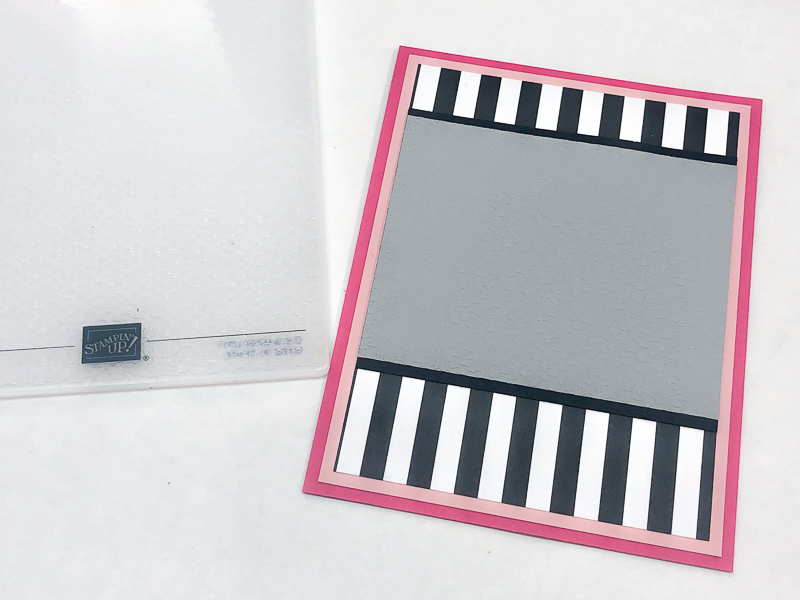
4. Layer Card
Cut Melon Mambo cardstock to 4-1/4" x 11". Score at 5-1/2" along the 11" side. Adhere 4" x 5-1/4" Basic White cardstock inside card. On the front, layer 4" x 5-1/4" Petal Pink cardstock and 3-3/4" x 5" striped Pattern Party paper. Emboss 3-3/4" x 3" Smoky Slate cardstock with Tasteful Textile 3D Embossing Folder. Adhere to 3-3/4" x 3-1/4" Black cardstock and layer on card front.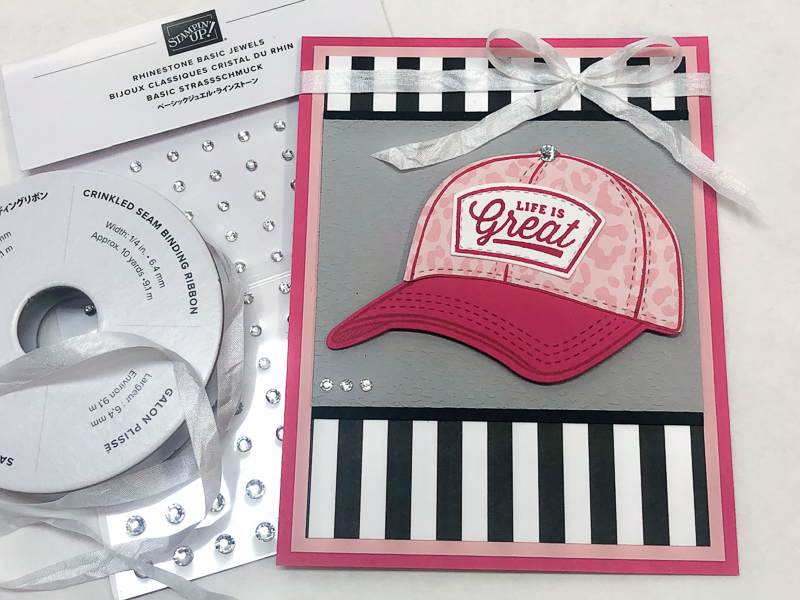
5. Finish Card
Adhere patch onto hat and layer hat onto card front with Stampin' Dimensionals. Add a Rhinestone Basic Jewel as the button on top of the hat and 3 in a row near the bottom left corner of the Smoky Slate layer. Tie White 1/4" Crinkled Seam Binding around card front near the top and tie a bow.
SUPPLIES
Click imgages below to go shopping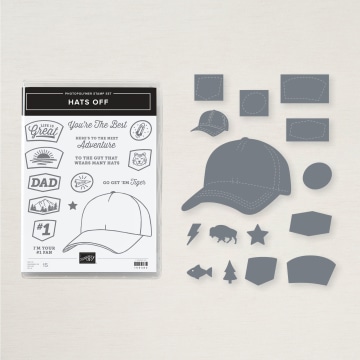
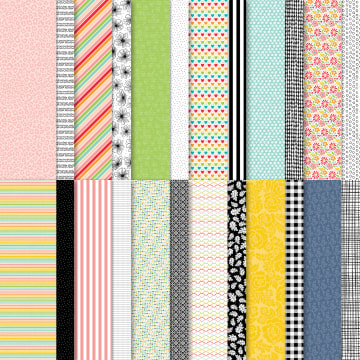

TAKE ME BACK TO THE TOP



 Each month a fully designed project kit arrives in a delightful box filled with stamps, ink, and paper—everything cut and ready to go so you can skip to the fun. Just think of it as creativity in a box.
