Sea and Sand Card - FREE Tutorial
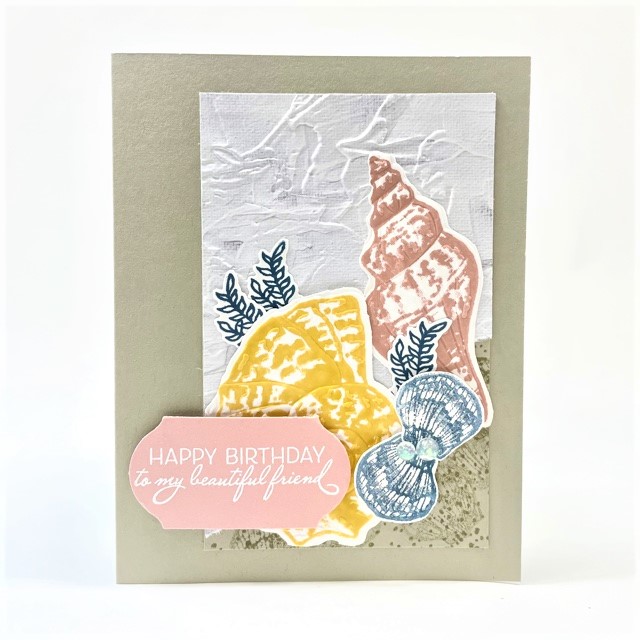
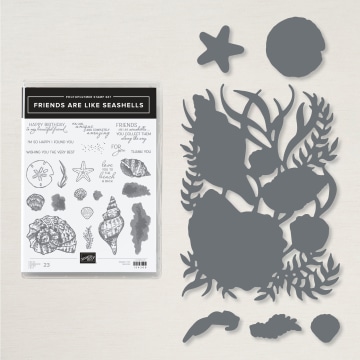
Even when the seashore is far away, you can make it feel like a beach holiday with the Friends Are Like Seashells Bundle (159516). The largest die in the coordinating die set can create a card-front-sized focal design or background. It can also be snipped into smaller individual die cuts. All of which coordinate with stamp images. Plus, the Seashells 3D Embossing Folder can emboss the large die cut with incredible detail or it can be used to emboss the smaller coordinating images.
This is next-level coordination that you've got to try to believe! If that wasn't enough, there are Opal Rounds embellishments that will add luxurious luster to your seashell inspired projects.
The tutorial below shows a technique that's a fun twist on the traditional heat embossing. Enjoy creating this beautiful card stacked with detail and texture.
Sand & Sea Card - Embossed 3 Ways

INSTRUCTIONS
1) Cut Sahara Sand cardstock to 5-1/2" x 8-1/2". Score at 4-1/4" along the 8-1/2" side. Fold on scored line to create card.
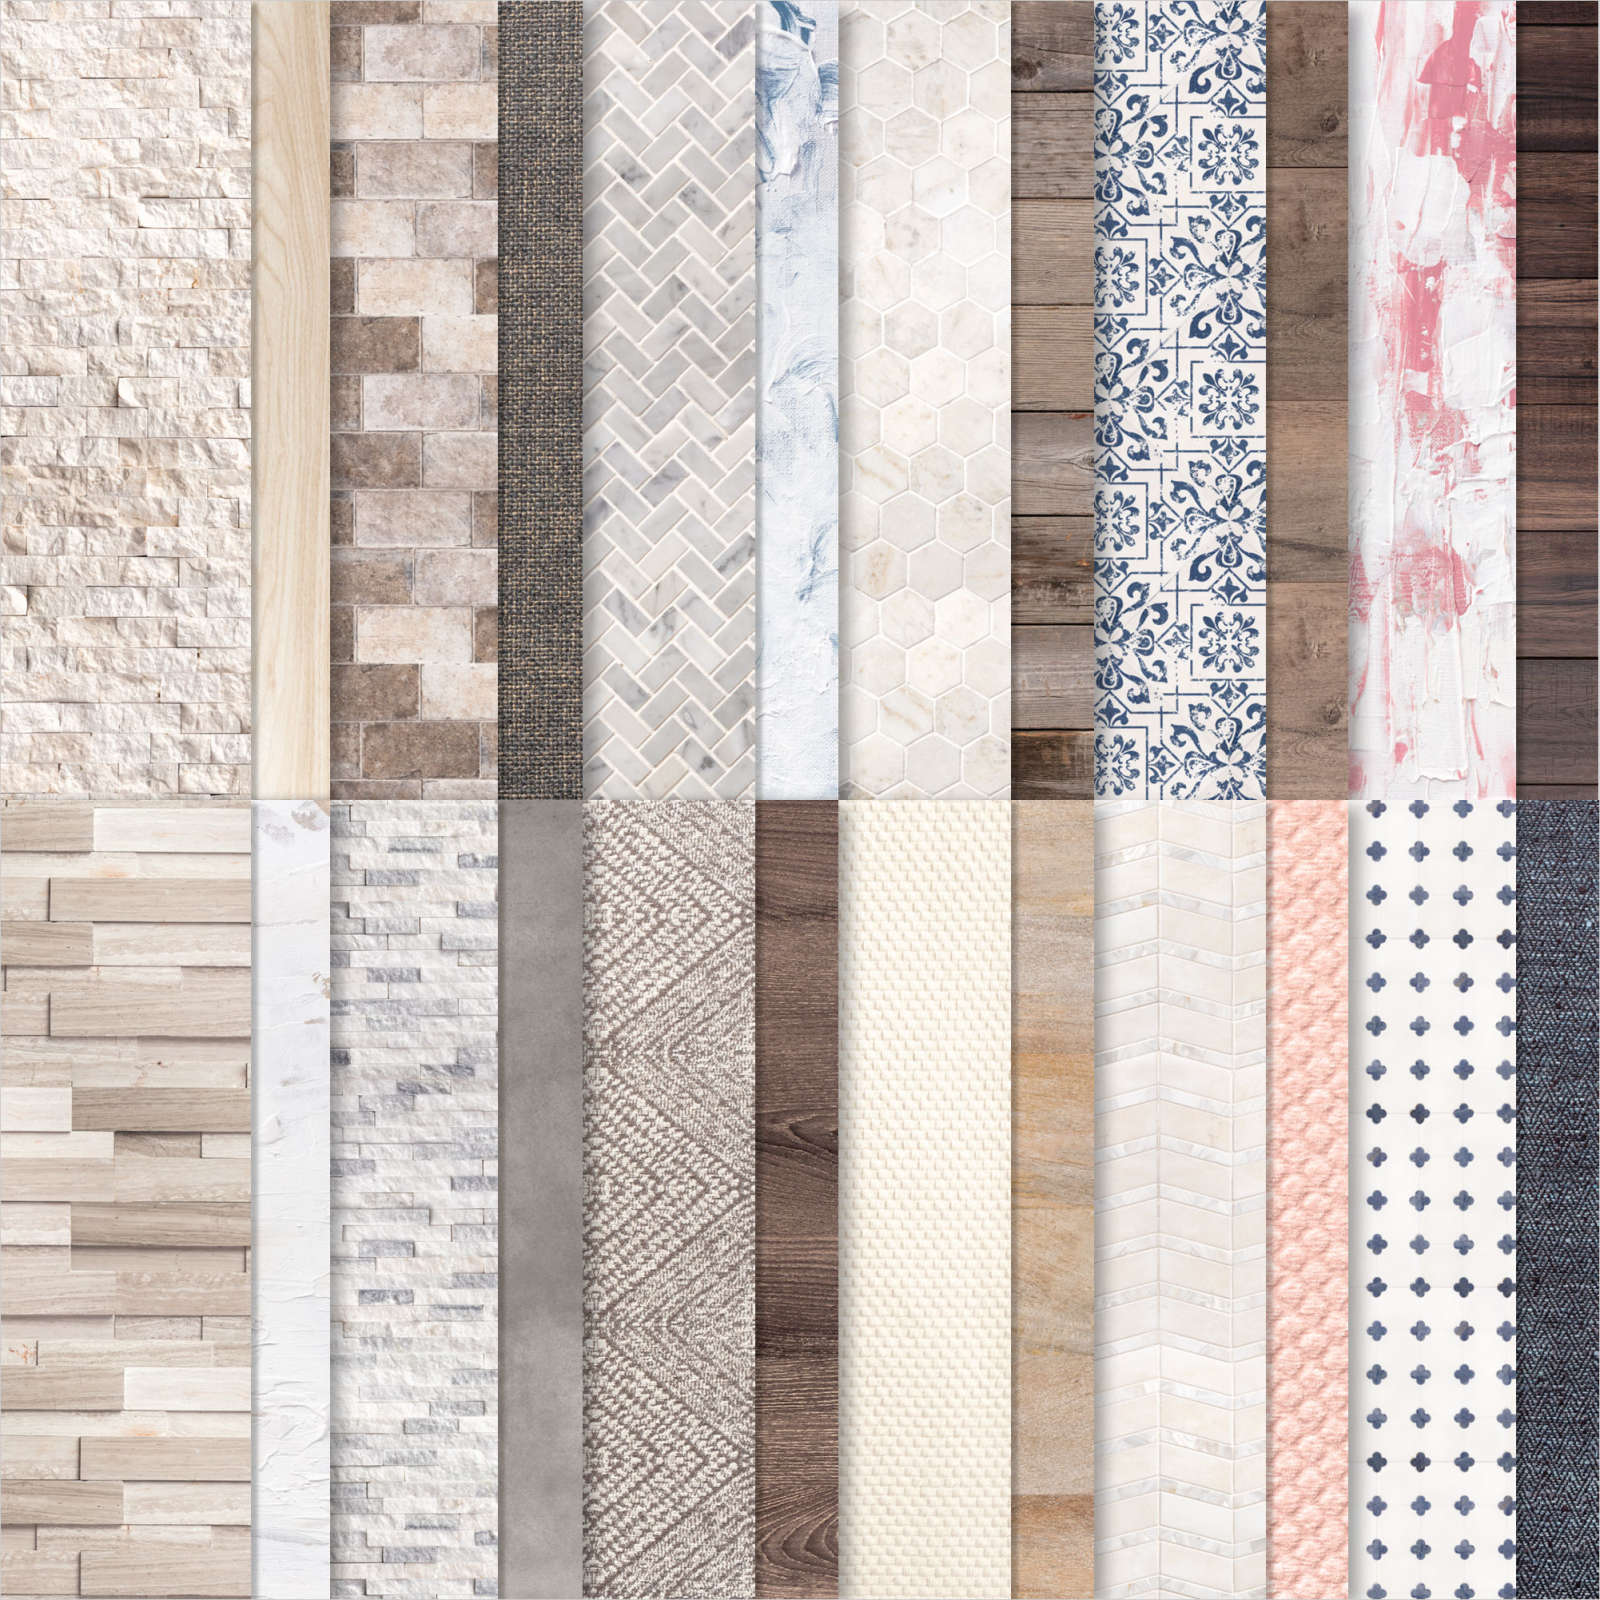
2) Cut Sahara Sand cardstock and In Good Taste Designer Series Paper with the blue-gray mortar design to 3" x 4-3/4".
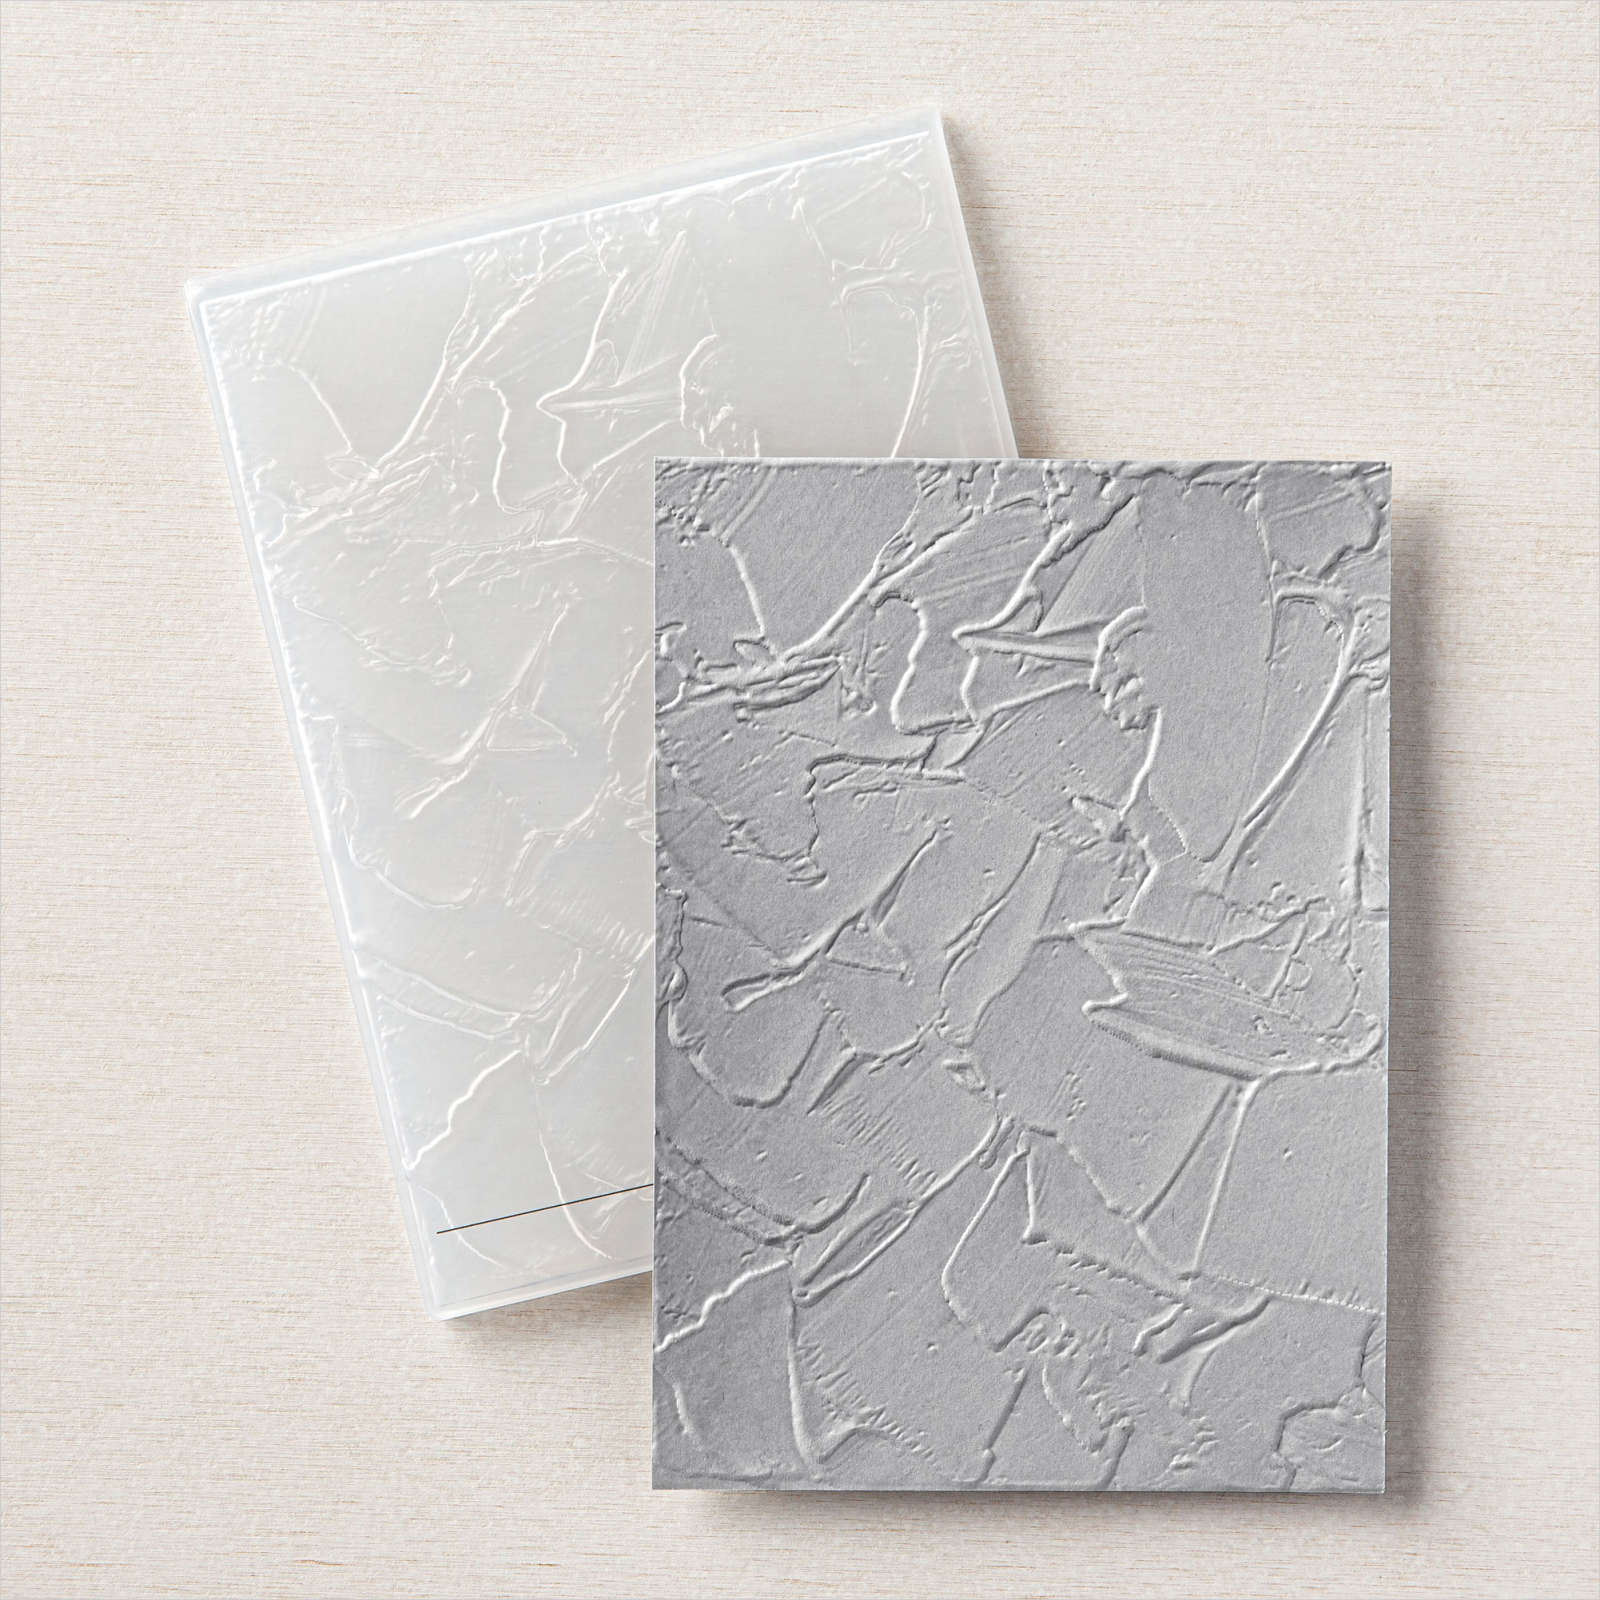
3) Emboss the In Good Taste DSP with Painted Textures 3D Folder, then tear the paper diagonally to remove the bottom right corner. (embossed 1)
4) Stamp the bottom right corner of the 3" x 4-3/4" Sahara Sand cardstock randomly with the sand speckle image and Sahara sand ink. Ink one of the larger clamshell background stamp images with Sahara Sand ink, stamp off once and stamp onto corner of cardstock. Repeat to cover the corner.
5) Die cut a 4-1/4" x 6" piece of Basic White cardstock with the Seashells 3D background die.
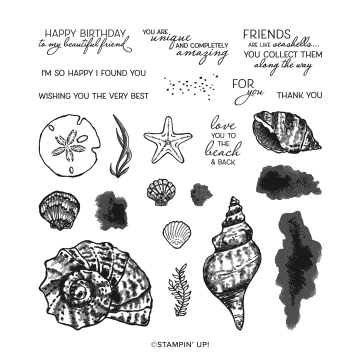
6) Stamp largest seashell die cut with the coordinating stamp and So Saffron ink and the long narrow seashell die cut with the coordinating stamp using Blushing Bride ink. Use Paper Snips to snip the two largest seashells from the die cut.
7) Stamp three of the leafy seaweed on scrap Basic White cardstock with Misty Moonlight ink. Die cut with coordinating dies.
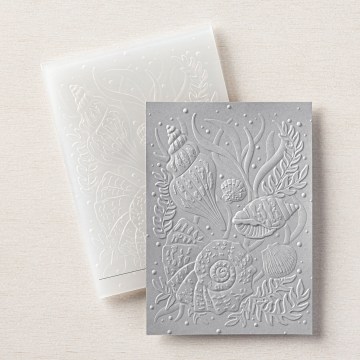
8) Place seashells in the Seashells 3D Embossing Folder lined up with their coordinating image and emboss. (embossed 2)
9) Use scrap piece of Basic White cardstock to stamp 2nd smallest clamshell twice. Use Misty Moonlight and stamp off once for each shell. Fussy cut the two clamshells.
10) Stamp greeting on scrap Blushing Bride cardstock with VersaMark ink. While wet cover generously with White Stampin' Emboss Powder. Tap off excess and heat with Heat Tool. Once cool, punch with Timeless Label Punch. (embossed 3)
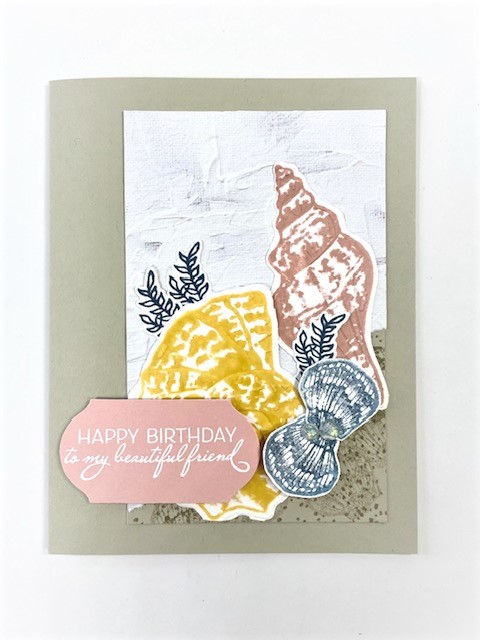
11) Adhere embossed layer to the matching Sahara Sand Layer. Adhere layers to card front offset to the right side.
12) Layer die cut seashells, seaweed, and greeting to the card with Glue Dots and Stampin' Dimensionals. Add the two clamshells bottom to bottom so they look like it just opened. Add Opal Rounds to the shells.
13) Finish off the inside layer with a message and some more stamping, this is what I did.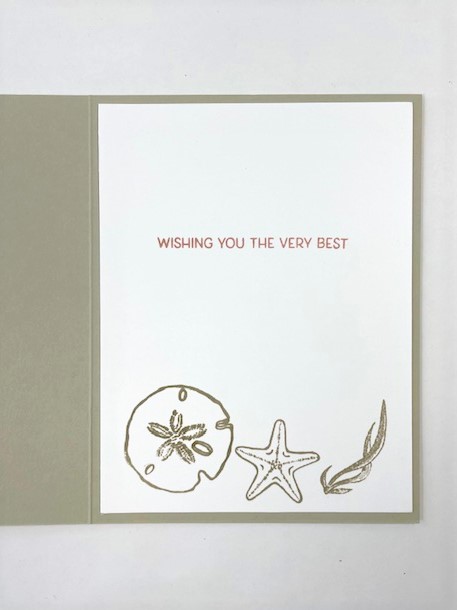
SUPPLIES:
STAMPS: Friends Are Like Seashells Photopolymer stamp set (#154368)
PAPER: Sahara Sand (#121043), Blushing Bride (#131198), Basic White (#159276), In Good Taste Designer Series Paper (#152499)
INK: VersaMark Pad (#102283), Blushing Bride (#147100), So Saffron, (#147109), Sahara Sand Pad (#147117), Misty Moonlight (#153118)
TOOLS: Timeless Label Punch (#149516), Seashells 3D Embossing Folder (#154309), Seaside Seashells Dies (#156095), Heat Tool (#129053)
ADHESIVES: Glue Dots (#103683), Stampin’ Dimensionals (#104430), Stampin' SEAL (#152813) or Multipurpose Liquid Glue (110755)
EMBELLISHMENTS: White Stampin’ Emboss Powder (#109132), Opal Rounds (#154289)
TIPS: Help die cut images stay in place when embossing with sticky notes. Use the sticky edge of a sticky note to hold the die cut shells pieces in place in the Seashells 3D Embossing Folder.
Coordinating products used:
TAKE ME BACK TO THE TOP
Current Host Code
CLICK TO SHOP WITH HC

Free Newsletter!

Paper Pumpkin
SIGN ME UP!

Share With Friends
Most Recent Blog Posts
- FREE SHIPPING - DEC 14
- FREE SHIPPING from Oct 9th to 11th
- Stamp another Stack of Christmas Cards with Kevin & Christine
- Let the fun begin - again …
- Why wait? Join us now!
- Fitting Florets for any Occasion
- Festive Window Wishes
- Starter Kit + = No brainer!
- Perched in a Tree
- Awash in Beauty, so gorgeous!

.jpg)
.jpg)
.jpg)
.jpg)
.jpg)
.jpg)
.jpg)
.jpg)
.jpg)
.jpg)
.jpg)
.jpg)
.jpg)
.jpg)
.jpg)
.jpg)
.jpg)
.jpg)
.jpg)
.jpg)
.jpg)
.jpg)
.jpg)
.jpg)
.jpg)
.jpg)
.jpg)
.jpg)
.jpg)
.jpg)
.jpg)
.jpg)
.jpg)
.jpg)
.jpg)
.jpg)
.jpg)
.jpg)
.jpg)
.jpg)
.jpg)
.jpg)
.jpg)
.jpg)
.jpg)
.jpg)
.jpg)
.jpg)
.jpg)
.jpg)
.jpg)
.jpg)
.jpg)
.jpg)
.jpg)
.jpg)
.jpg)
.jpg)
.jpg)
.jpg)
.jpg)
.jpg)
.jpg)
.jpg)
.jpg)
.jpg)
.jpg)
.jpg)
.jpg)
.jpg)
.jpg)
.jpg)
.jpg)
.jpg)
.jpg)
.jpg)
.jpg)
.jpg)
.jpg)
.jpg)
.jpg)
.jpg)
.jpg)
.jpg)
.jpg)
.jpg)
.jpg)
.jpg)
.jpg)
.jpg)
.jpg)
.jpg)
.jpg)
.jpg)
.jpg)
.jpg)
.jpg)
.jpg)
.jpg)
.jpg)
.jpg)
.jpg)
.jpg)
.jpg)
.jpg)
.jpg)
.jpg)
.jpg)
.jpg)
.jpg)
.jpg)
.jpg)
.jpg)
.jpg)
.jpg)
.jpg)
.jpg)
.jpg)
.jpg)
.jpg)
.jpg)
.jpg)
.jpg)
.jpg)
.jpg)
.jpg)
.jpg)
.jpg)
.jpg)
.jpg)
.jpg)
.jpg)
.jpg)
.jpg)
.jpg)
.jpg)
.jpg)
.jpg)
.jpg)
.jpg)
.jpg)
.jpg)
.jpg)
.jpg)
.jpg)
.jpg)
.jpg)
.jpg)
.jpg)
.jpg)
.jpg)
.jpg)
.jpg)
.jpg)
.jpg)
.jpg)
.jpg)
.jpg)
.jpg)
.jpg)
.jpg)
.jpg)
.jpg)
.jpg)
.jpg)
.jpg)
.jpg)
.jpg)
.jpg)
.jpg)
.jpg)
.jpg)
.jpg)
.jpg)
.jpg)
.jpg)
.jpg)
.jpg)
.jpg)
.jpg)
.jpg)
.jpg)
.jpg)
.jpg)
.jpg)
.jpg)
.jpg)
.jpg)
.jpg)
.jpg)
.jpg)
.jpg)
.jpg)
.jpg)
.jpg)
.jpg)
.jpg)
.jpg)
.jpg)
.jpg)
.jpg)
.jpg)
.jpg)
.jpg)
.jpg)
.jpg)
.jpg)