Ombre Card - FREE Tutorial
SUNNY SENTIMENTS OMBRE BIRTHDAY CARD
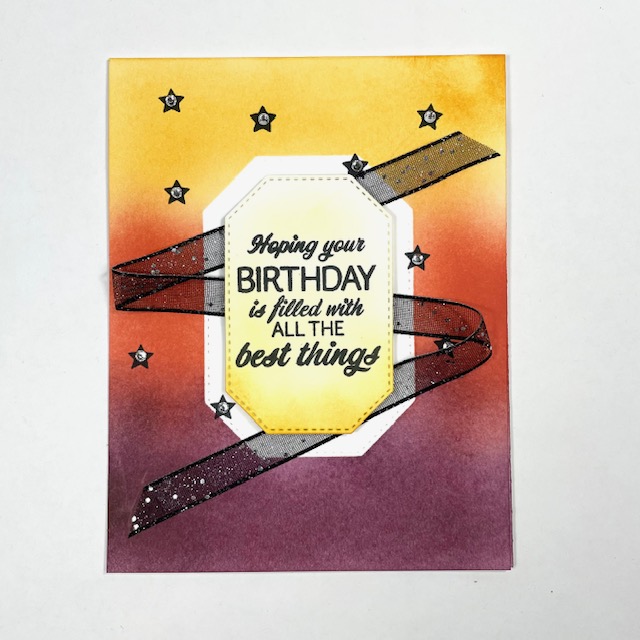
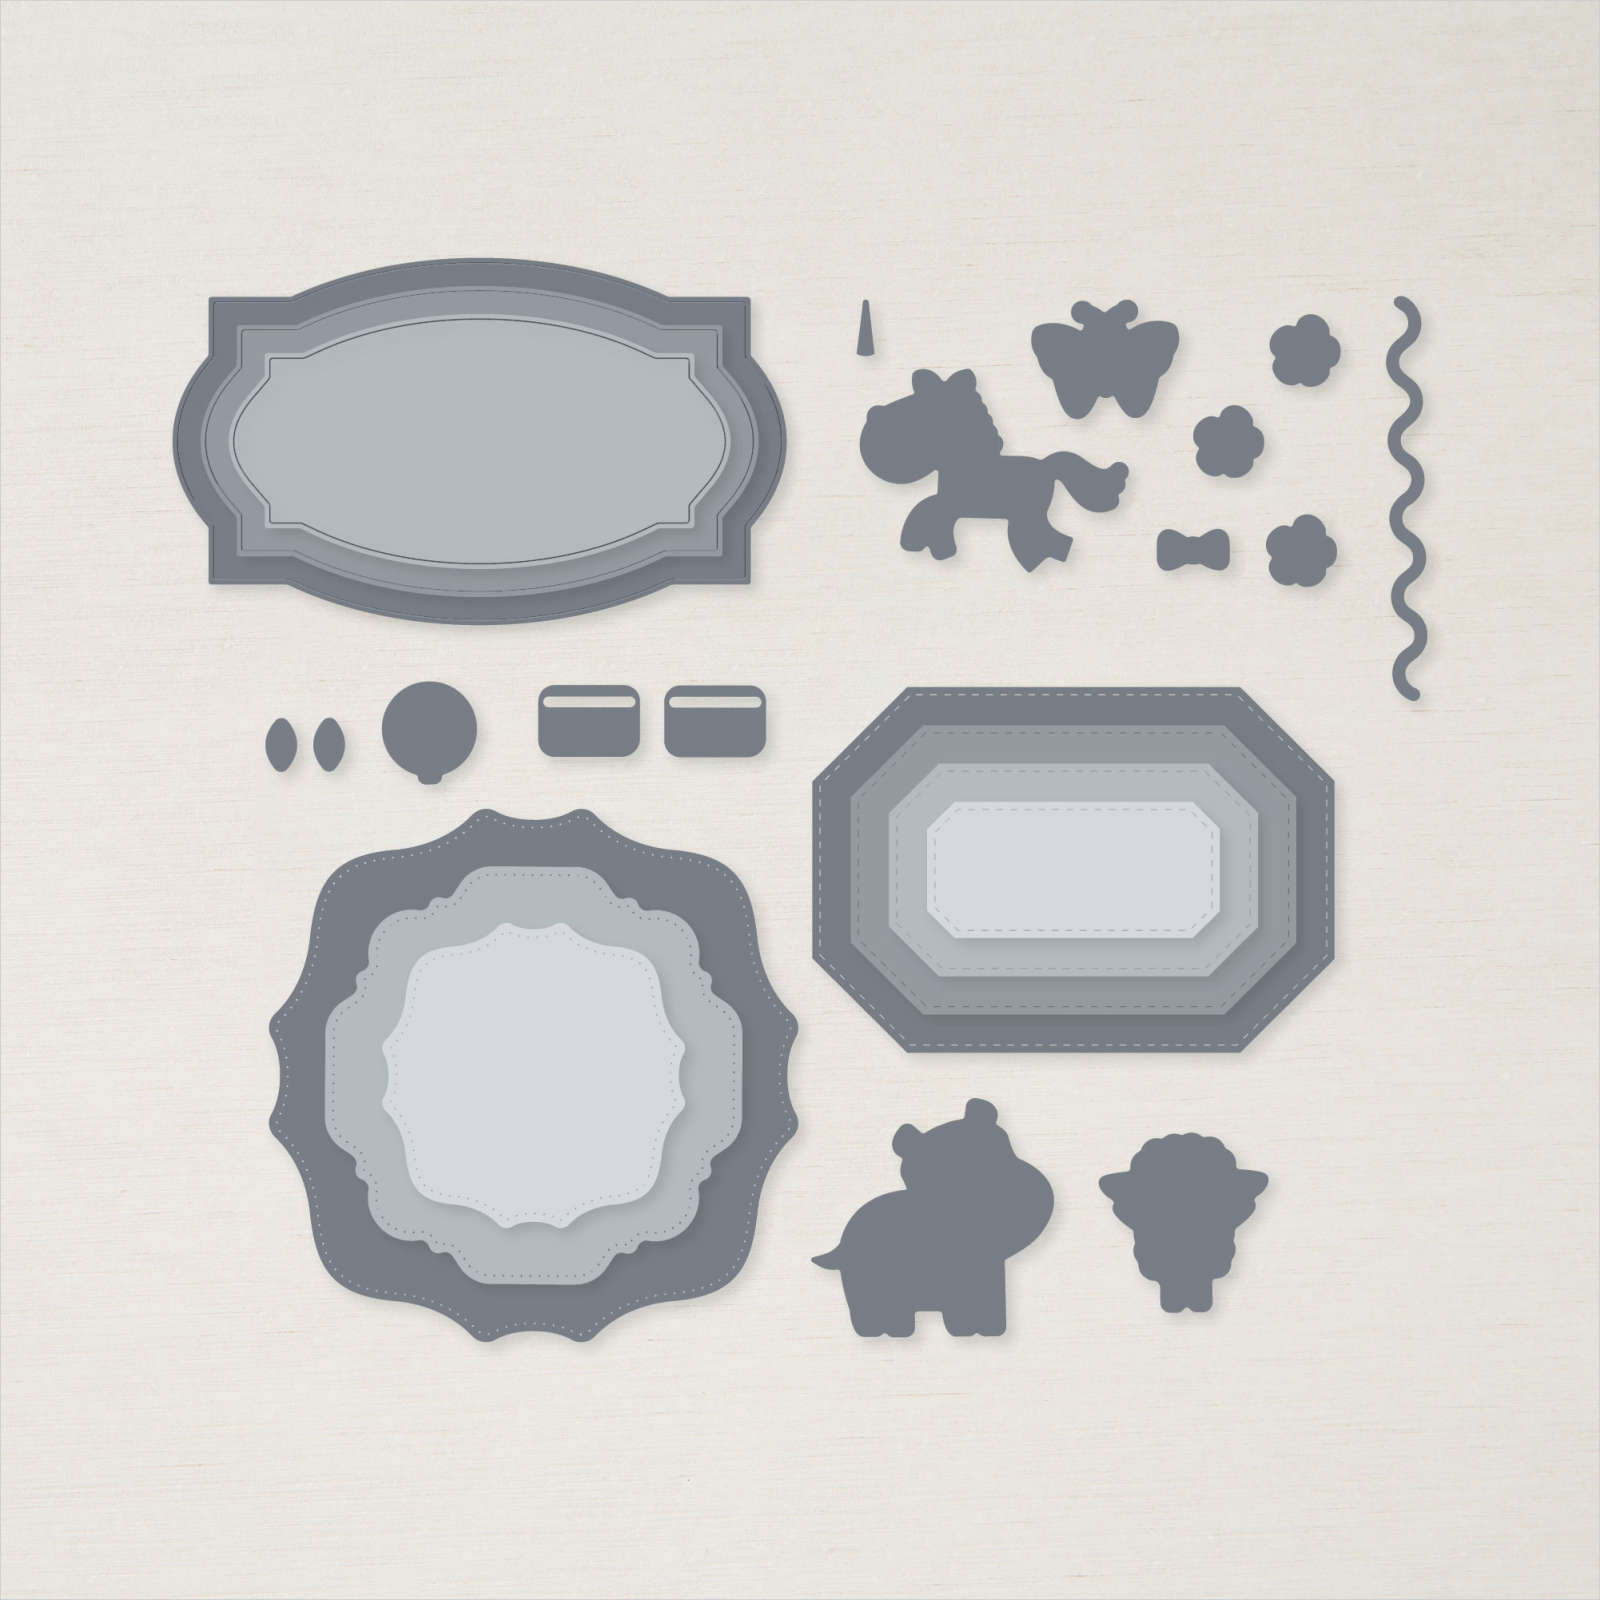
Our new Blending Brushes make such beautiful, blended Ombre backgrounds that I thought would be perfect with the bold fonts of the Sunny Sentiments stamp set. The Hippo & Friends Dies are ideal for creating a layered masked effect.
Combined I think this whole card is pretty awesome!
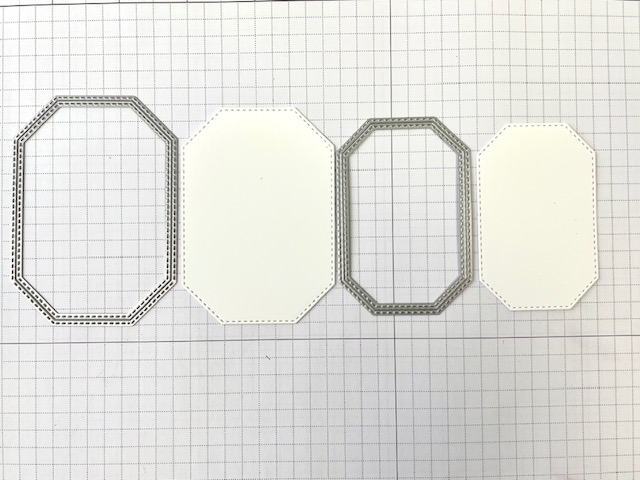
1.Die Cut Labels
Die cut scrap cardstock (any color) with the largest Hippo & Friends die to create a mask. Die cut Basic White cardstock with the 2nd largest die. Cut Thick Basic White Cardstock to 4-1/4" x 11" and score at 5-1/2" along the 11" side.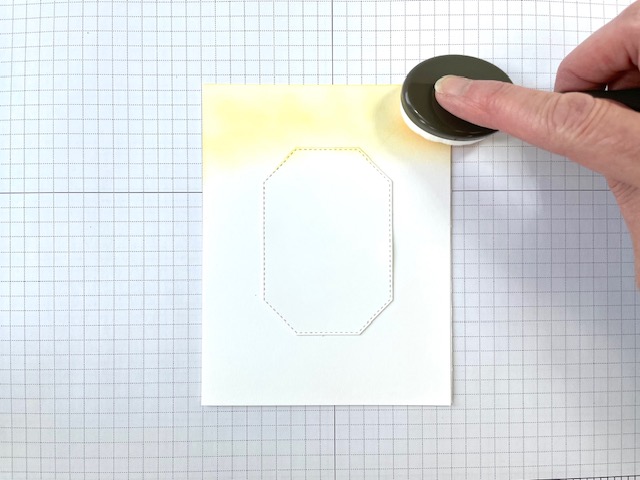
2. Masking
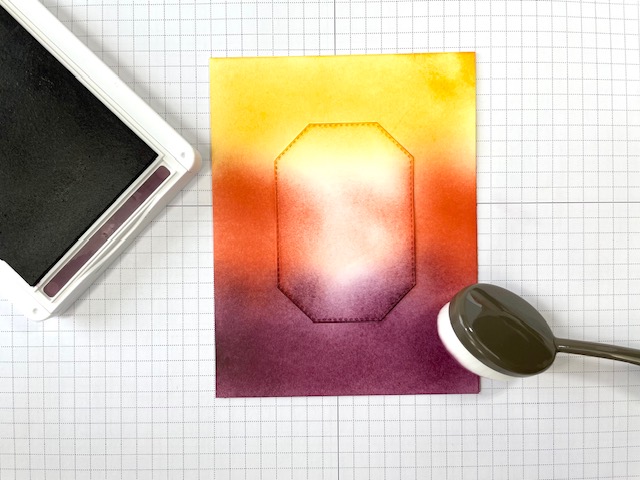
Fold the card in half. Use just a bit of adhesive at the center of the mask label to hold it in place temporarily while blending. Place on the center of the card front. Using a Blending Brush and Mango Melody ink start adding ink to the top of the card. Use a circular motion and start off the edge of the card.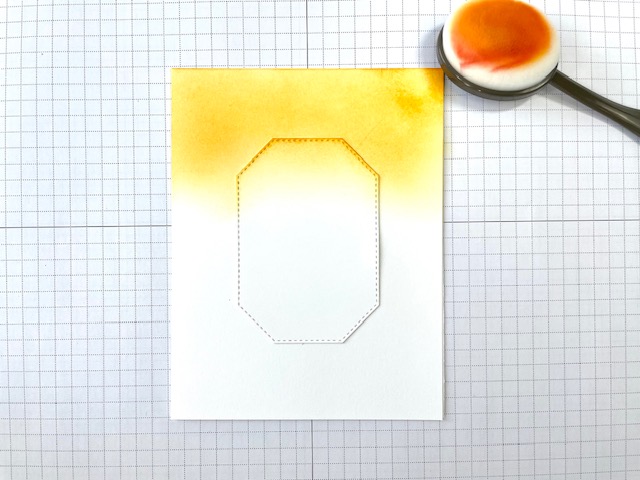
3.Blending
Continue adding Mango Melody ink until the top third of the card is covered. The sample is slightly lighter at the top and darkens a bit as it goes down then fades a bit a the bottom edge for blending the next colour. To keep your fingers from getting inky or creating fingerprints, hold the card at the center of the masked label.

4.Blending 2nd Colour
Either clean your Blending Brush or use a clean Blending Brush and ink it with Calypso Coral ink. Add colour to the center third of the card working in from each edge. Blend up into the Mango Melody ink a bit to get the smoothest transition.
5.Blending 3rd Colour
Repeat the steps to add Blackberry Bliss ink to the bottom third of the card front. Blend the ink up into the Calypso Coral ink. The Blackberry Bliss ink is darkest at the bottom of the sample. Set the card aside to dry completely to avoid smudging ink or making fingerprints where you don't want them.

6.Stamp Greeting and Blend
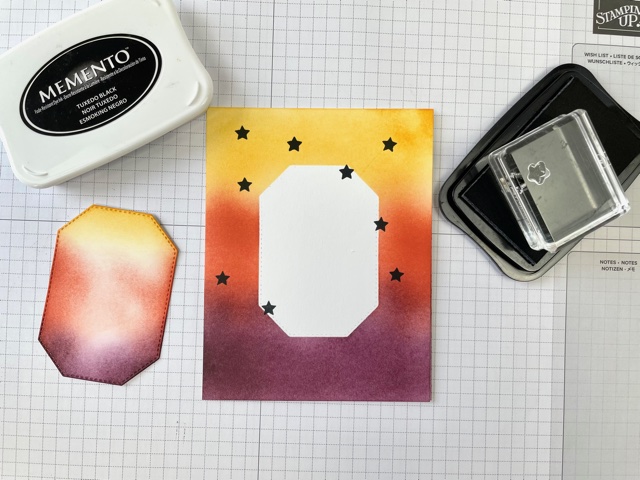
Blend Mango Melody ink onto the smaller label starting darker at the bottom and leaving it white or very light at the top. Stamp the greeting on the label with Tuxedo Black Memento ink.
7.Unmask and Stamp
Gently remove the mask from the card. You'll be covering most of the center with the small label so don't worry about any minor tears or adhesive left in the center. Stamp several stars on the card front with Tuxedo Black Memento ink.
8.Ribbon Zigzag
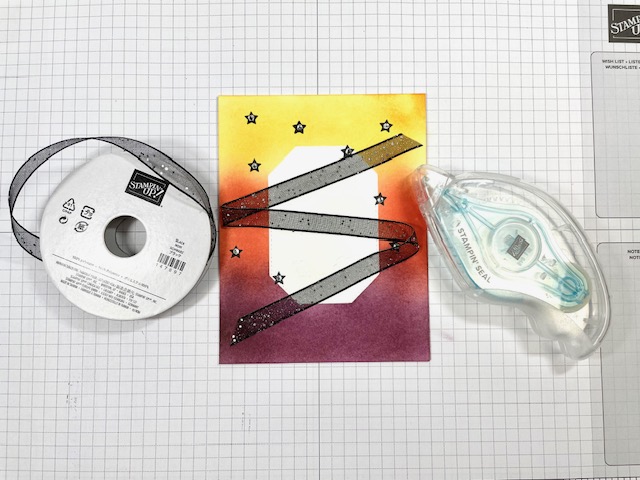
Add a 2 1/4" line of adhesive down the center of the card. Starting at the upper right, zigzag the black Glittered Organdy ribbon using the adhesive to hold it in place.
9.Greeting and Rhinestones
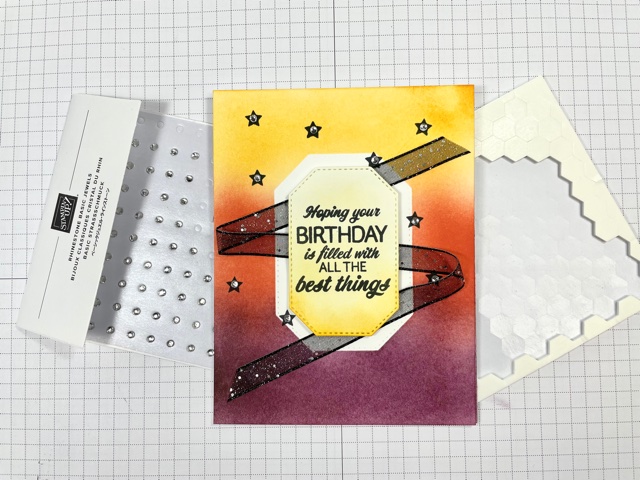
Add the greeting label centered in the masked area using Stampin' Dimensionals. Add Basic Rhinestone Jewels to the center of the stamped stars.
SUPPLIES
Click images below to go shopping


TAKE ME BACK TO THE TOP



 Each month a fully designed project kit arrives in a delightful box filled with stamps, ink, and paper—everything cut and ready to go so you can skip to the fun. Just think of it as creativity in a box.
