Bumblebee Daisy Card - FREE Tutorial
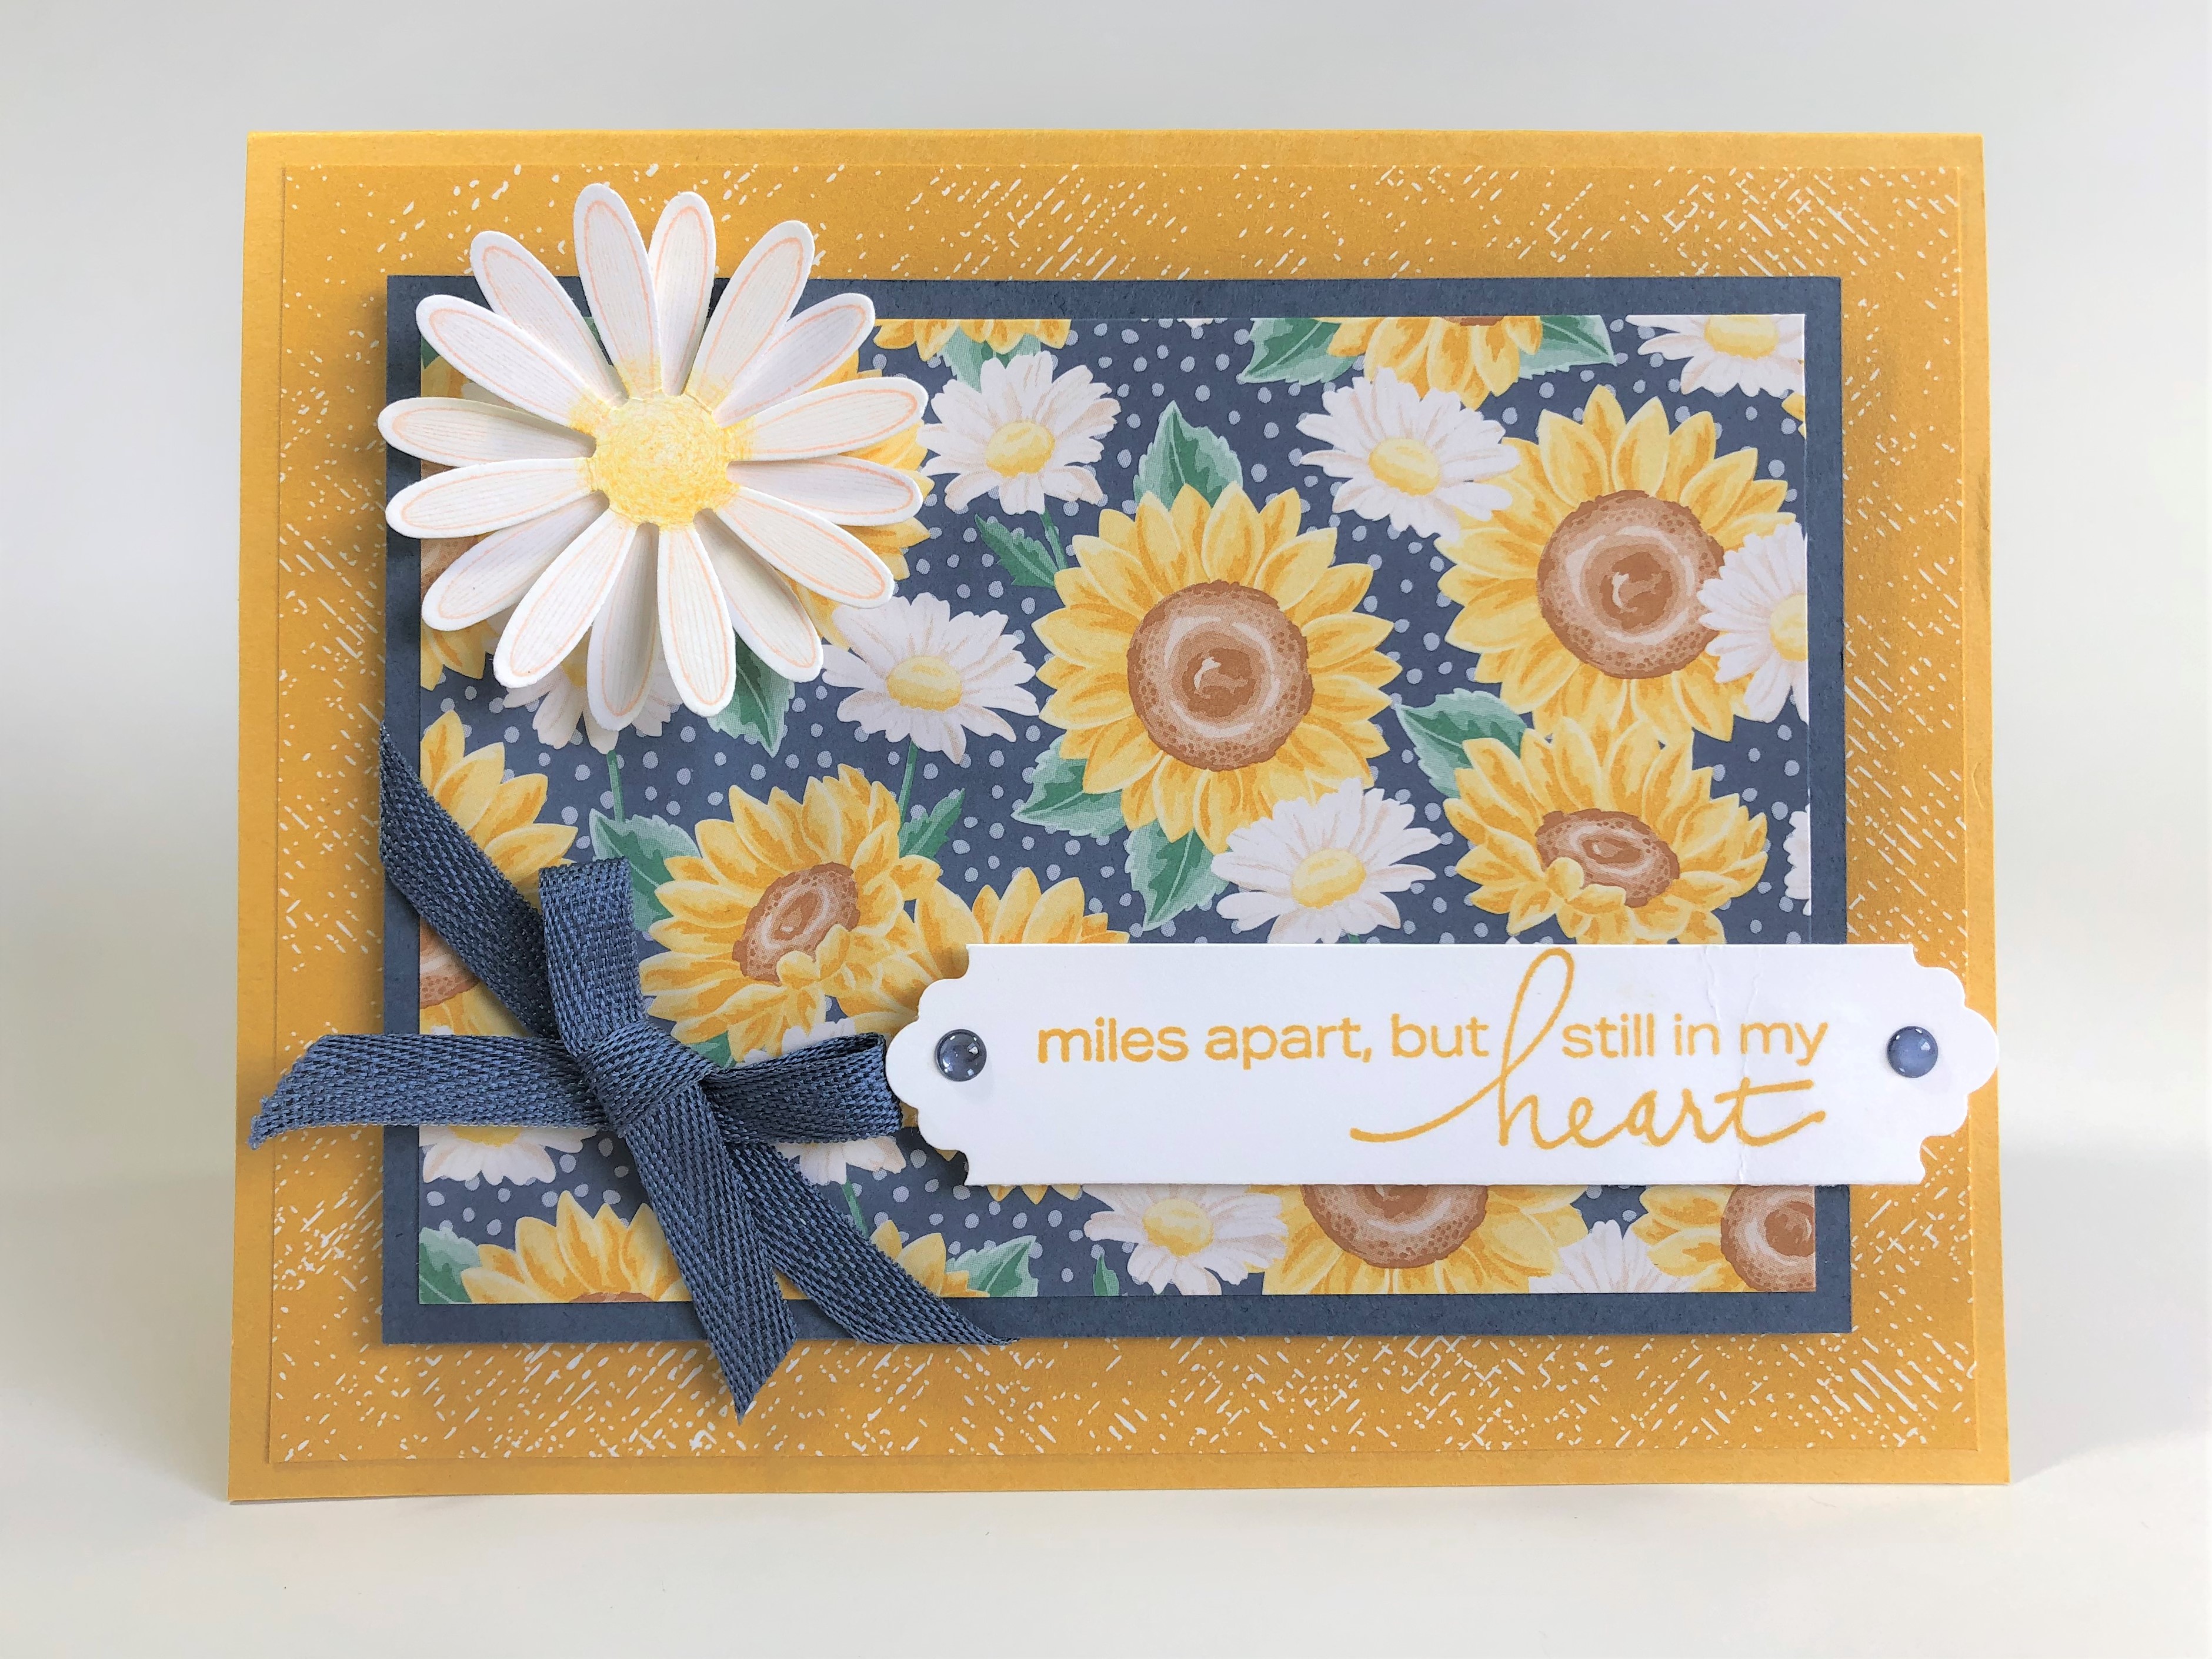
BUMBLEBEE DAISY CARD
What are your thoughts about the NEW 2020-2022 In-Colors? I am a big fan of colour changes, I love when new tones arrive and we all get challenged to create and work with them.
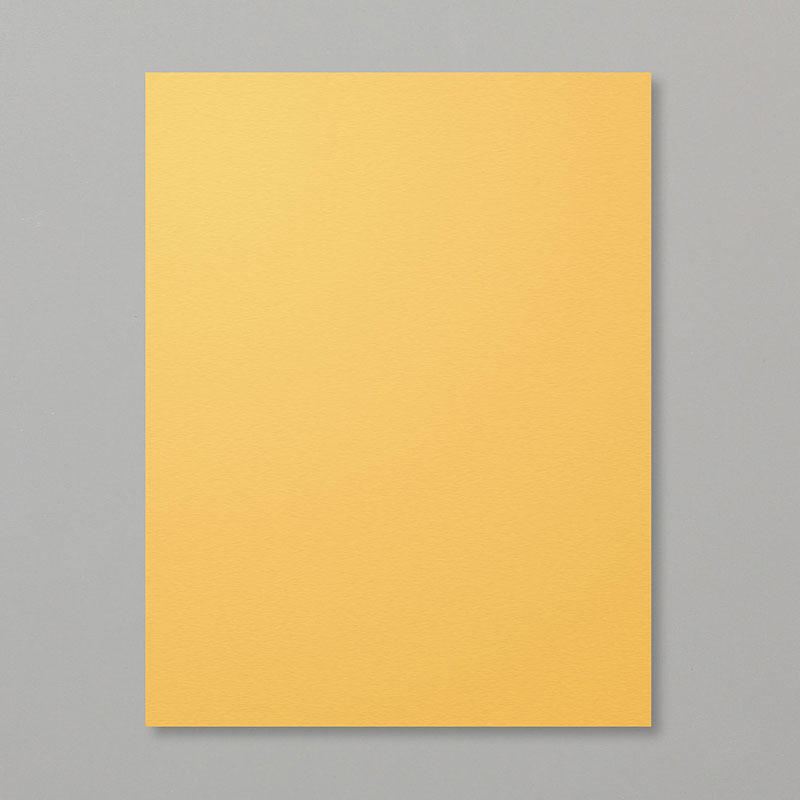
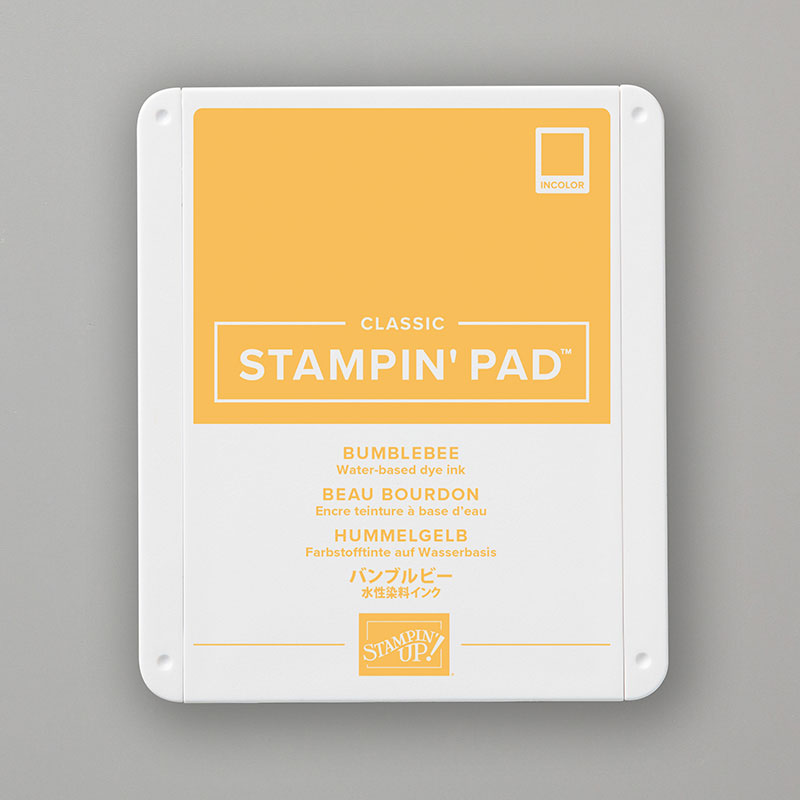
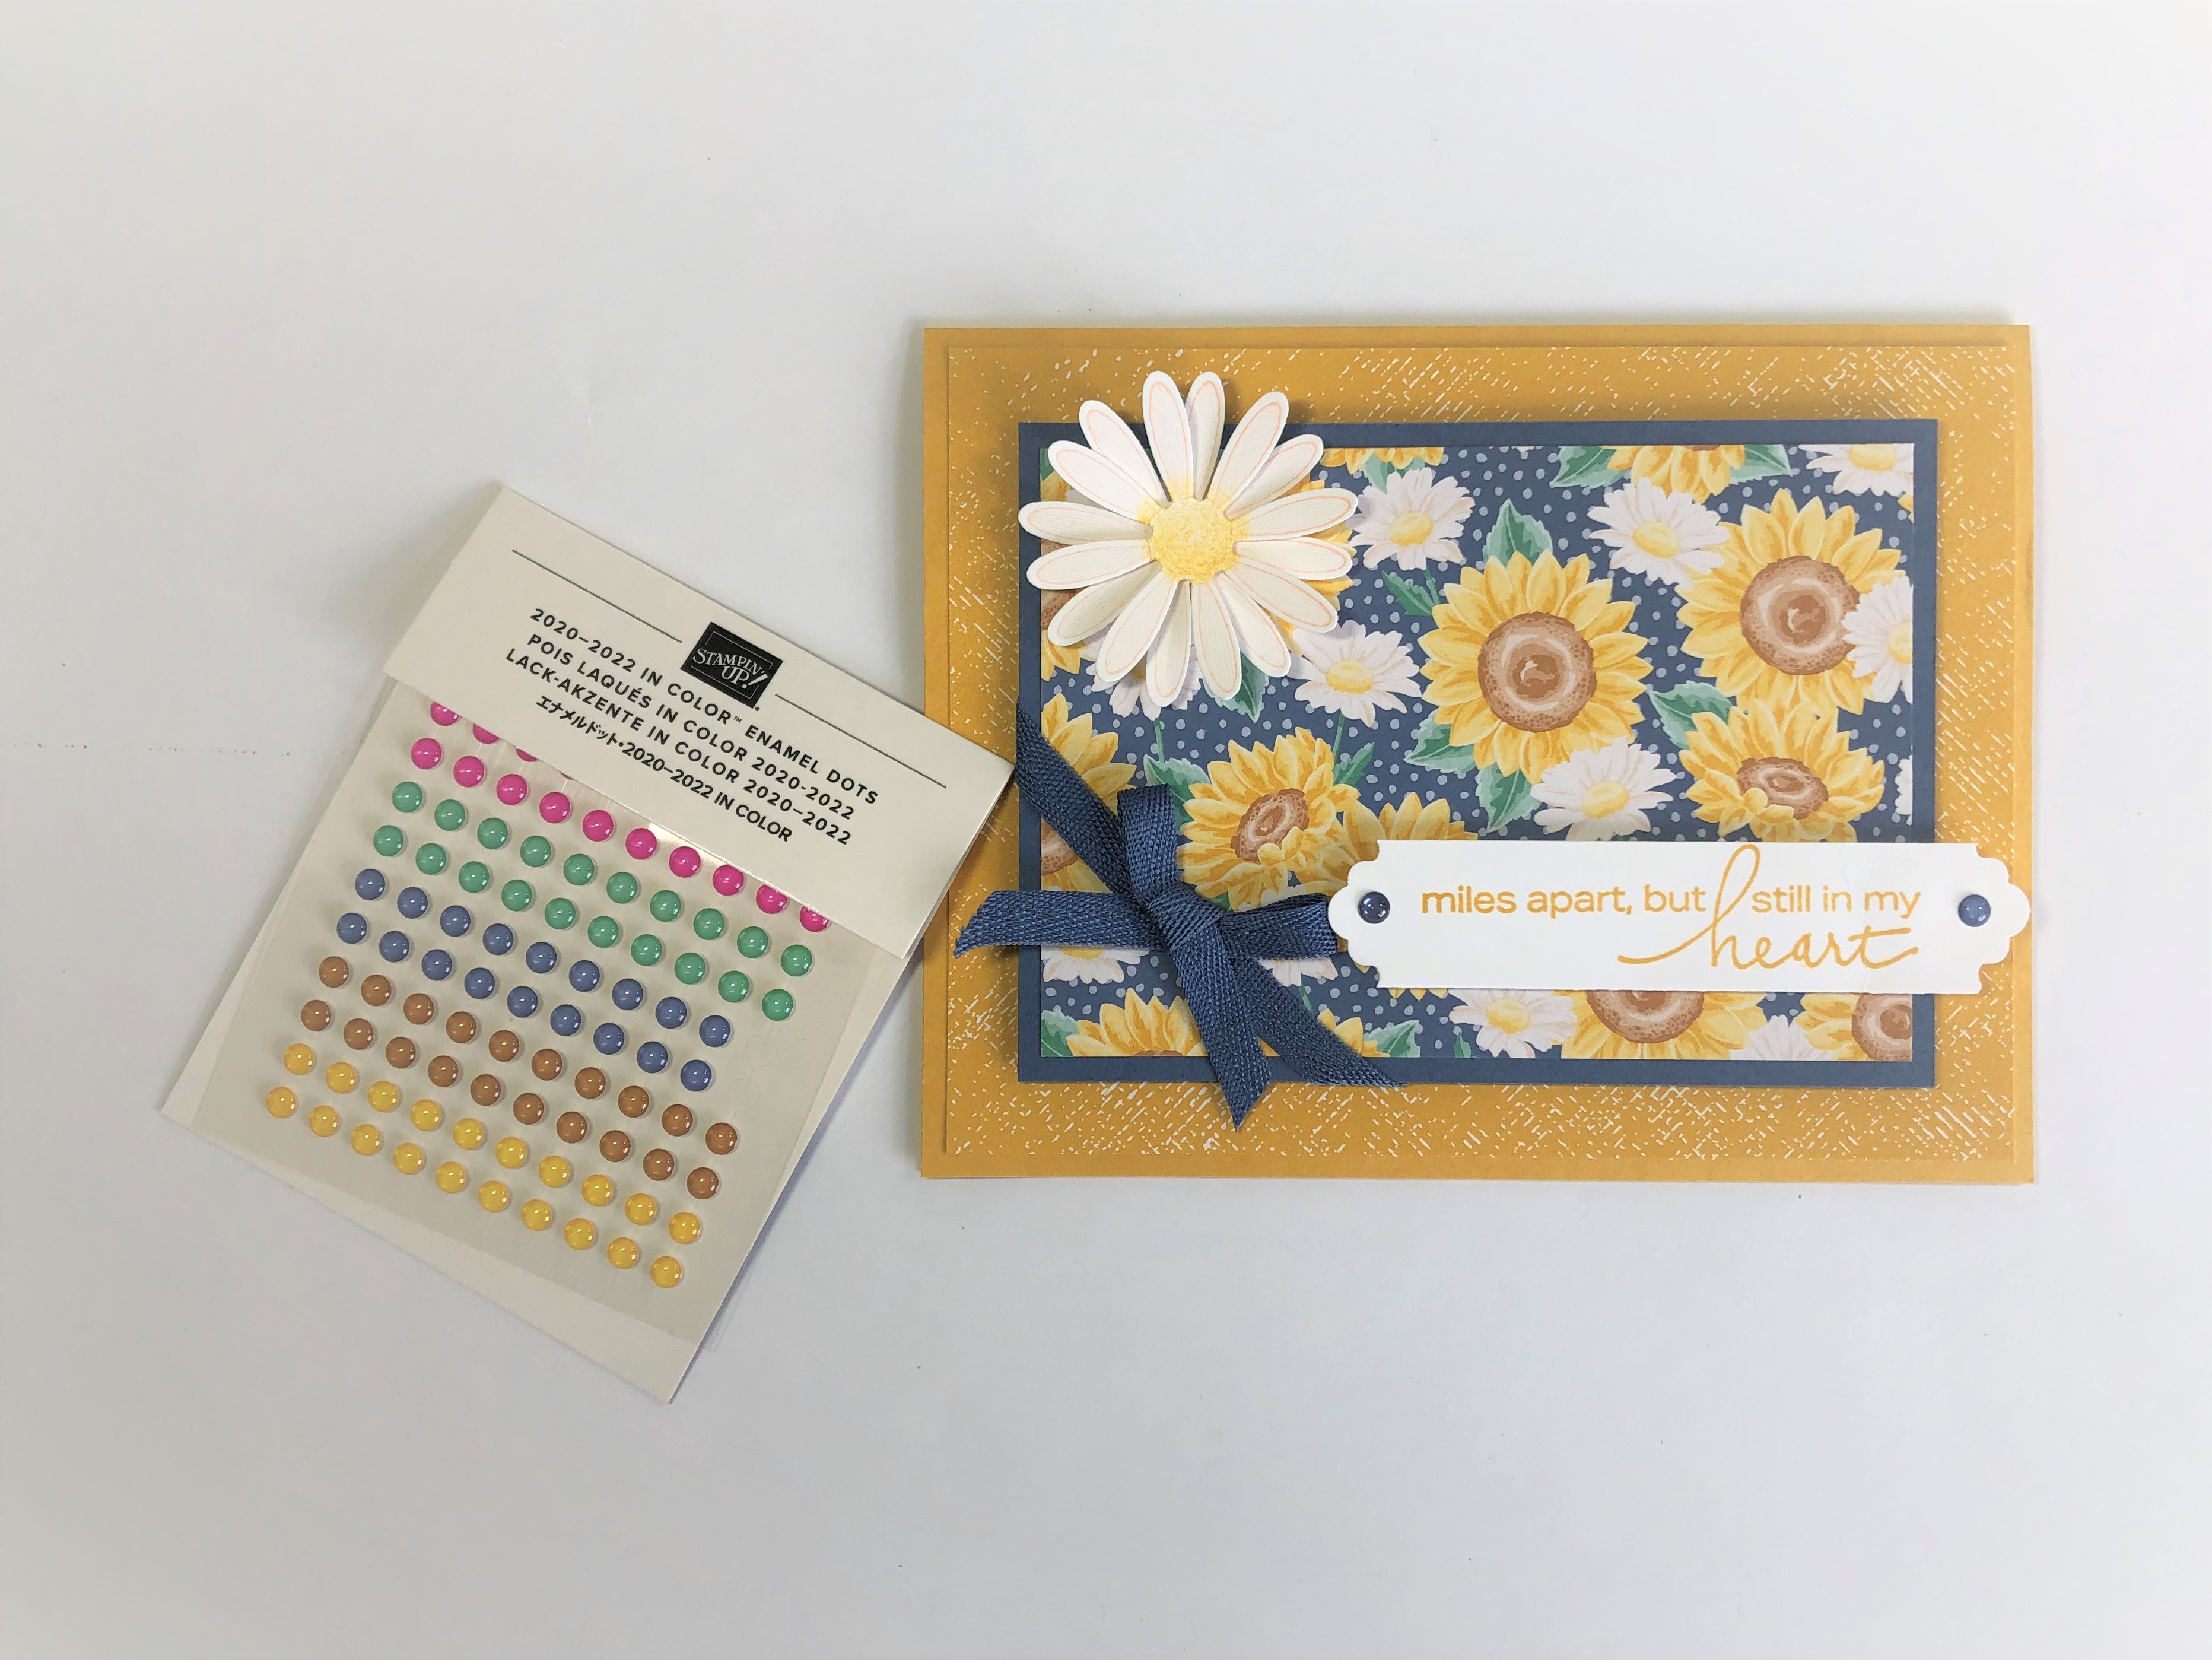
For this card I am using the Lovely You Stamp/Punch Bundle (pg 22 & pg 169), and I am featuring Bumblebee as the second of our new in-colors. With the help of our Designer Series Papers and coordinating embellishments I designed an easy card and hope many crafters enjoy my tutorial.
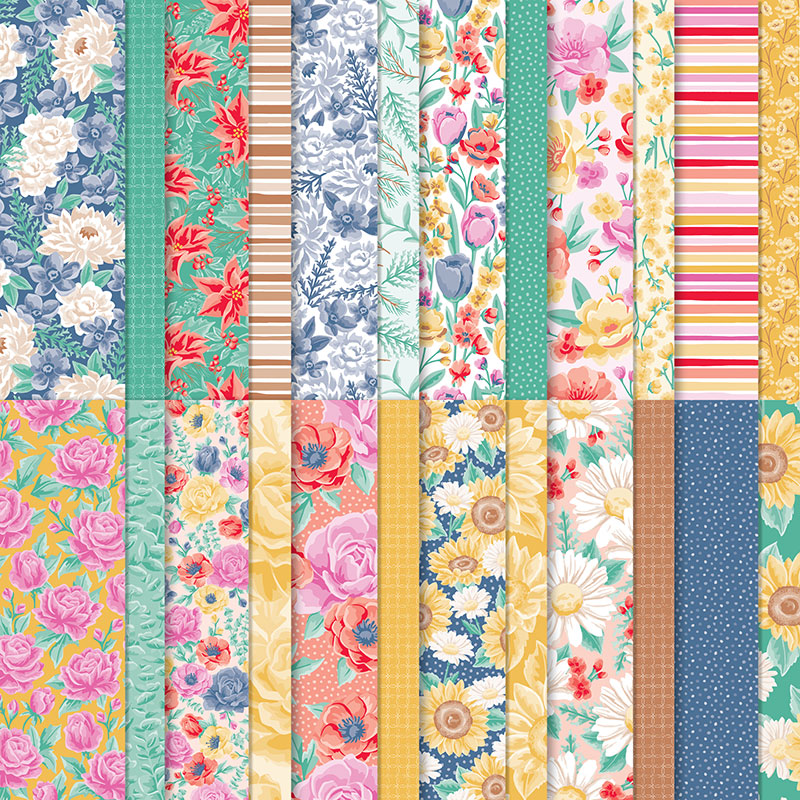
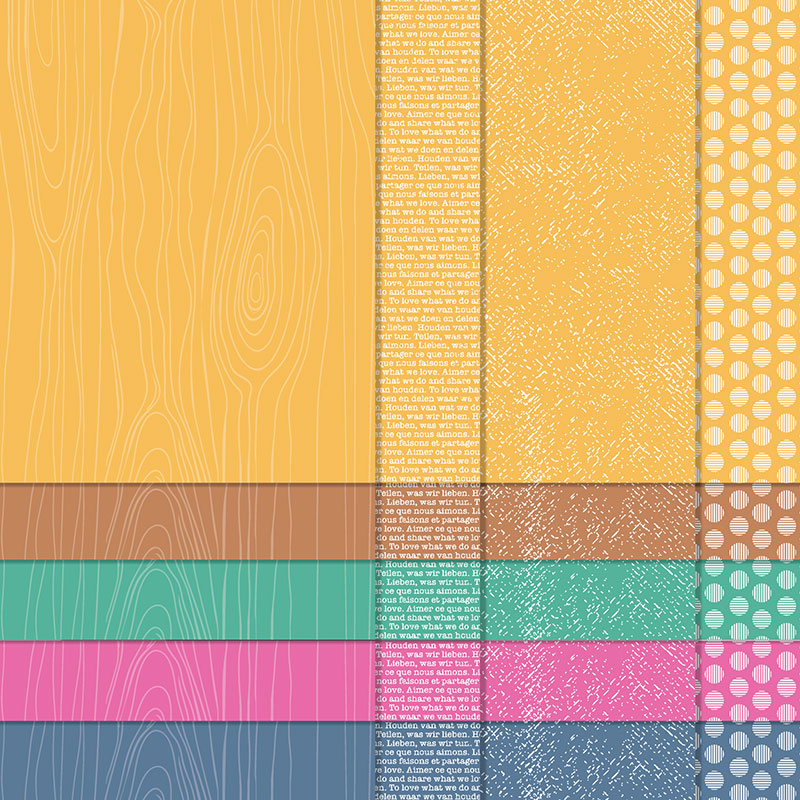
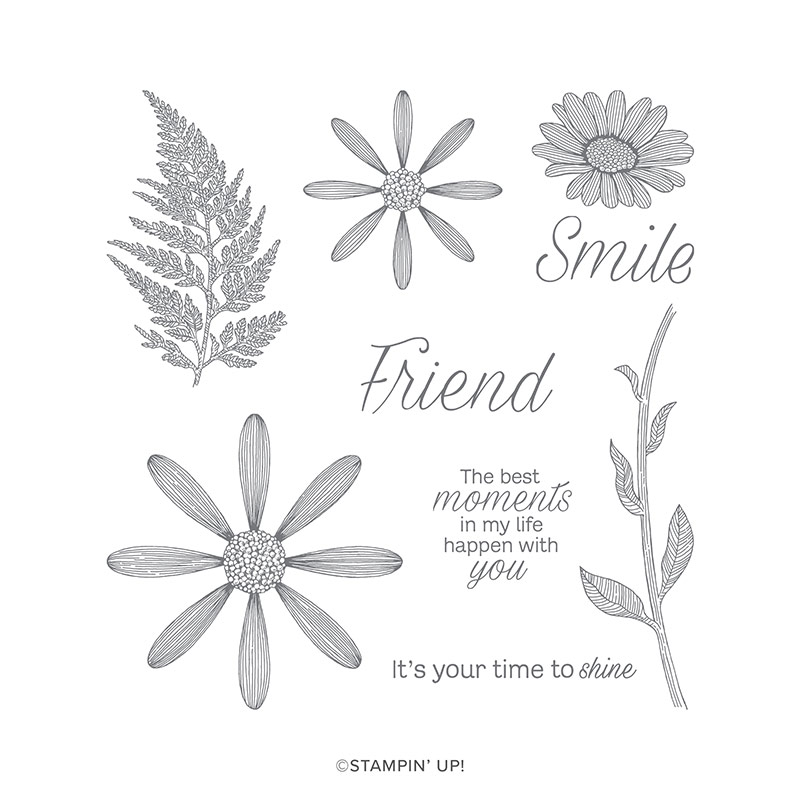
Along with Lovely You Bundle - also available in French, I am using Daisy Lane stamp set and Medium Daisy Punch. I added Misty Moonlight ribbon to add a bit more colour, the DSP I used are Flowers For Every Season and 2020-2022 In-Color 6"x 6" DSP. Enjoy!
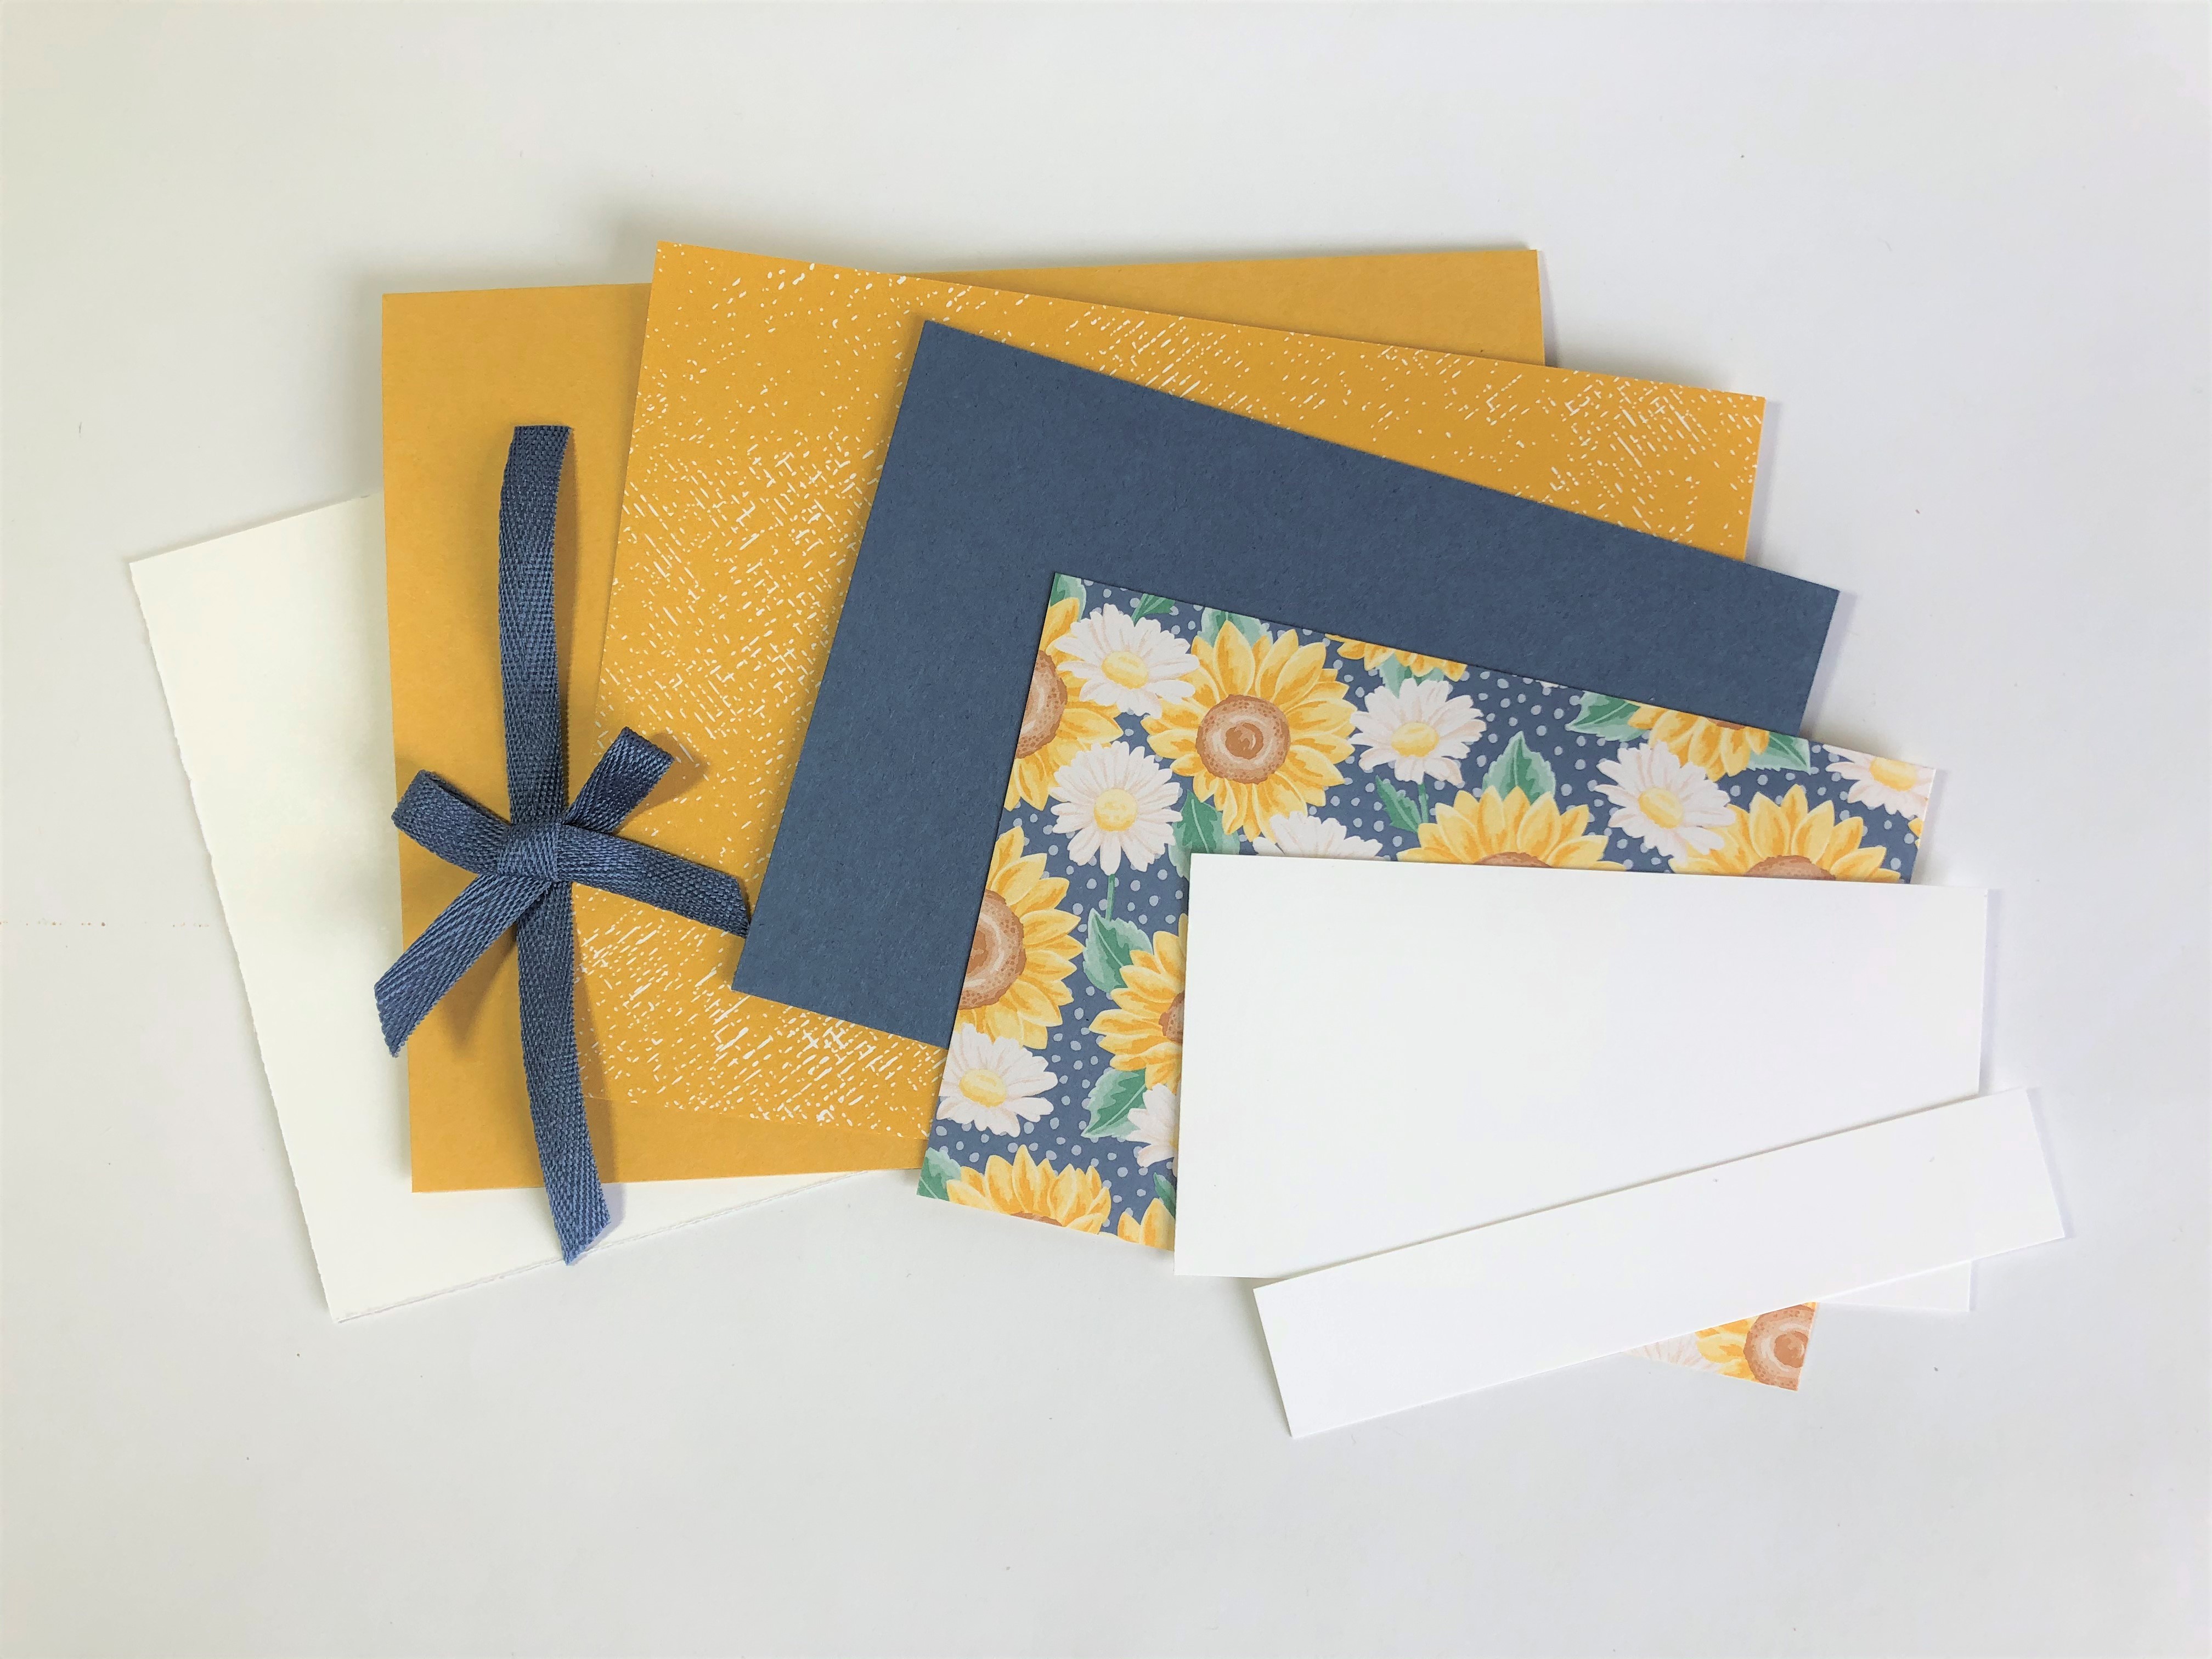 1. Product I used
Card Base is Thick Whisper White - 8 1/2"x 5 1/2", Layer 1 is Misty Moonlight CS - 5 1/4"x 4", and same CS for the scalloped tag (3 1/4" square) and for the sentiment tag (2" square). Layer 2 is Seaside Spray - 5"x 3 3/4', DSP is a 2 5/8" square and I used a scarp piece of Whisper White to stamp and die cut the sentiment tag. 8 1/4" of the Just Jade ribbon is the final item on my list.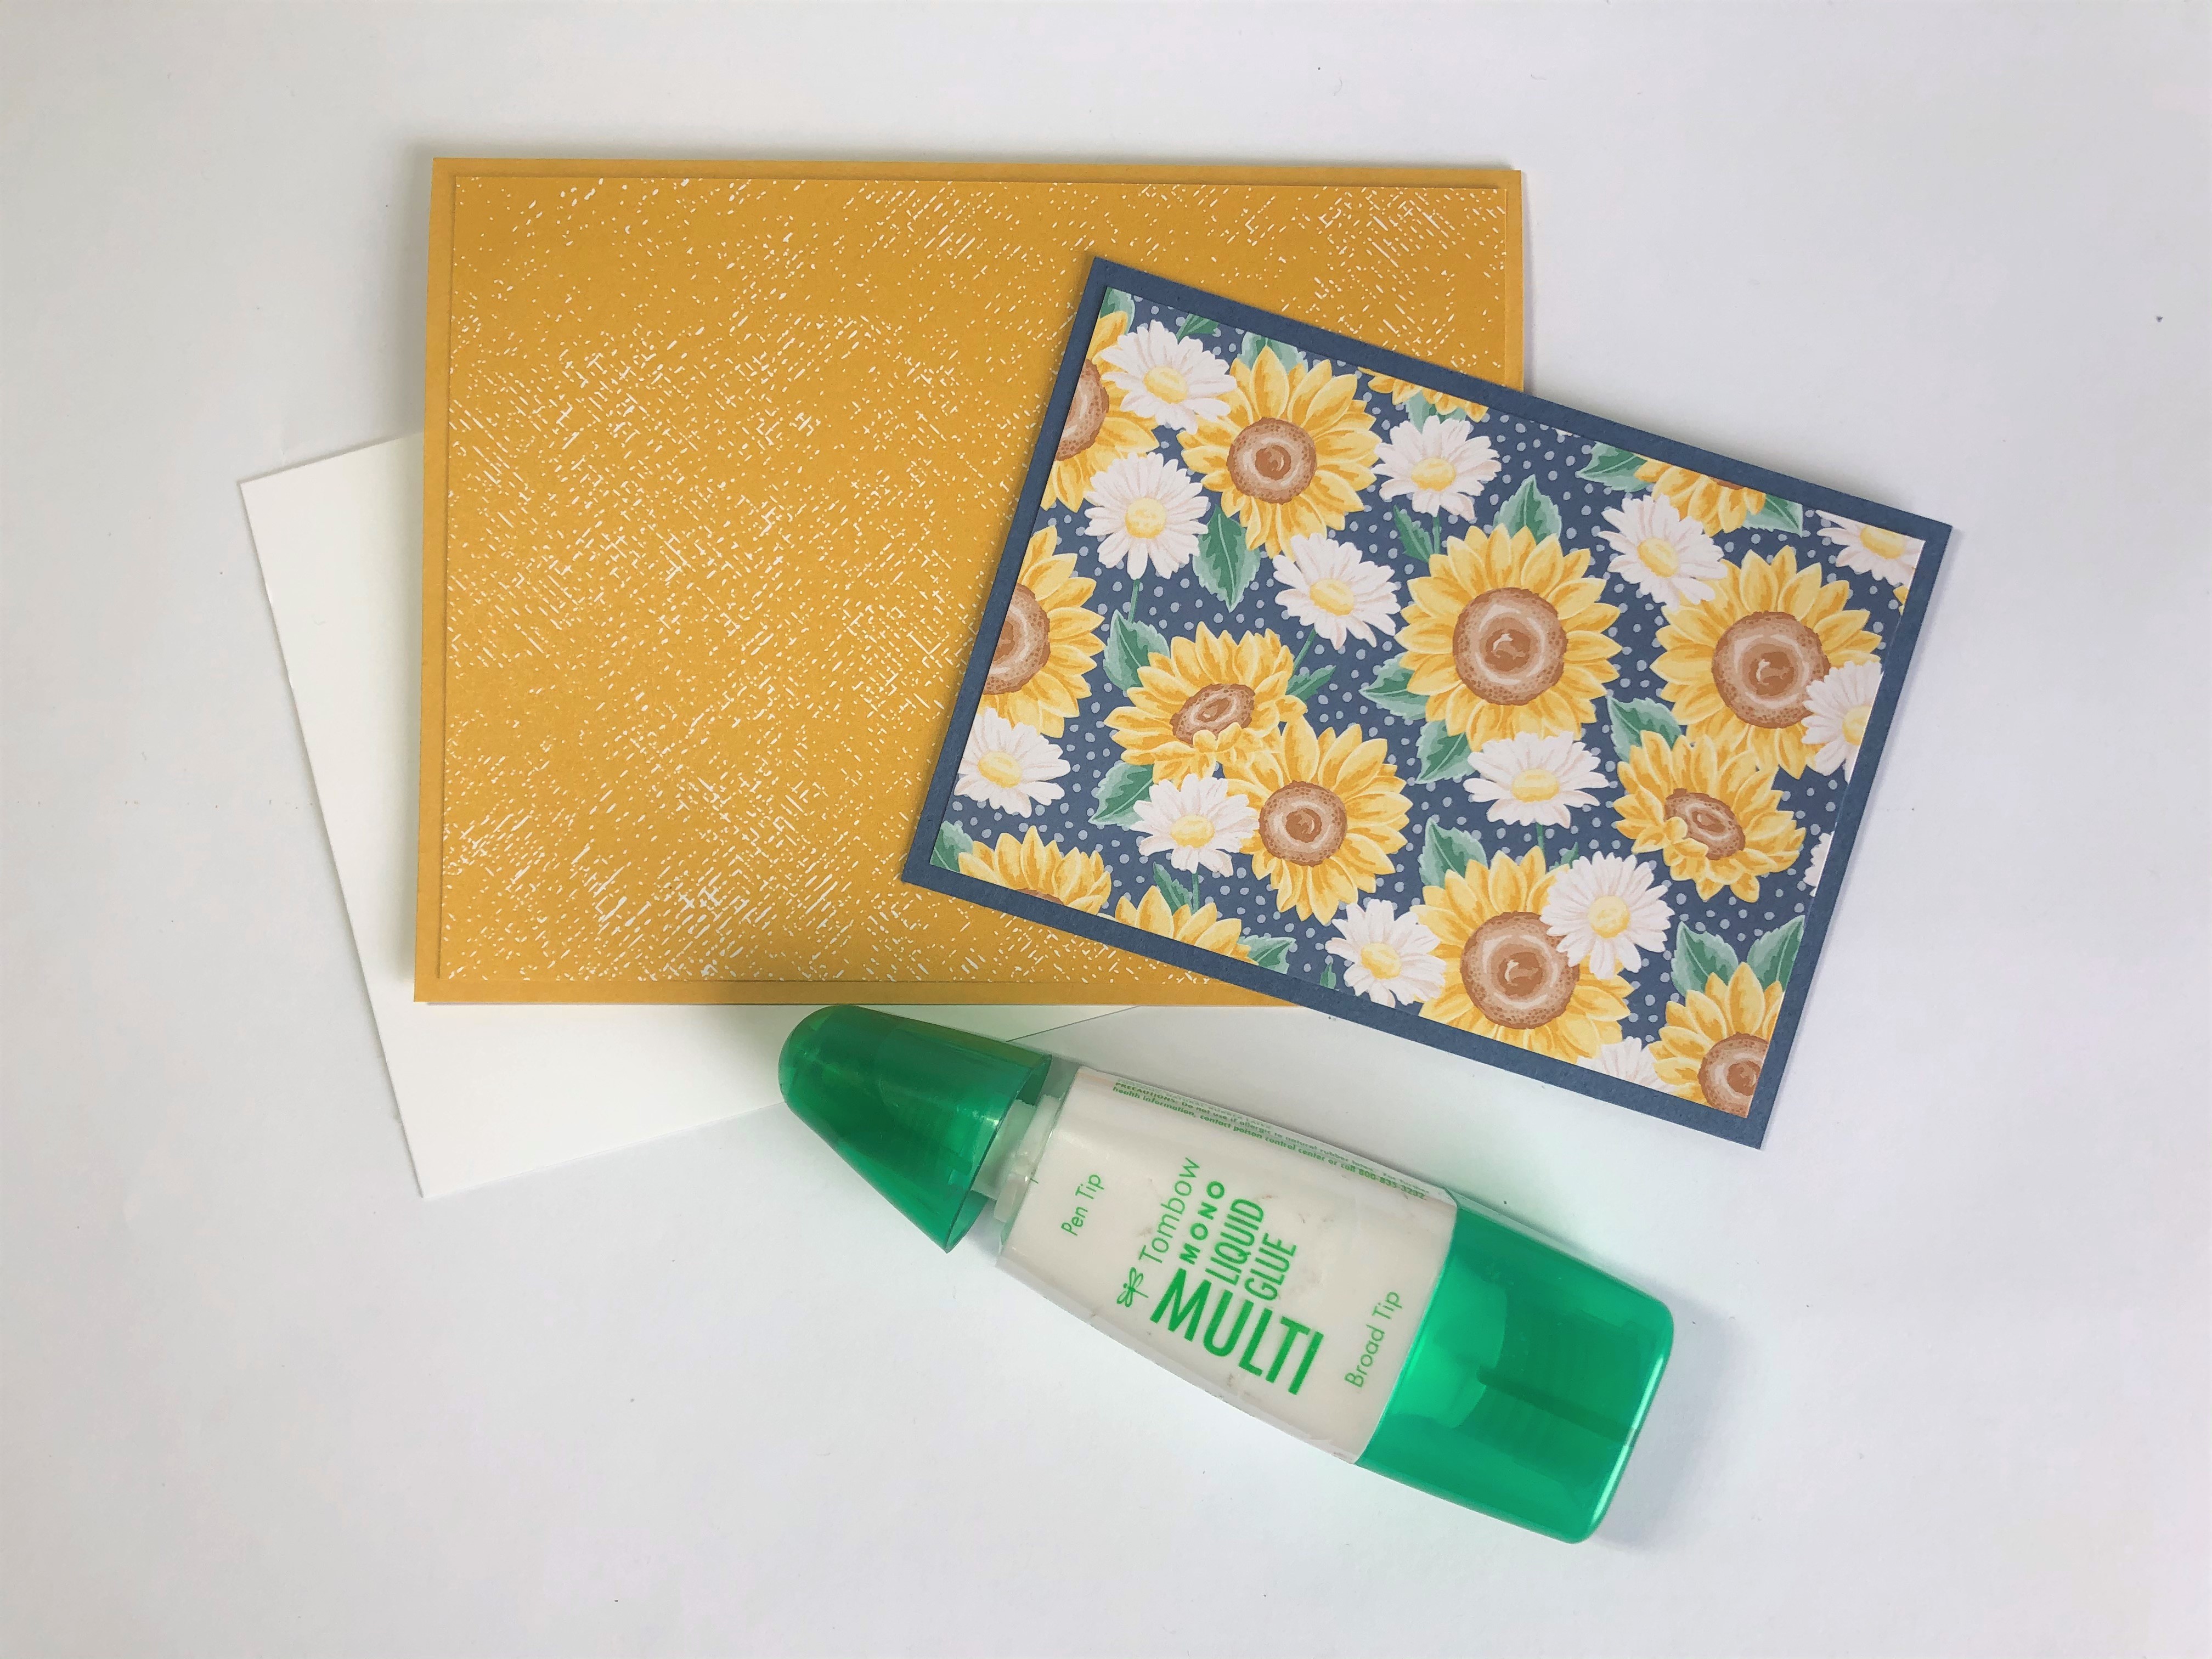 2. Attaching the Layers
Adhere Layer 1 (DSP) to the Card Base, and attach the Inside Layer. Then adhere Layer 3 (DSP) to Layer 2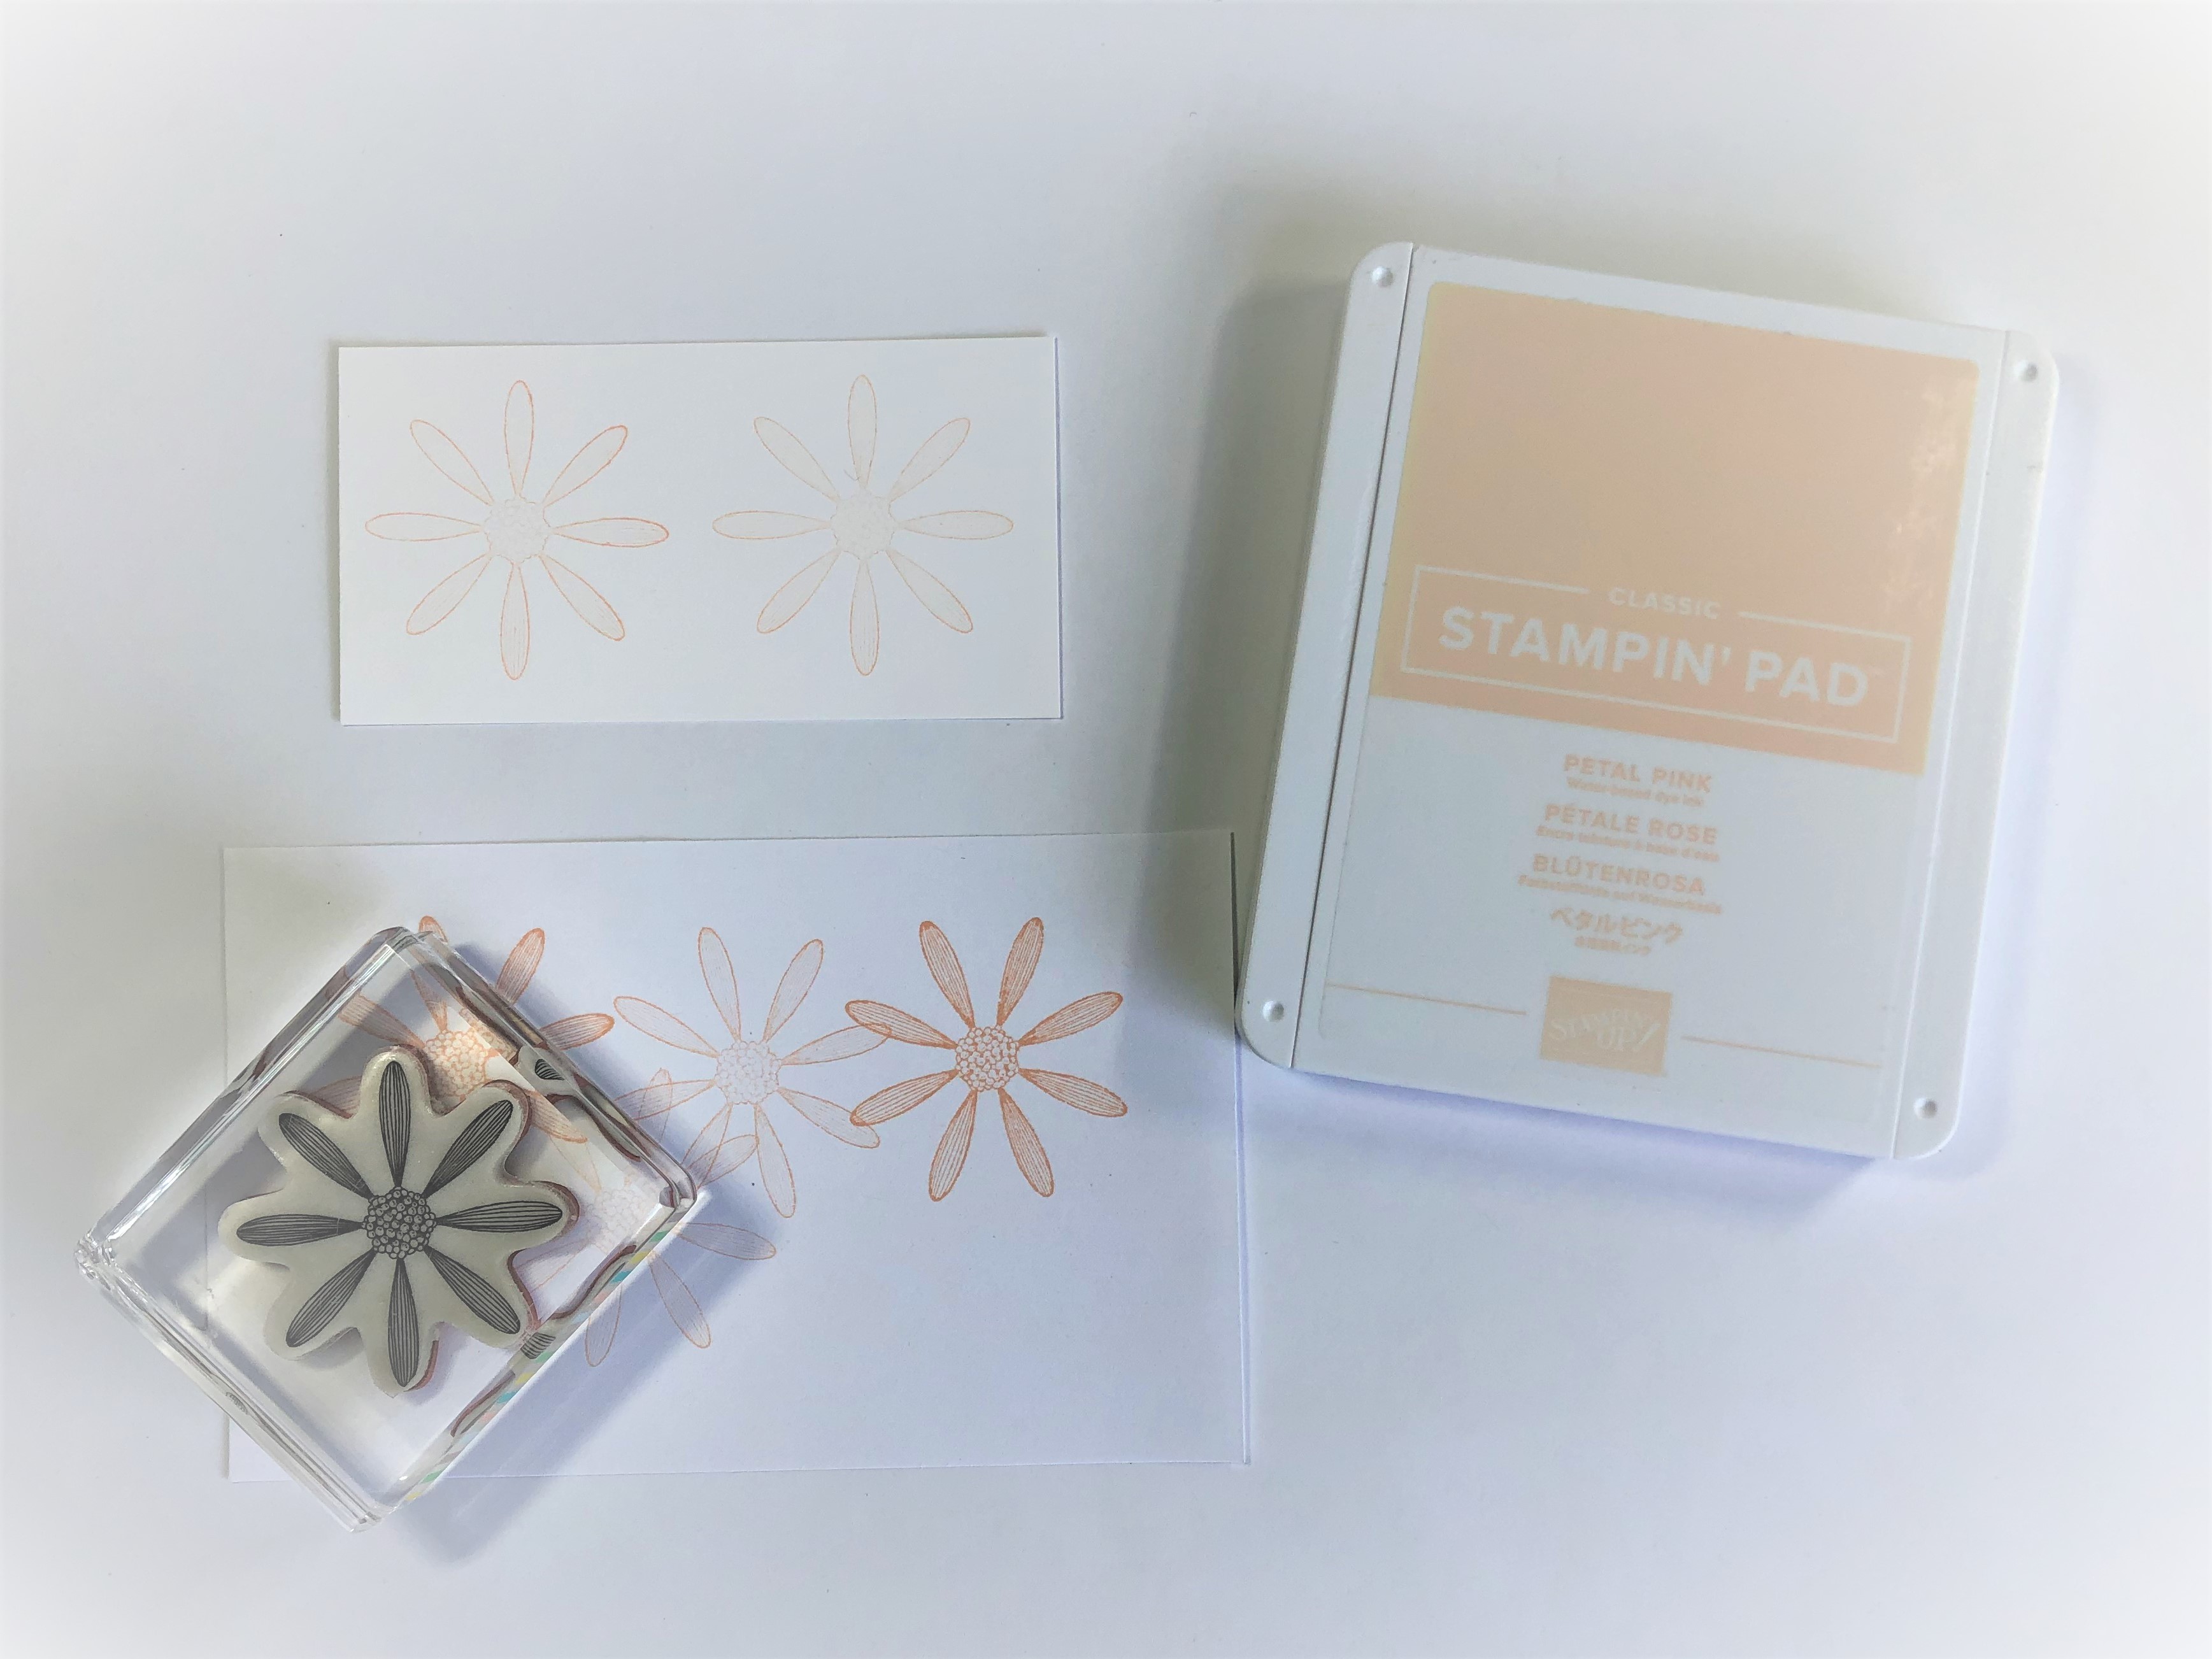 3. Stamping Daisy
I am trying to match the touch of pale pink of the daisies on the DSP. Ink the stamp with Petal Pink ink, stamp off twice, then stamp on the 3 3/4"x 2" strip of Whisper White cardstock, repeat, you need two stamped flowers 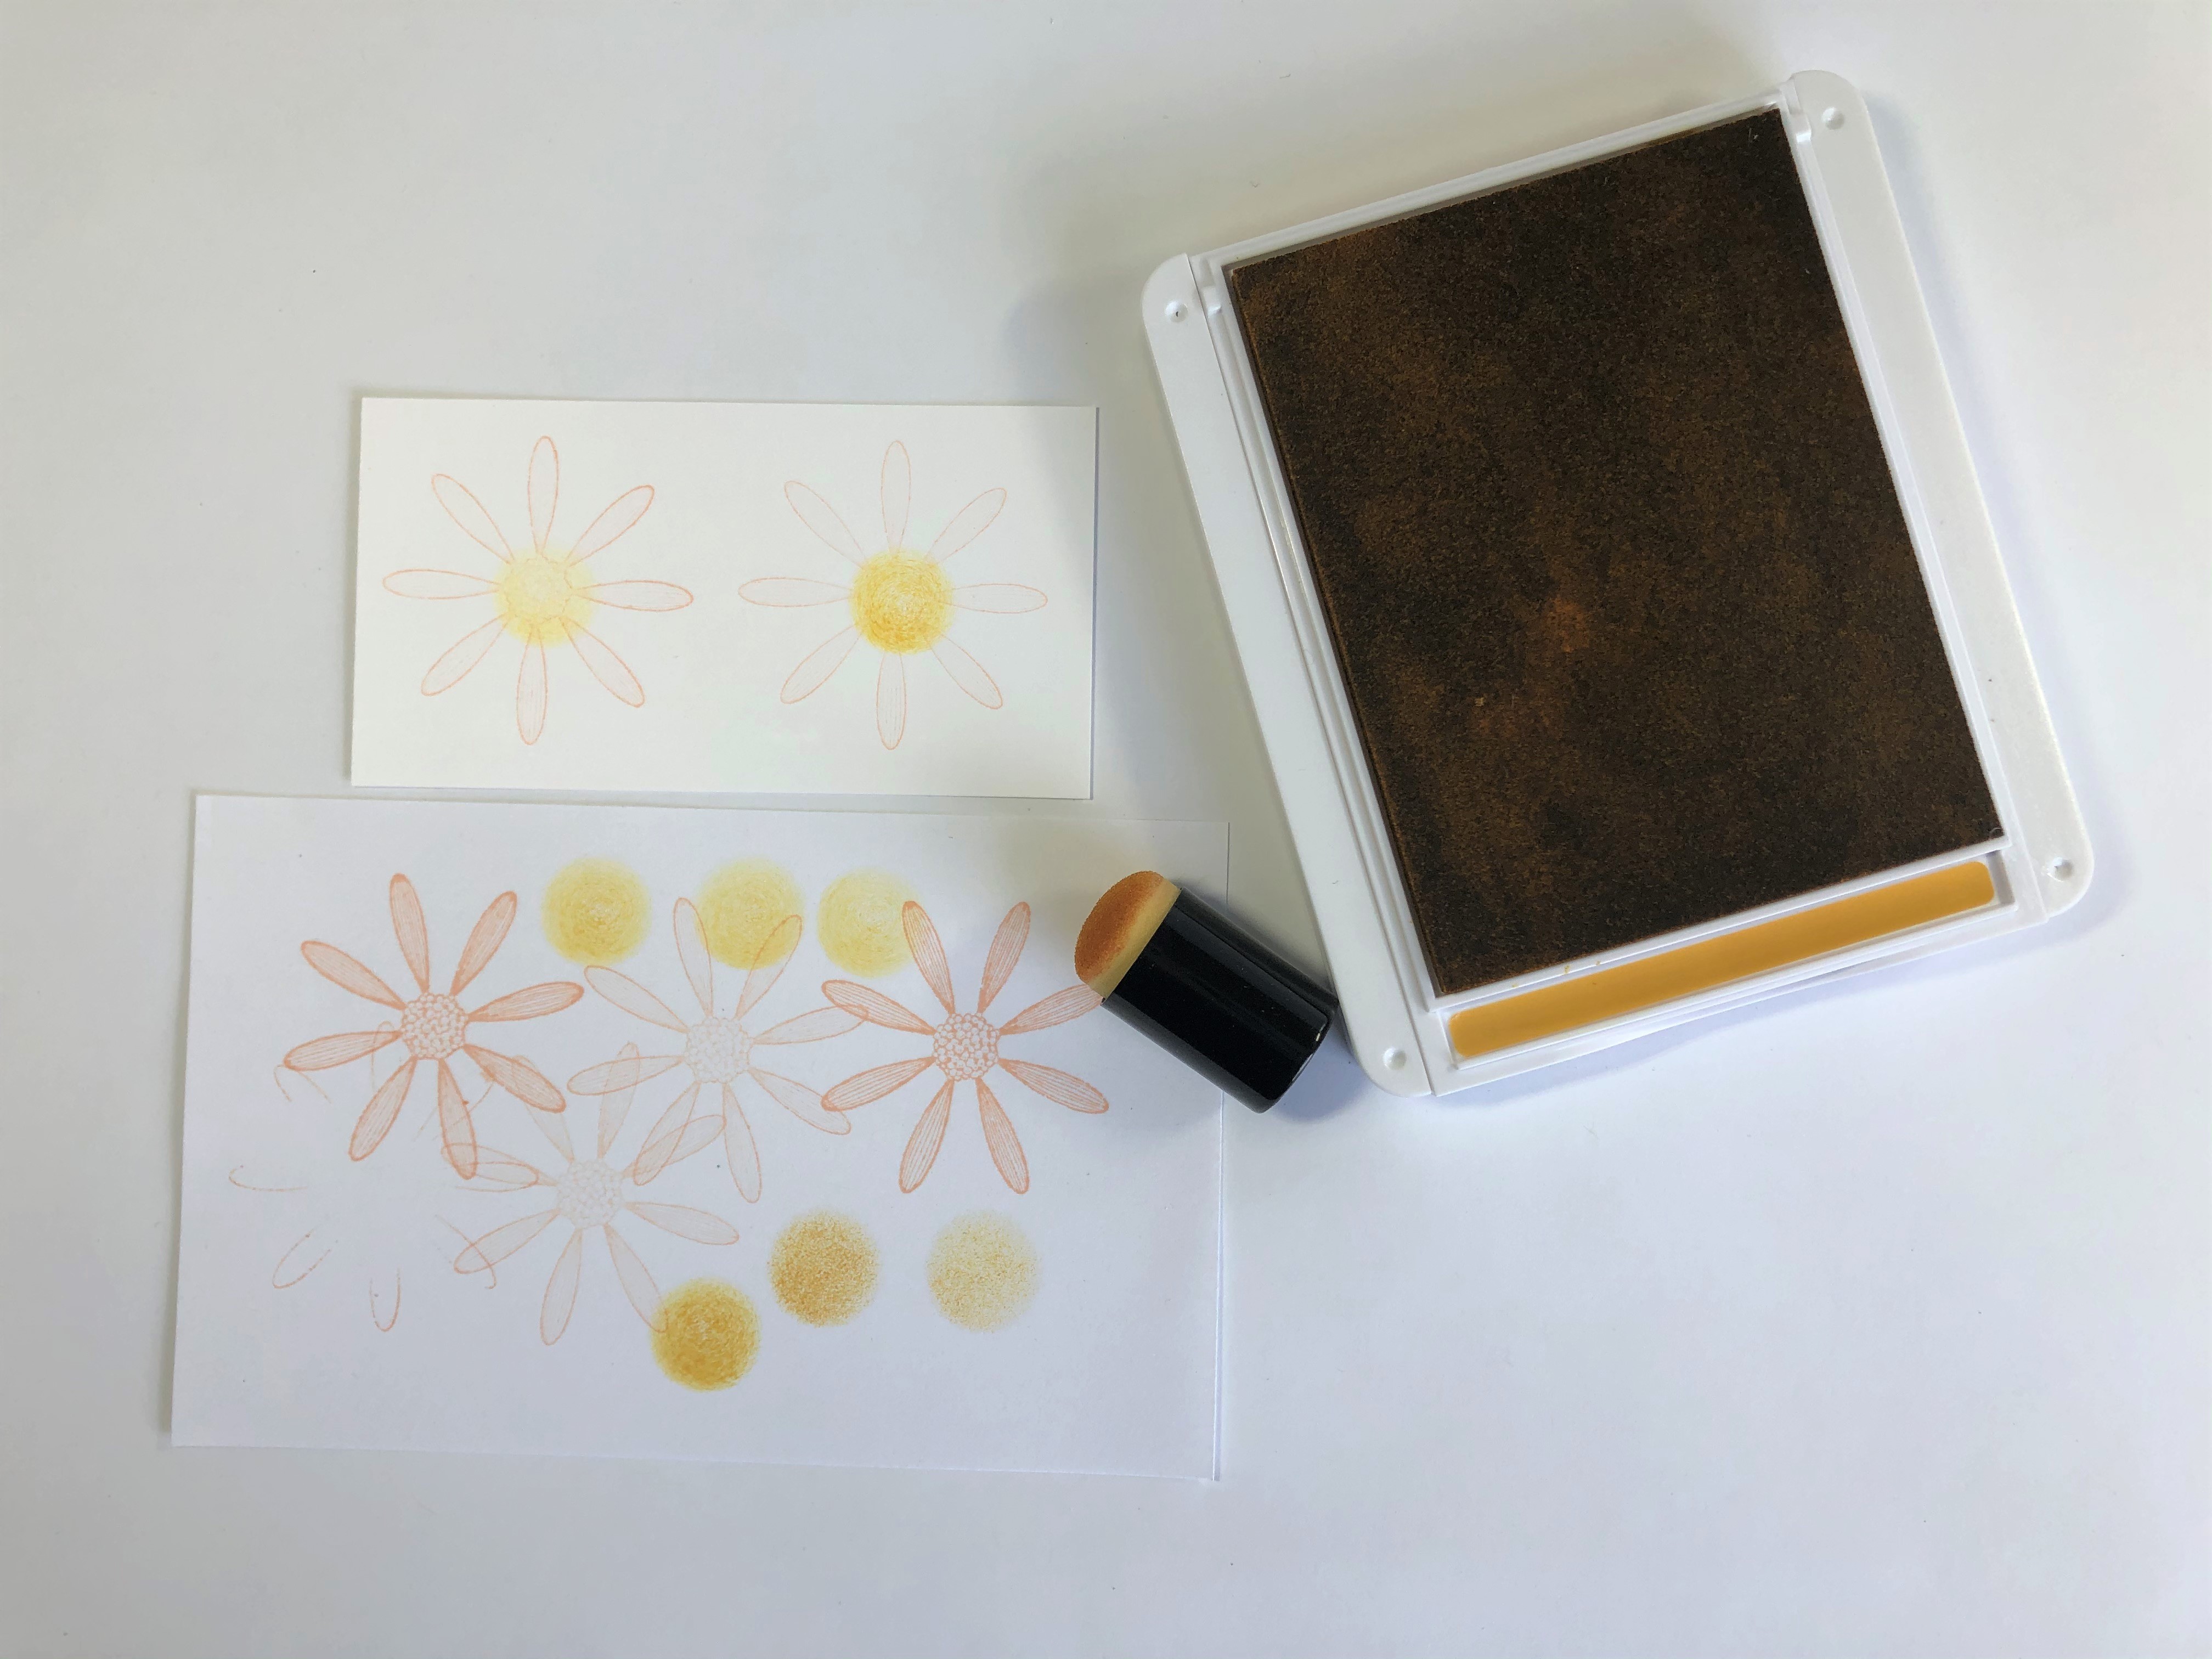 4. Adding Floral Disc
Ink up Sponge Dauber on Bumblebee ink, stamp of several times, you only want a very light yellow floral disc. You will notice that you do not need a heavy hand when inking a Sponged Dauber.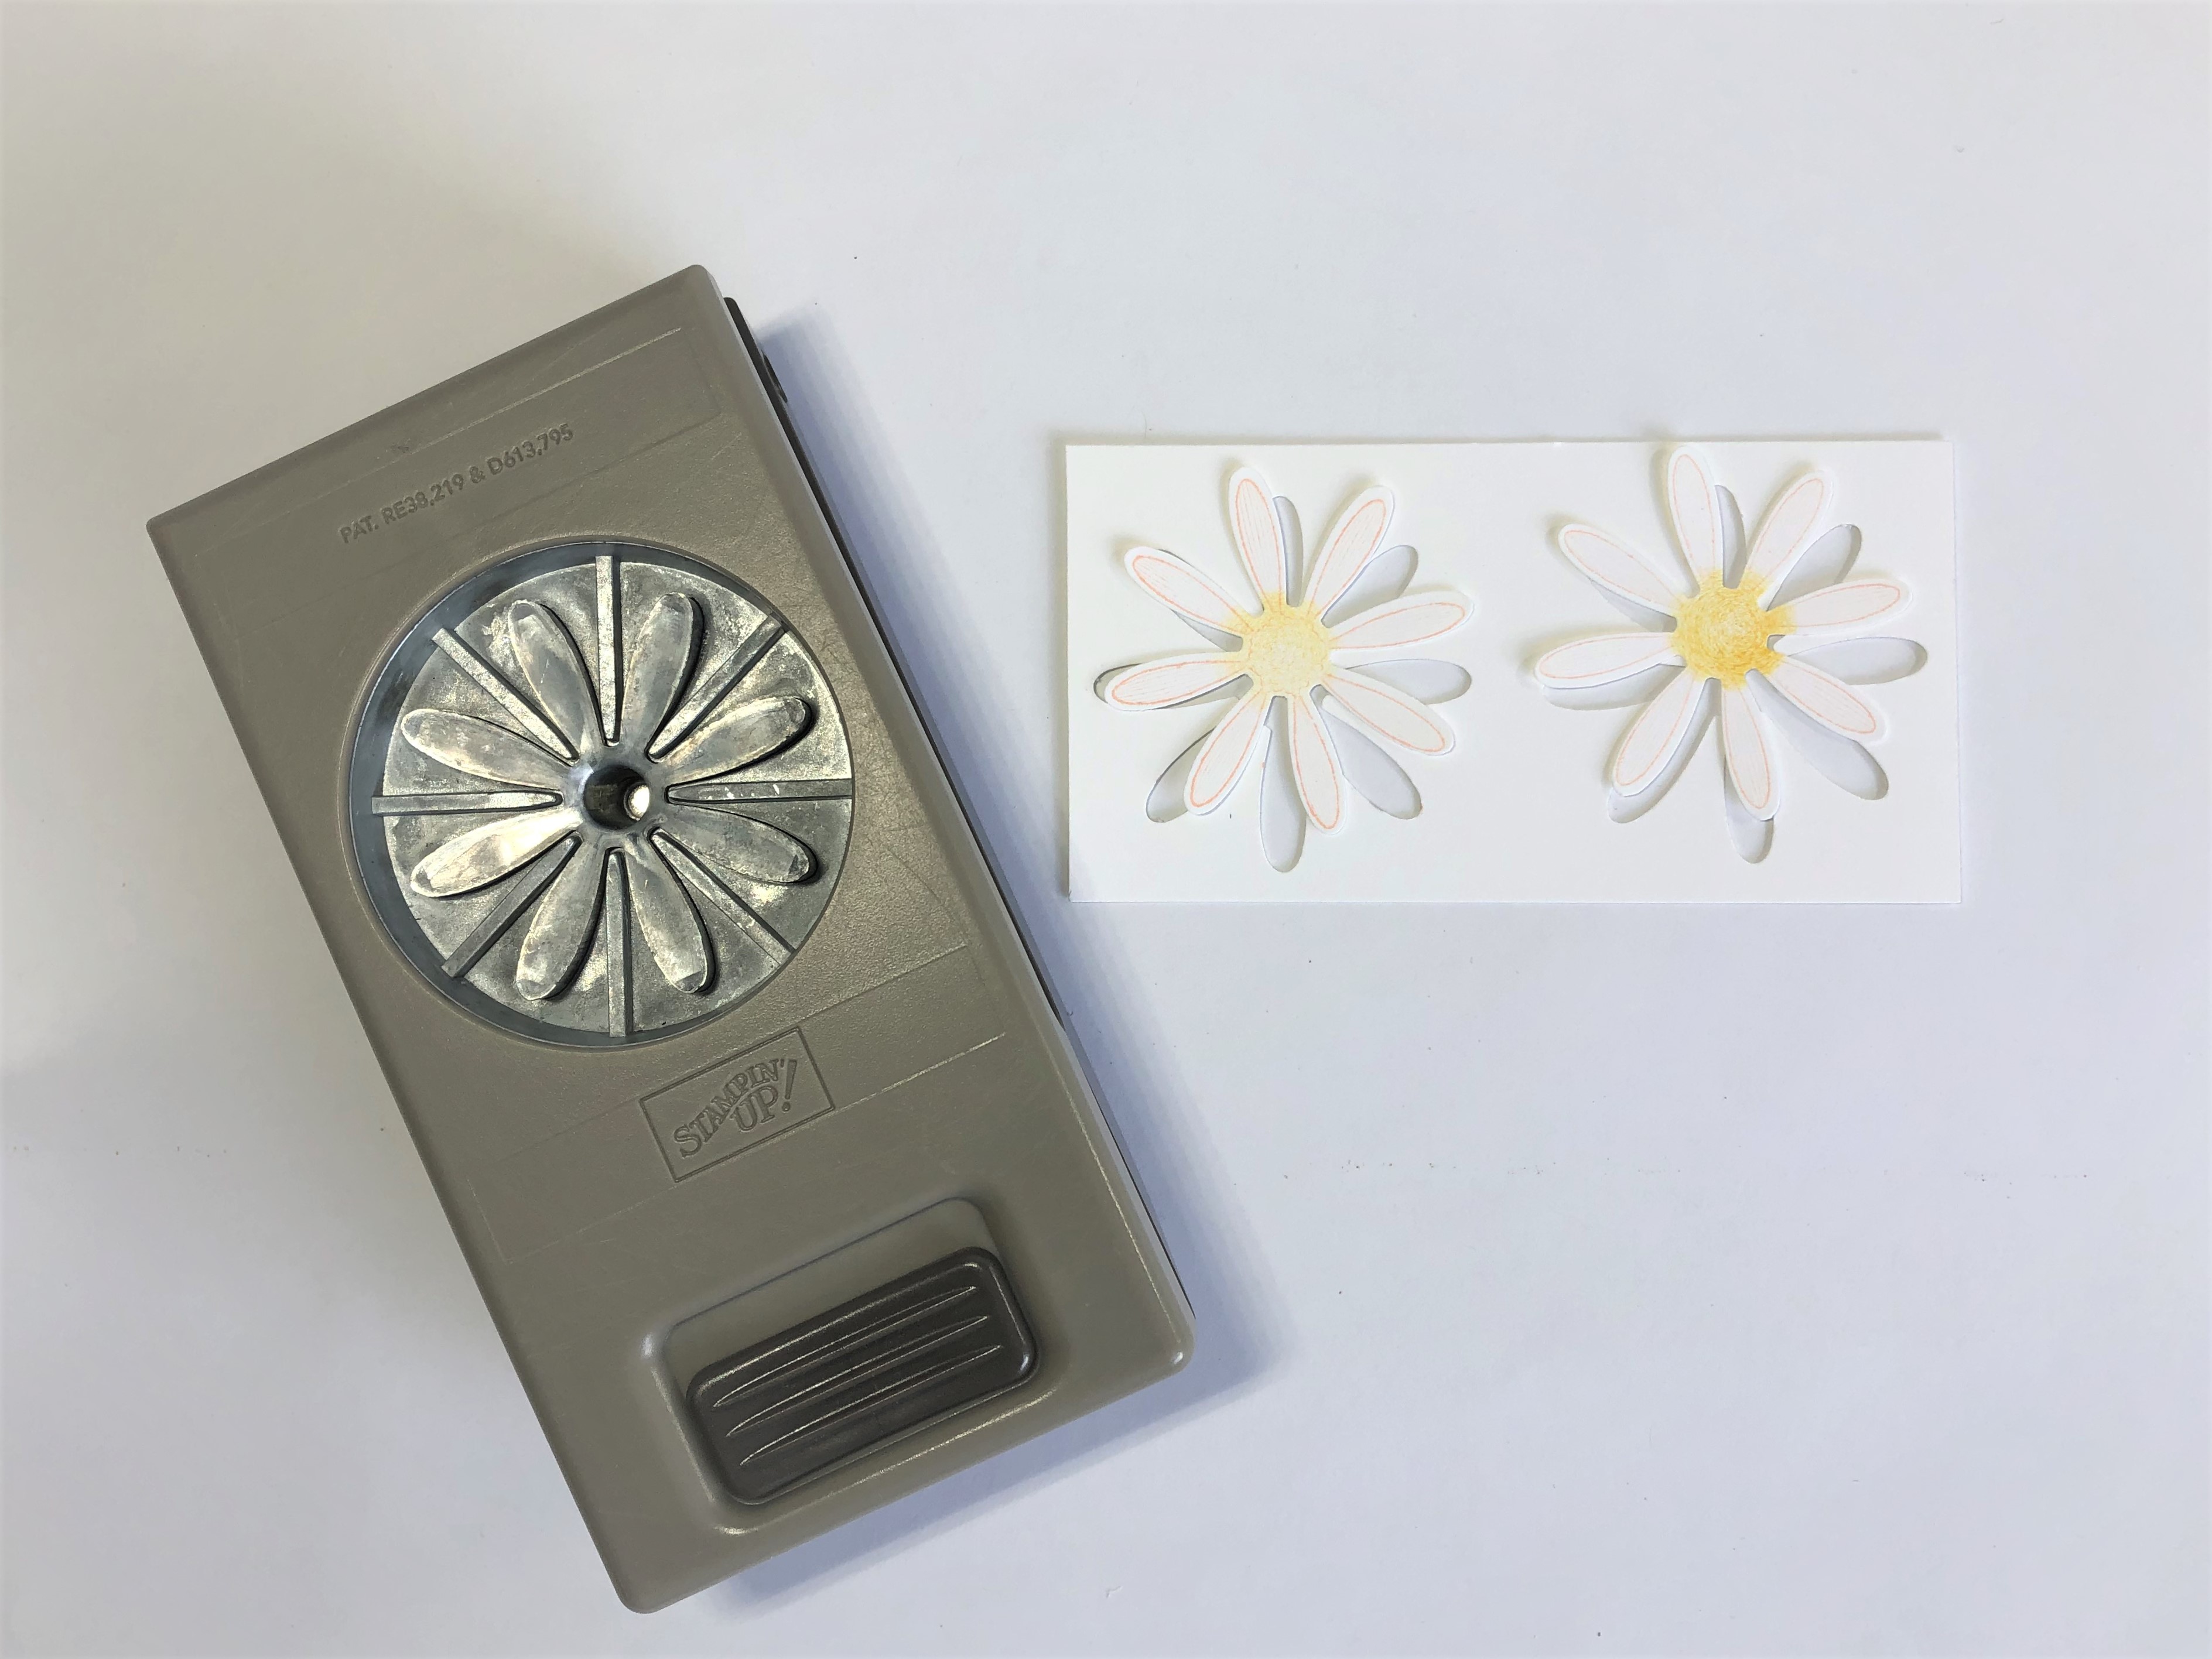 5. Punch the Daisy
Next step - punch out the two flowers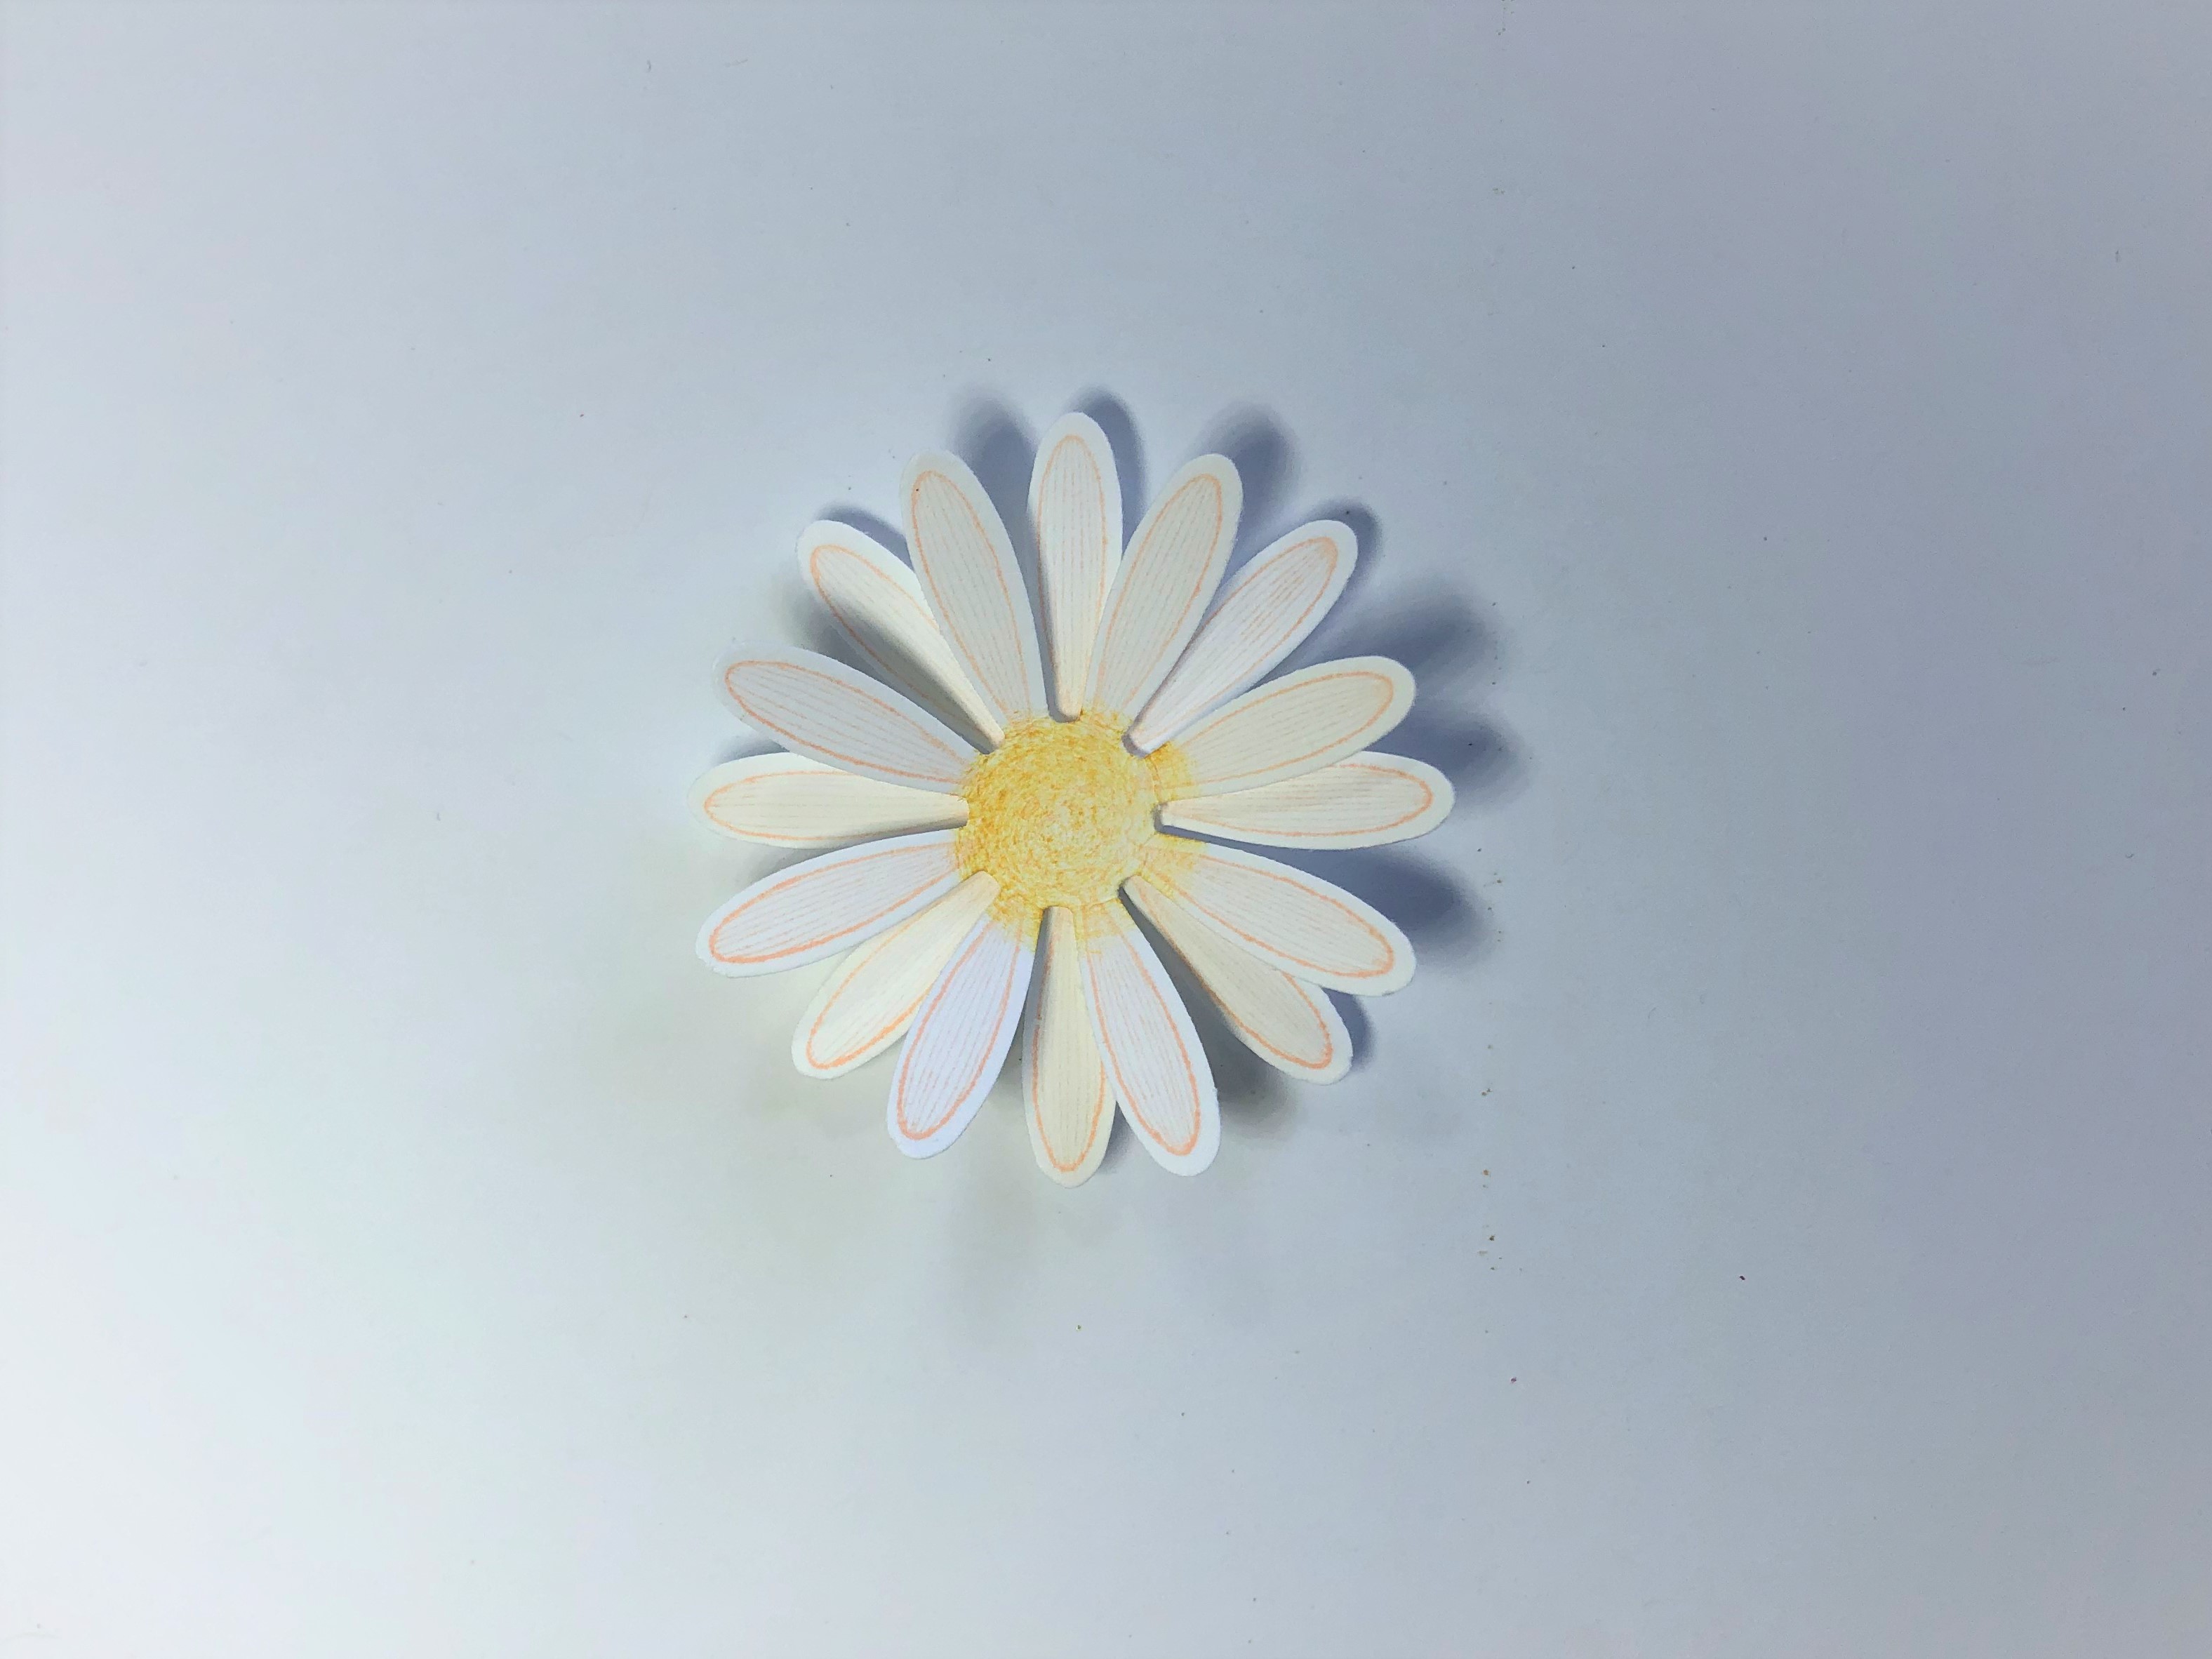 6. Making the Daisy
I used a double layer of Mini Glue Dots to mount one flower on top of the other. Make sure the bristles are off-set. Attach one Dimensional to the base.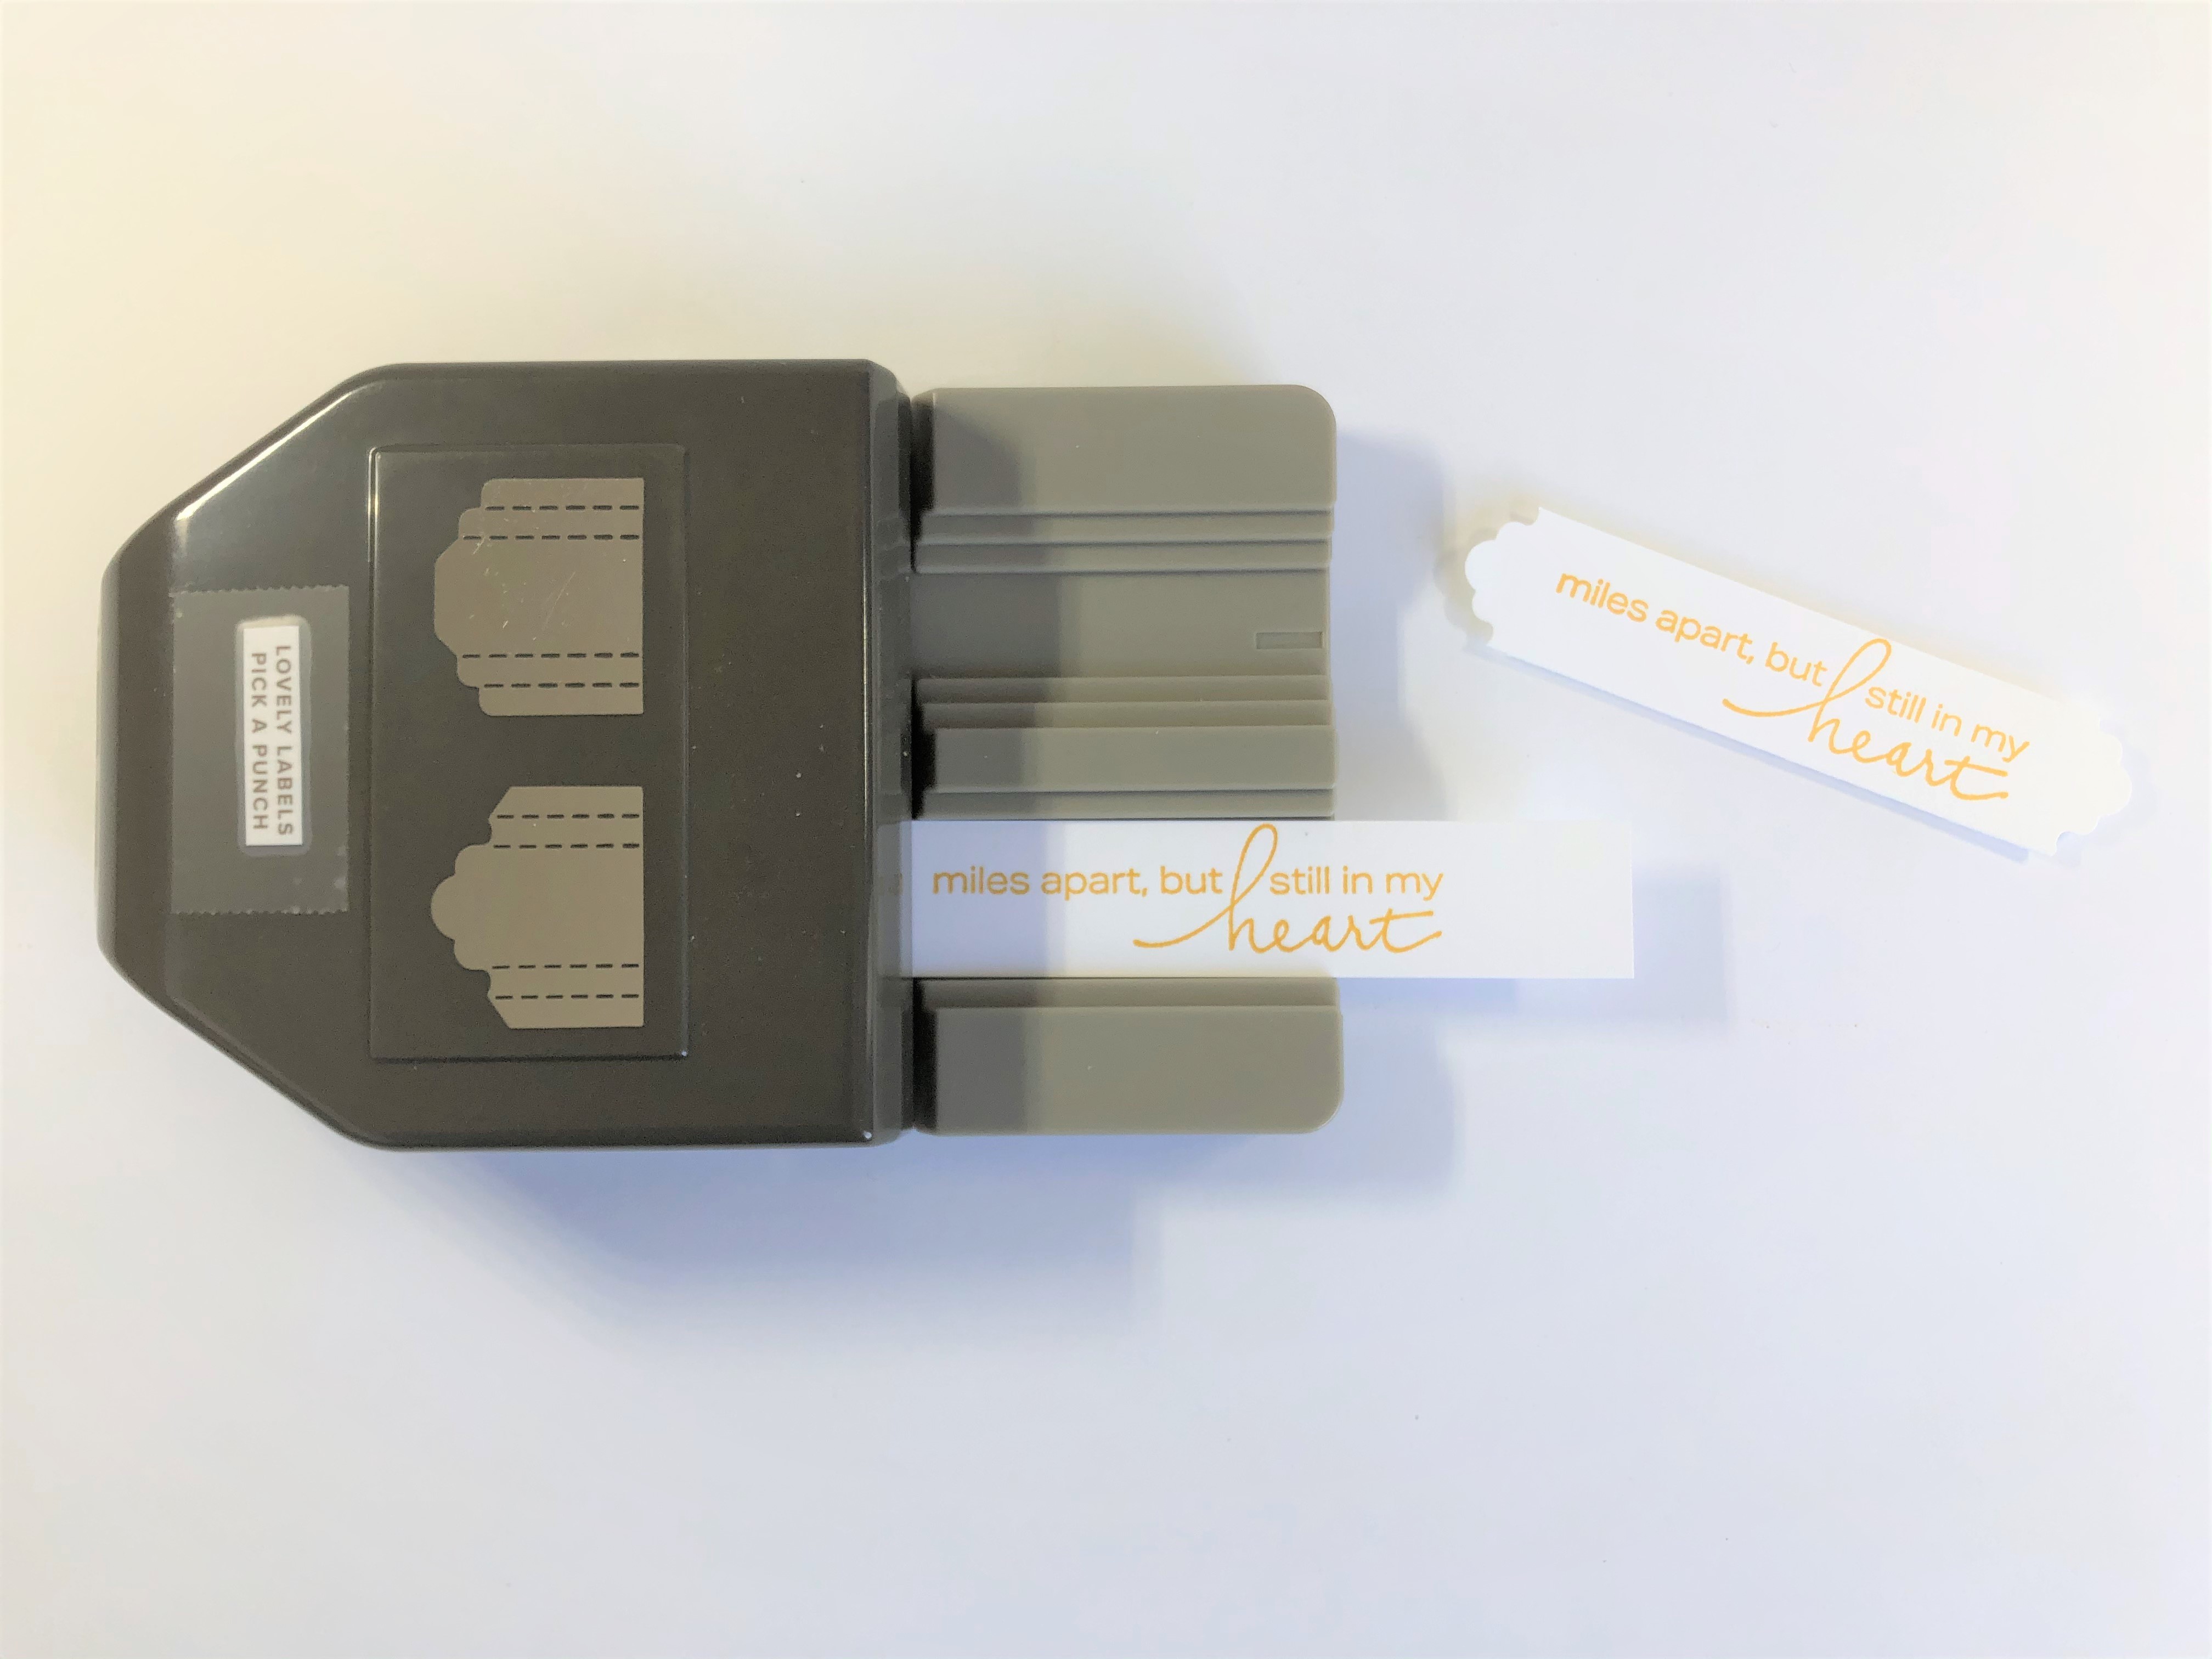 7. Sentiment Label
Stamp sentiment in Bumblebee ink on the 3 3/4" strip of Whisper White (a smidgen narrower than 3/4").Punch the label, ensure the strip is all the way in side the punch, check the back by turning punch upside down. Repeat on other end of strip.
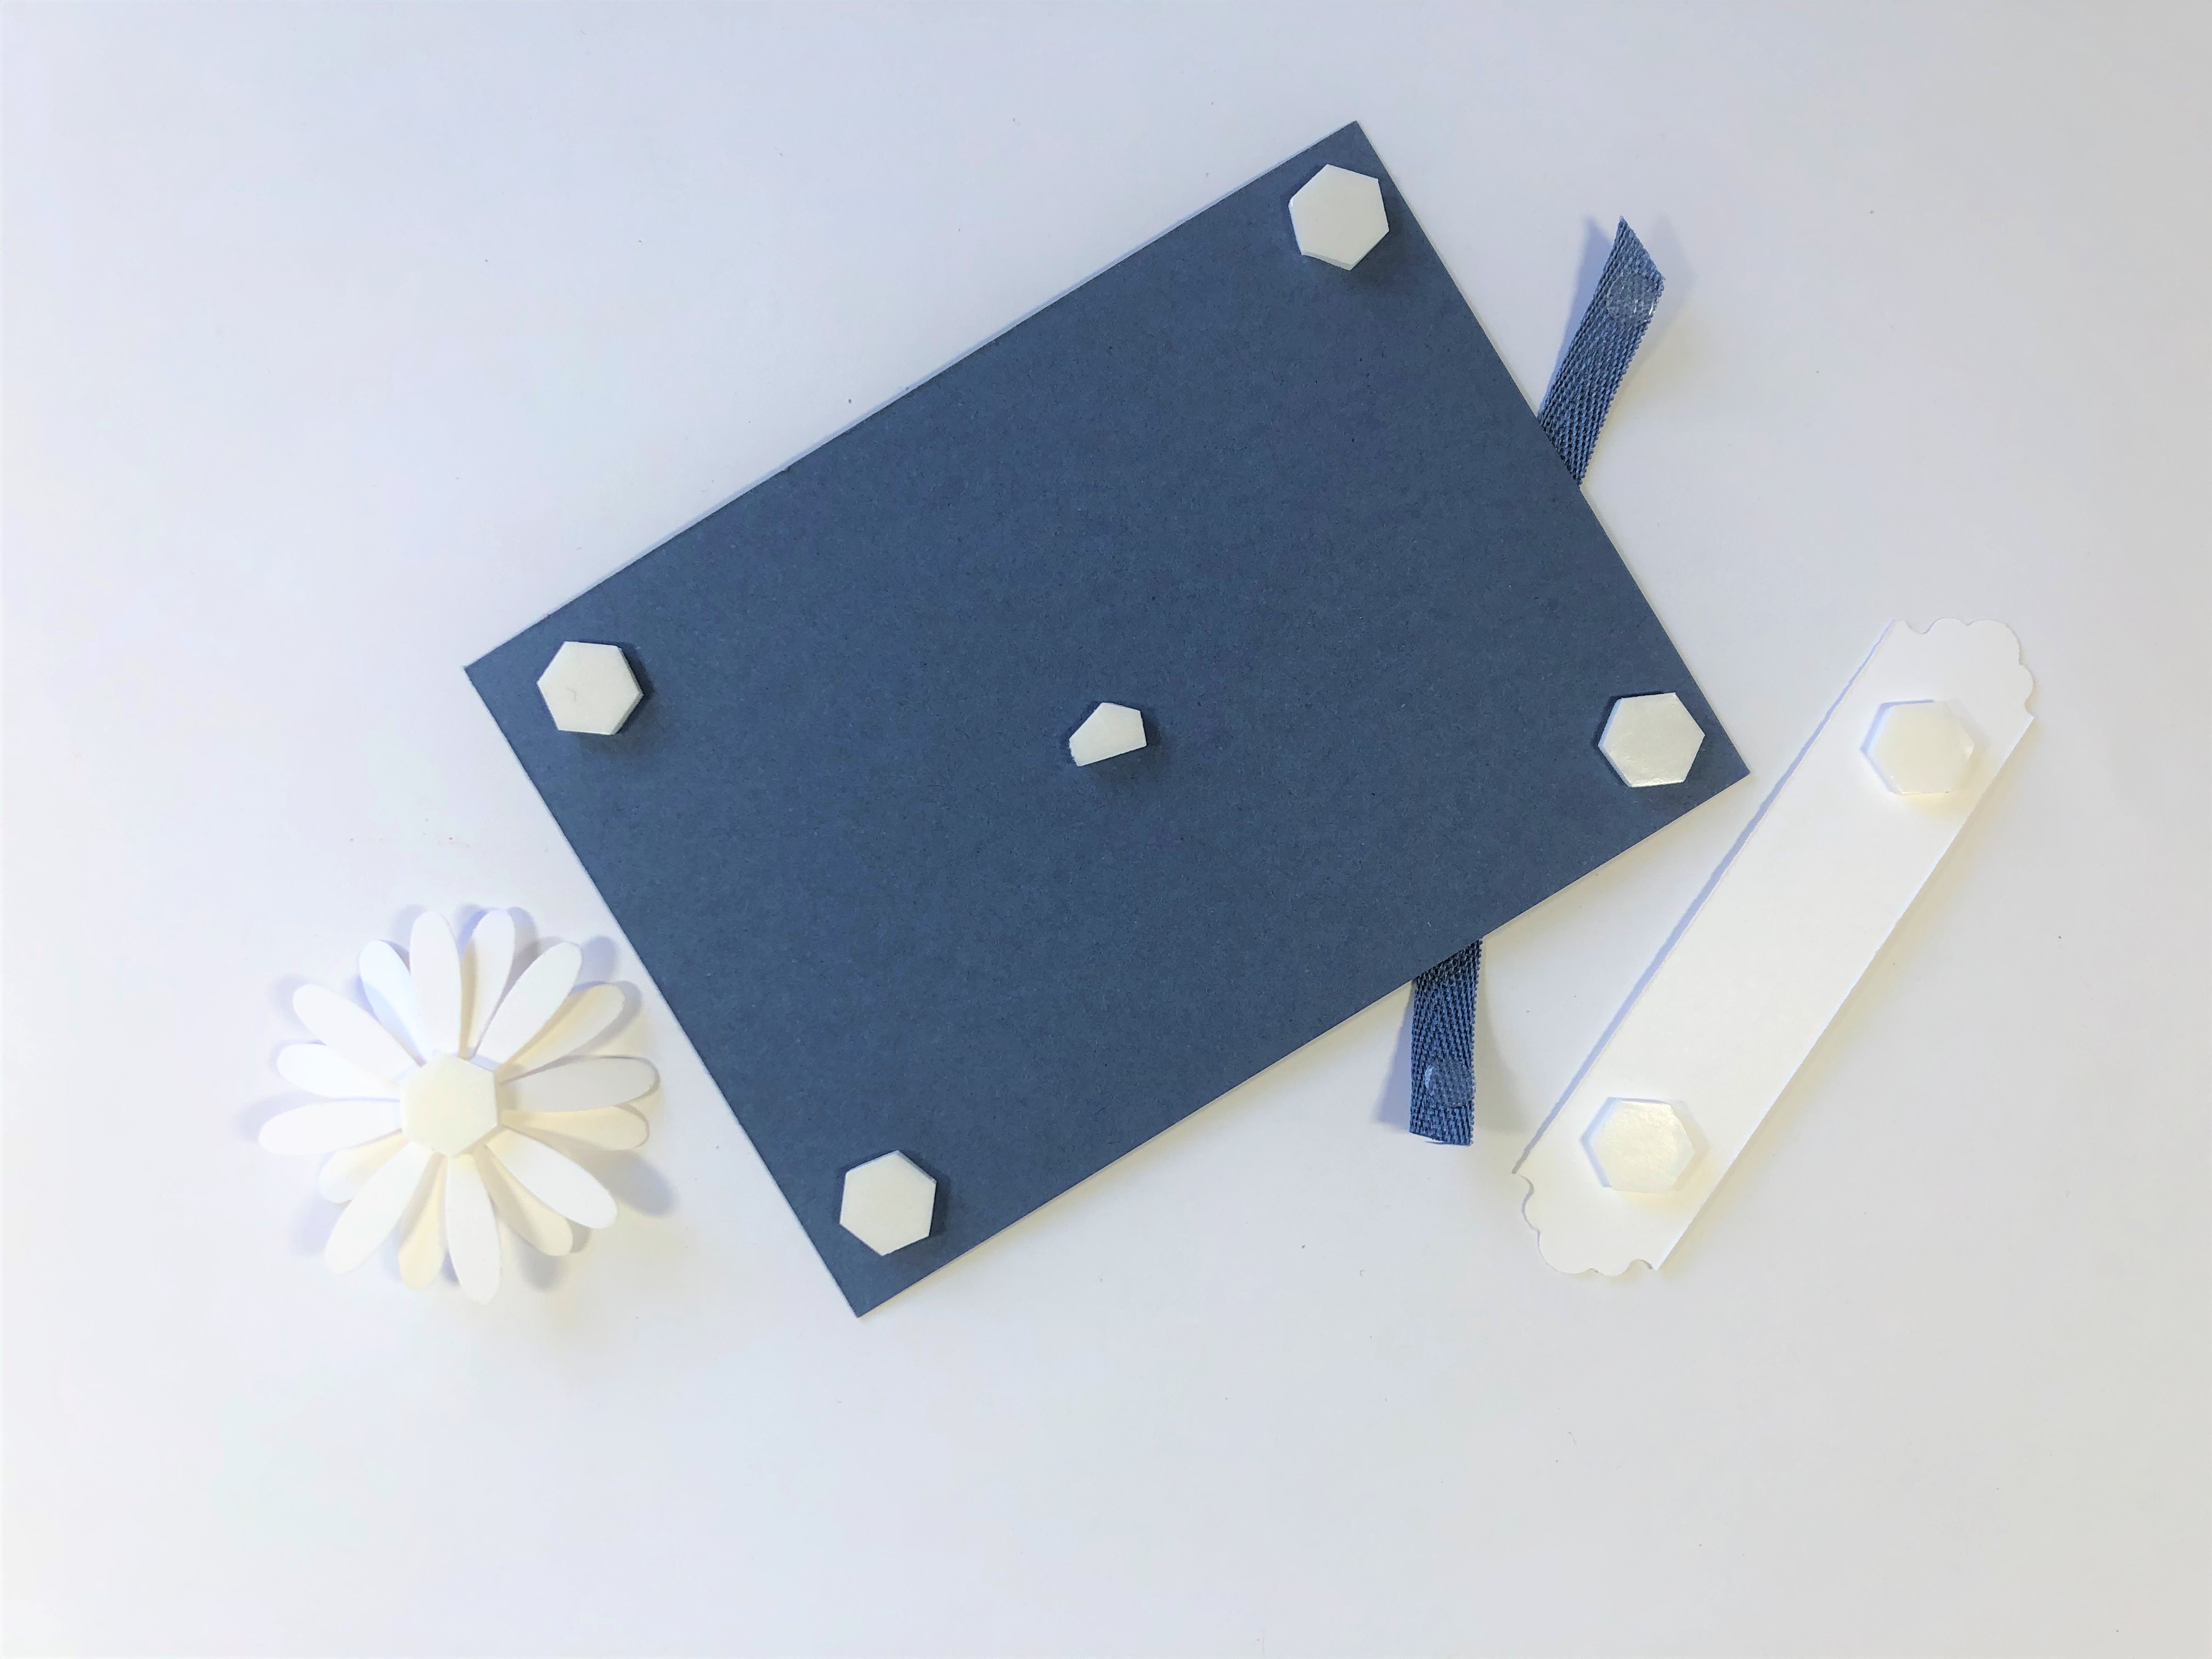 8. Building up Dimension
Add Dimensionals on all pieces as shown in the image. cut off a 4" piece of ribbon, wrap it across the left bottom corner, attach on the back with Glue Dots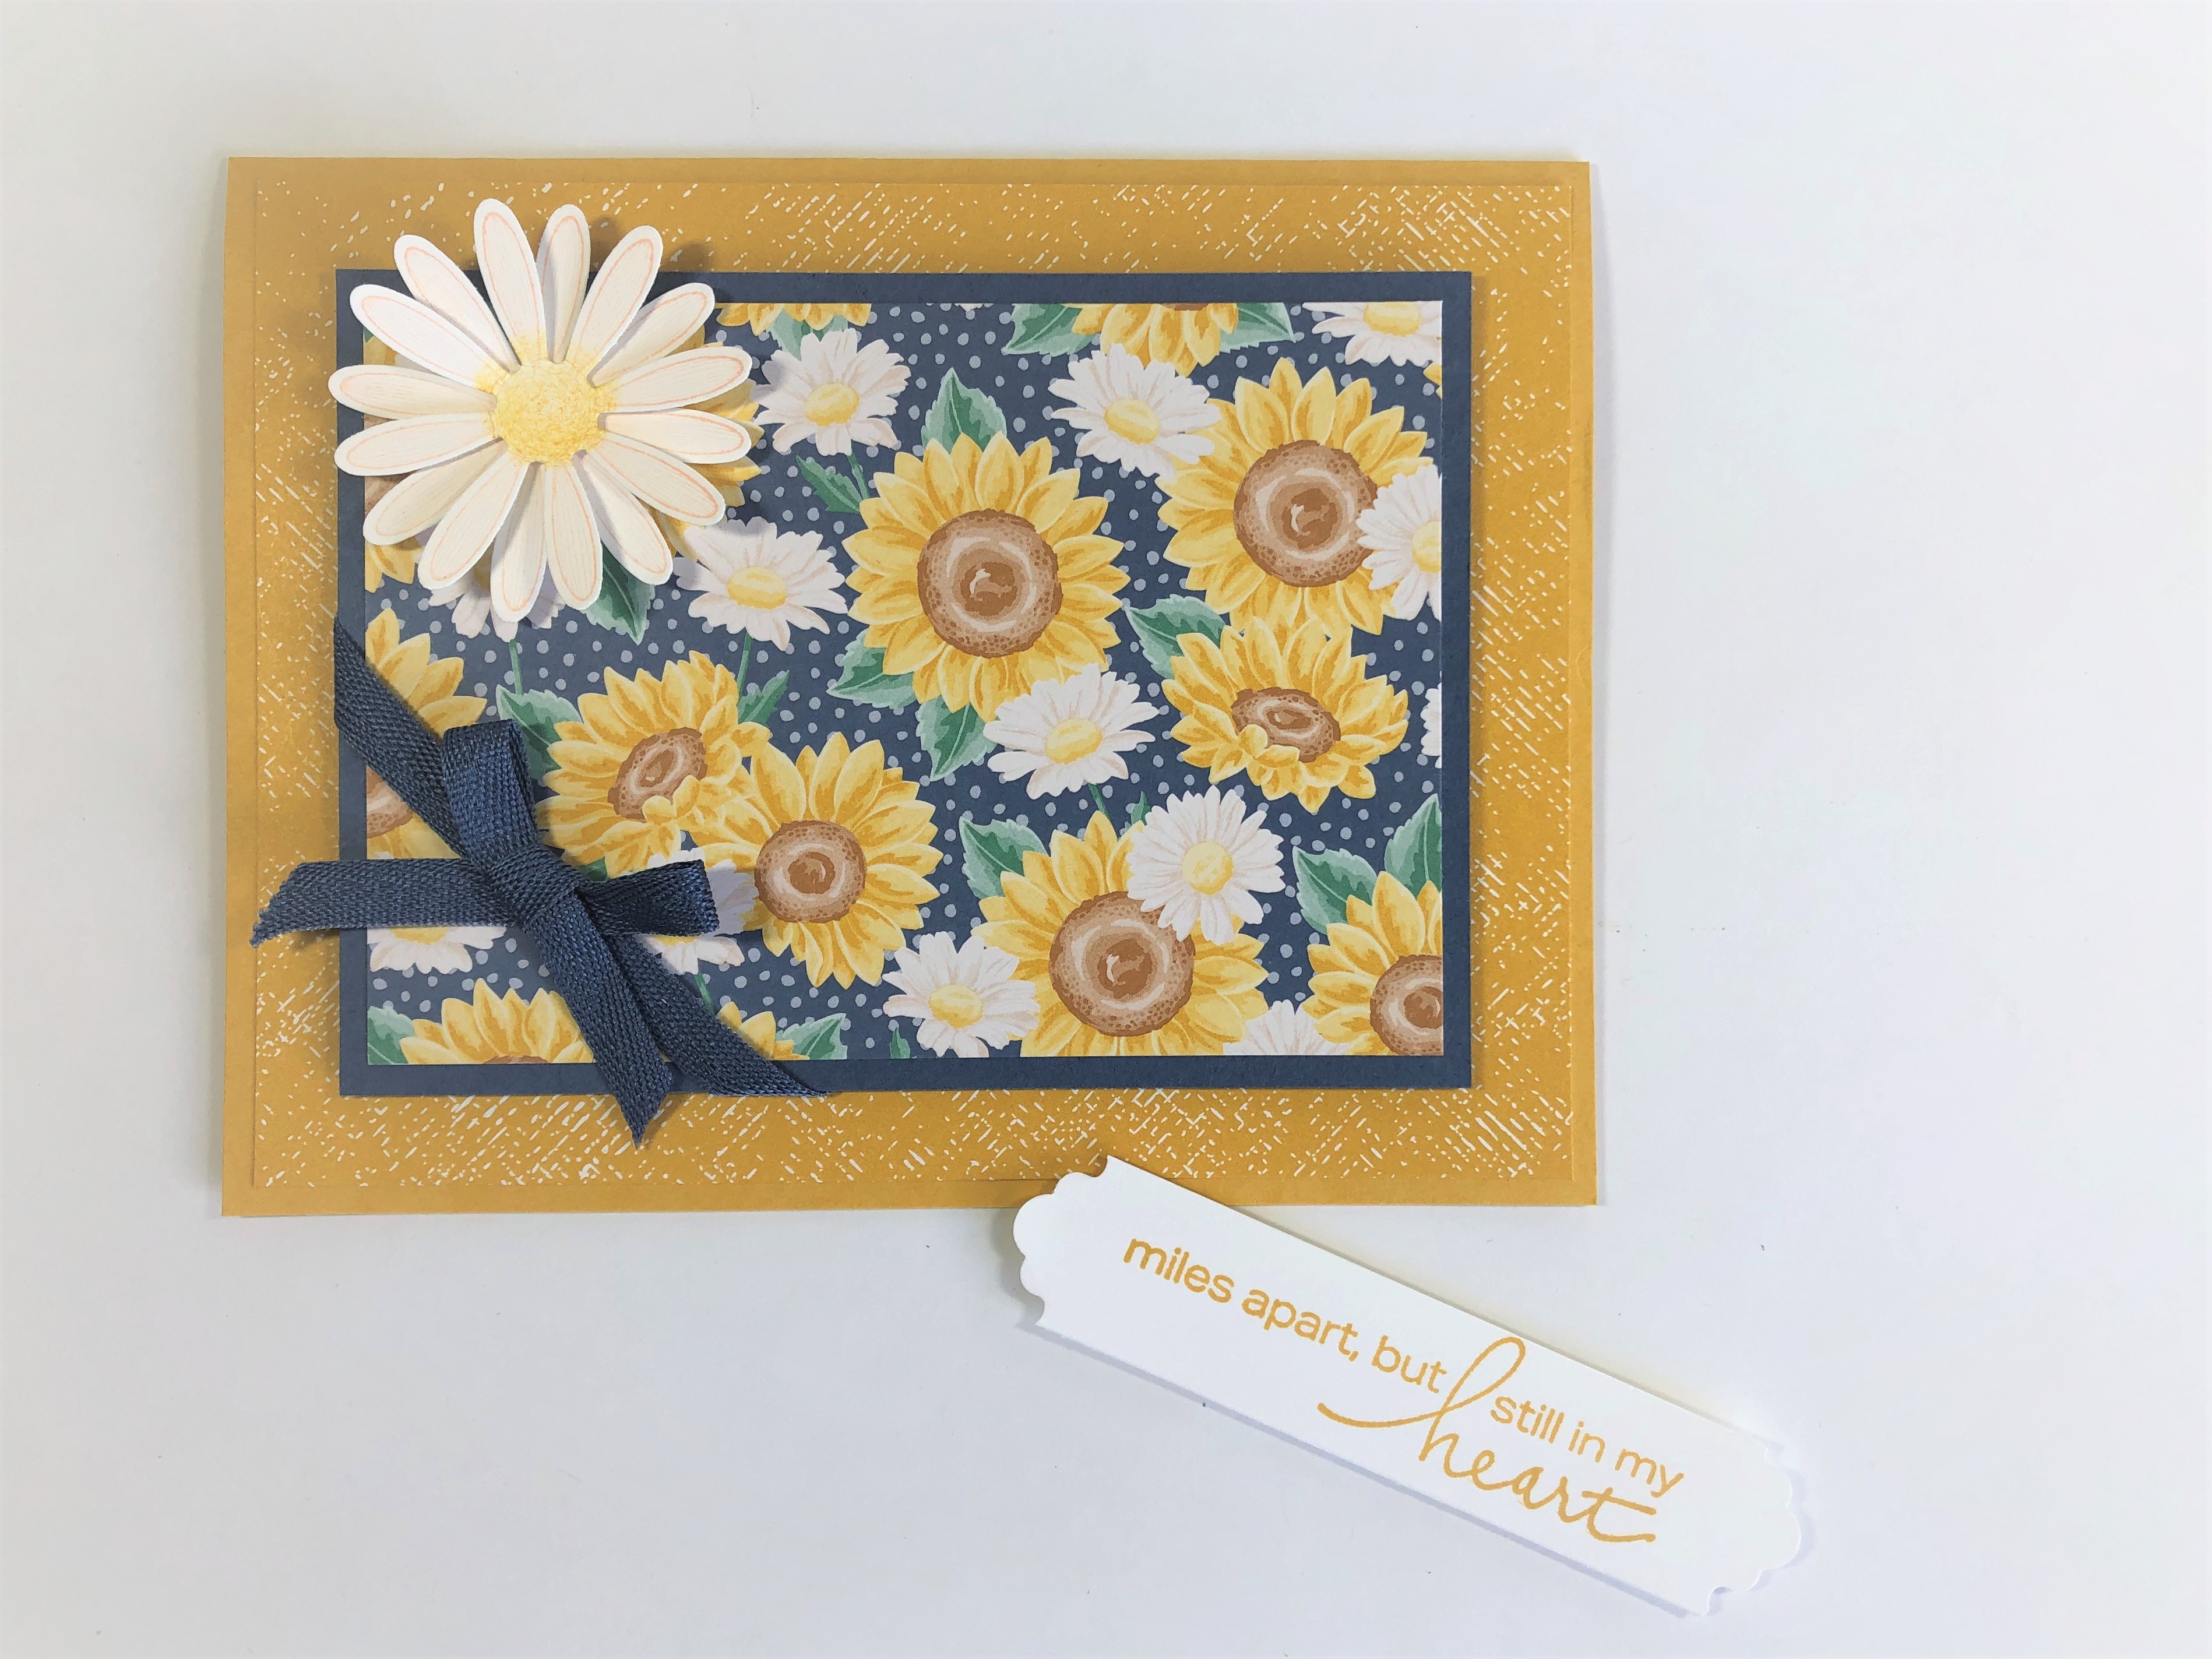 9. Last few steps ...
Mount the Floral Focal Piece panel to the Card Base, attach the Daisy and adhere the little bow to the ribbon using a Glue Dot.10. Finish Card
Mount the sentiment tag - make sure the Dimensional on the side that is overhanging is far enough in to stick to the Floral Focal Piece. Embellish with Enamel Dots if you have some on hand.Congratulations, your card is finished.
SUPPLIES


CURRENT PROMOTIONS


TAKE ME BACK TO THE TOP



 Each month a fully designed project kit arrives in a delightful box filled with stamps, ink, and paper—everything cut and ready to go so you can skip to the fun. Just think of it as creativity in a box.
