Laser Cut Painted Harvest - Card Tutorial

LASER CUT PAINTED HARVEST CARD
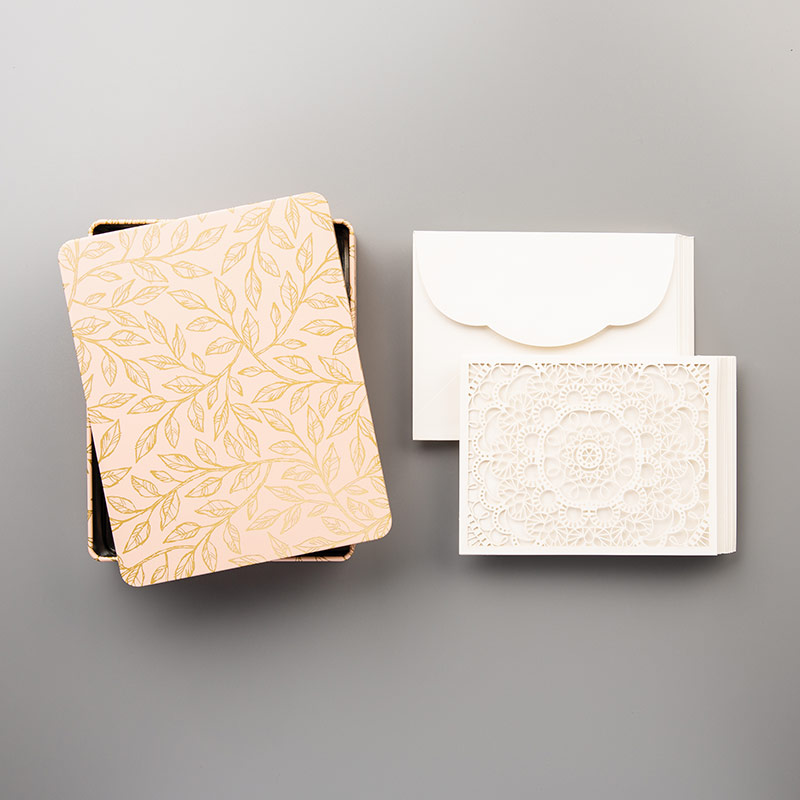
Have you discovered the beauty of the Bird Ballad Laser-Cut Cards & Tin? If not, I think you will be surprised at how quickly you can create a stunning card with them. I'm excited to show them to you in this tutorial.
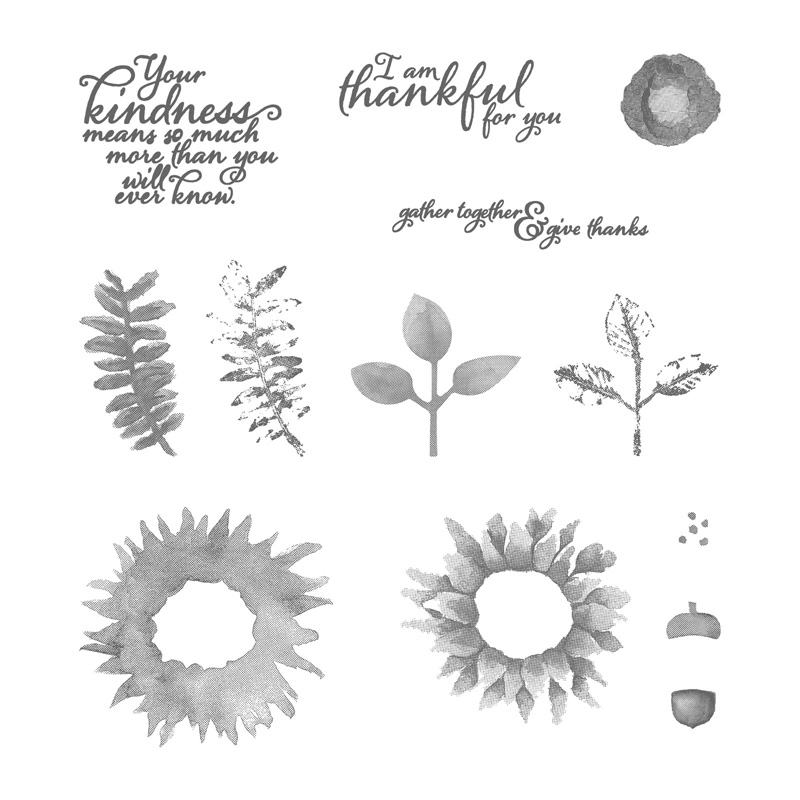
The tin is gorgeous and perfect for gift-giving and stylish storage. The set also includes 12 Very Vanilla laser-cut cards and 12 scallop-edged envelopes. Even better, they are one of the retiring items that are on sale! I'm also going to miss the Painted Harvest stamp set, so I thought I'd combine them and retiring In-Colours to wish them all a fond farewell. Enjoy!
 1. Cut & Glue
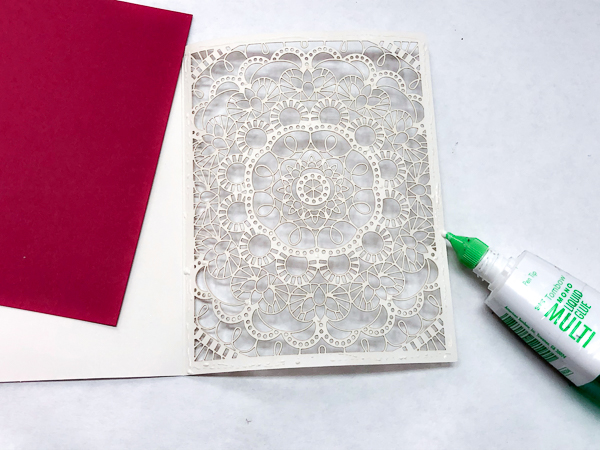
Cut Lovely Lipstick cardstock to 4-1/16" x 5-7/16". Open a Bird Ballad Laser-Cut Card. On the inside, add a very fine line of Multipurpose Liquid Glue around the edge that frames the laser-cut area. Add a few dots of glue around the laser-cut image.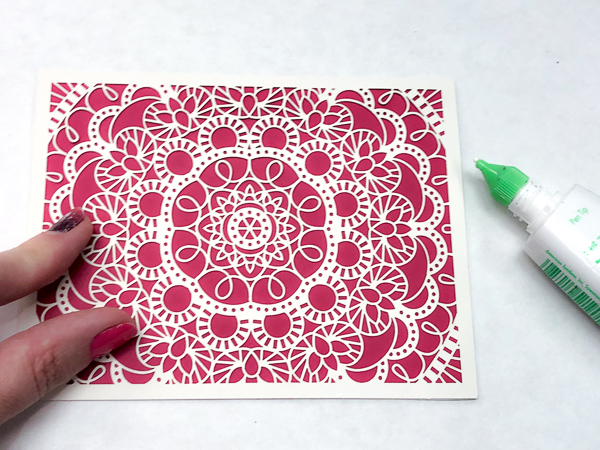 2. Fold
Carefully place the Lovely Lipstick cardstock centred inside the Laser-Cut card and fold the card closed. Press the card front to adhere the Lovely Lipstick cardstock behind the Laser-Cut image.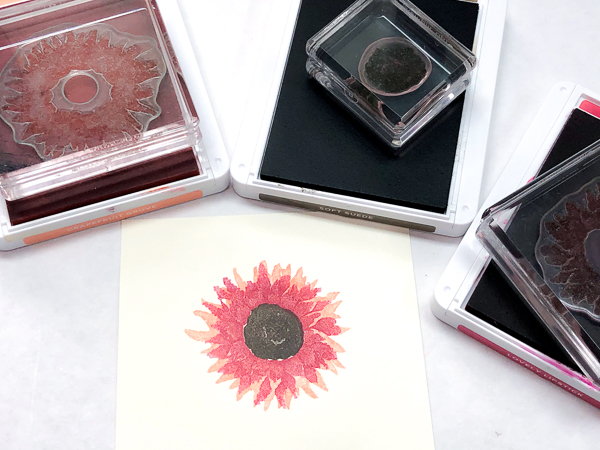 3. Stamp Flower
On scrap Very Vanilla cardstock, stamp the largest flower from the Painted Harvest stamp set with Grapefruit Grove ink. Stamp the smaller layering flower image on top with Lovely Lipstick ink. Stamp the flower centre with Soft Suede ink.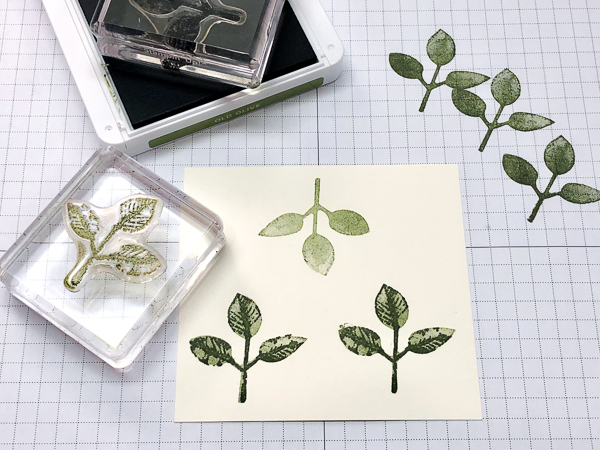 4. Stamp Leaves
Ink the solid triple-leaf, two-step stamp image with Old Olive ink and stamp off once on scrap paper. Stamp onto scrap Very Vanilla cardstock. Ink the detailed triple-leaf stamp with Old Olive ink. Stamp over the first leaf. Repeat for a total of three triple-leaf images.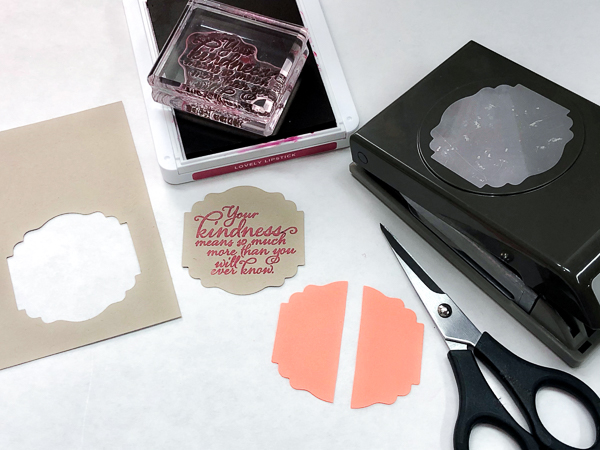 5. Stamp & Punch
Stamp greeting from Painted Harvest stamp set on scrap Crumb Cake cardstock with Lovely Lipstick ink. Punch out image and scrap Grapefruit Grove cardstock with the Label Me Lovely Punch. Cut Grapefruit Grove punch in half.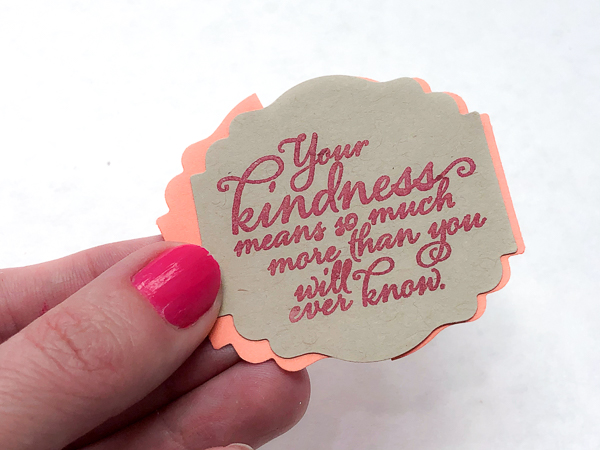 6. Layer Punches Pieces
Adhere the half pieces of the label punch behind the punched greeting label.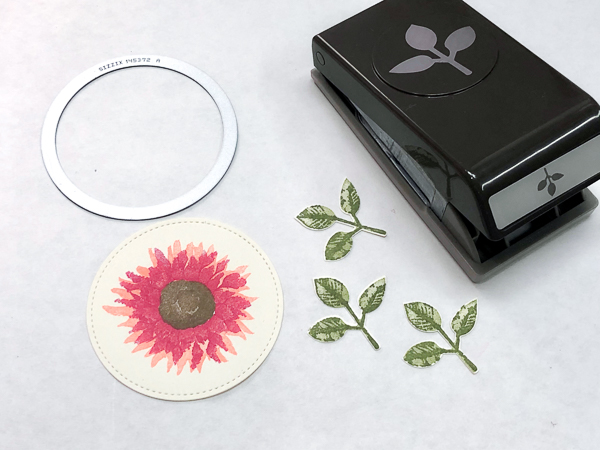 7. Die-Cut & Punch
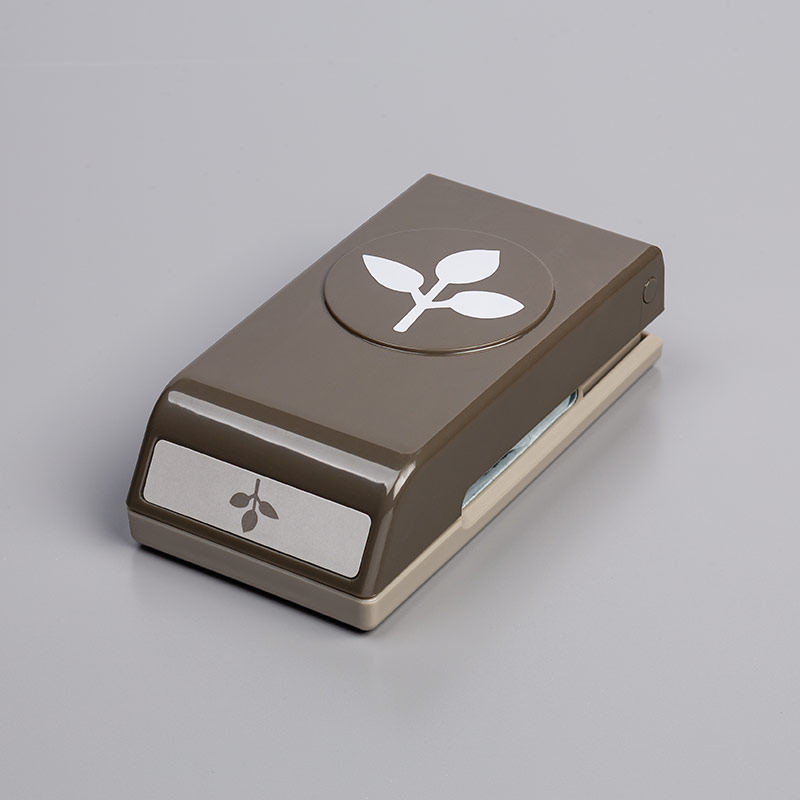
Die cut stamped flower using the largest circle from the Stitched Shapes Framelits set. Punch stamped leaves with Leaf Punch or hand cut them out.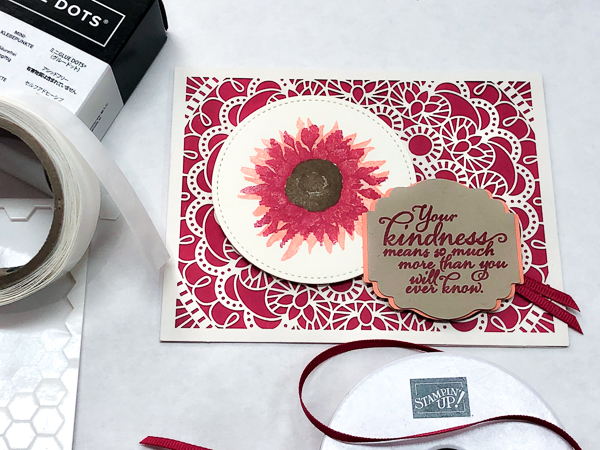 8. Add Layers
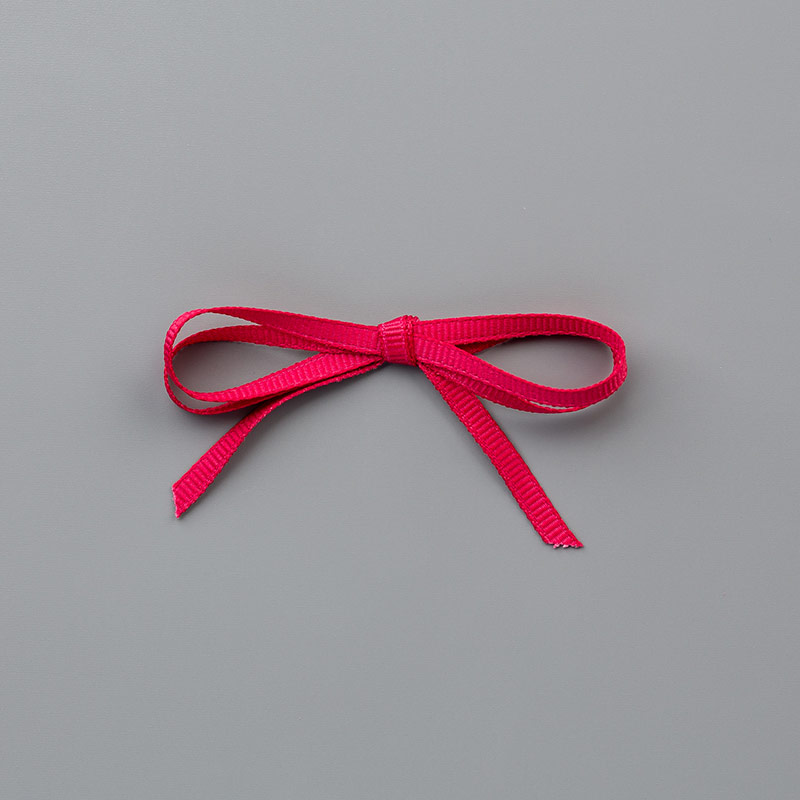
Fold a 5" piece of Lovely Lipstick 1/8" Grosgrain Ribbon into a "V". Adhere behind punched label with a Glue Dot. Use Stampin' Dimensionals to adhere the die-cut flower and label to the laser-cut card front.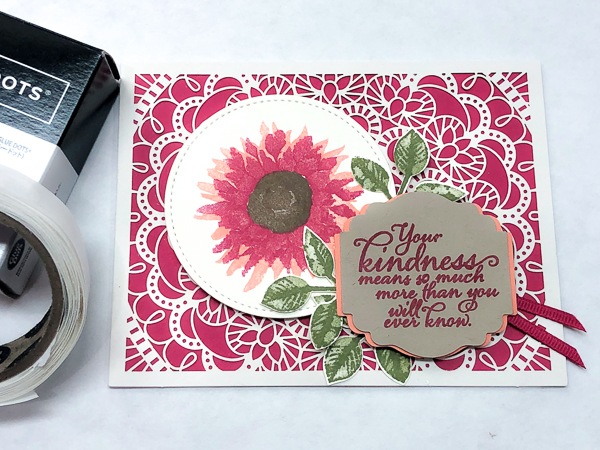 9. Finish Card
Add Glue Dots to the base of each punched leaf stem. Slip the stems behind the label and adhered with the Glue Dots.SUPPLIES
CURRENT PROMOTIONS

This email address is being protected from spambots. You need JavaScript enabled to view it.
TAKE ME BACK TO THE TOP


 Each month a fully designed project kit arrives in a delightful box filled with stamps, ink, and paper—everything cut and ready to go so you can skip to the fun. Just think of it as creativity in a box.

.jpg)
.jpg)
.jpg)
.jpg)
.jpg)
.jpg)
.jpg)
.jpg)
.jpg)
.jpg)
.jpg)
.jpg)
.jpg)
.jpg)
.jpg)
.jpg)
.jpg)
.jpg)
.jpg)
.jpg)
.jpg)
.jpg)
.jpg)
.jpg)
.jpg)
.jpg)
.jpg)
.jpg)
.jpg)
.jpg)
.jpg)
.jpg)
.jpg)
.jpg)
.jpg)
.jpg)
.jpg)
.jpg)
.jpg)
.jpg)
.jpg)
.jpg)
.jpg)
.jpg)
.jpg)
.jpg)
.jpg)
.jpg)
.jpg)
.jpg)
.jpg)
.jpg)
.jpg)
.jpg)
.jpg)
.jpg)
.jpg)
.jpg)
.jpg)
.jpg)
.jpg)
.jpg)
.jpg)
.jpg)
.jpg)
.jpg)
.jpg)
.jpg)
.jpg)
.jpg)
.jpg)
.jpg)
.jpg)
.jpg)
.jpg)
.jpg)
.jpg)
.jpg)
.jpg)
.jpg)
.jpg)
.jpg)
.jpg)
.jpg)
.jpg)
.jpg)
.jpg)
.jpg)
.jpg)
.jpg)
.jpg)
.jpg)
.jpg)
.jpg)
.jpg)
.jpg)
.jpg)
.jpg)
.jpg)
.jpg)
.jpg)
.jpg)
.jpg)
.jpg)
.jpg)
.jpg)
.jpg)
.jpg)
.jpg)
.jpg)
.jpg)
.jpg)
.jpg)
.jpg)
.jpg)
.jpg)
.jpg)
.jpg)
.jpg)
.jpg)
.jpg)
.jpg)
.jpg)
.jpg)
.jpg)
.jpg)
.jpg)
.jpg)
.jpg)
.jpg)
.jpg)
.jpg)
.jpg)
.jpg)
.jpg)
.jpg)
.jpg)
.jpg)
.jpg)
.jpg)
.jpg)
.jpg)
.jpg)
.jpg)
.jpg)
.jpg)
.jpg)
.jpg)
.jpg)
.jpg)
.jpg)
.jpg)
.jpg)
.jpg)
.jpg)
.jpg)
.jpg)
.jpg)
.jpg)
.jpg)
.jpg)
.jpg)
.jpg)
.jpg)
.jpg)
.jpg)
.jpg)
.jpg)
.jpg)
.jpg)
.jpg)
.jpg)
.jpg)
.jpg)
.jpg)
.jpg)
.jpg)
.jpg)
.jpg)
.jpg)
.jpg)
.jpg)
.jpg)
.jpg)
.jpg)
.jpg)
.jpg)
.jpg)
.jpg)
.jpg)
.jpg)
.jpg)
.jpg)
.jpg)
.jpg)
.jpg)
.jpg)
.jpg)
.jpg)
.jpg)
.jpg)
.jpg)
.jpg)
.jpg)
.jpg)
.jpg)
.jpg)